
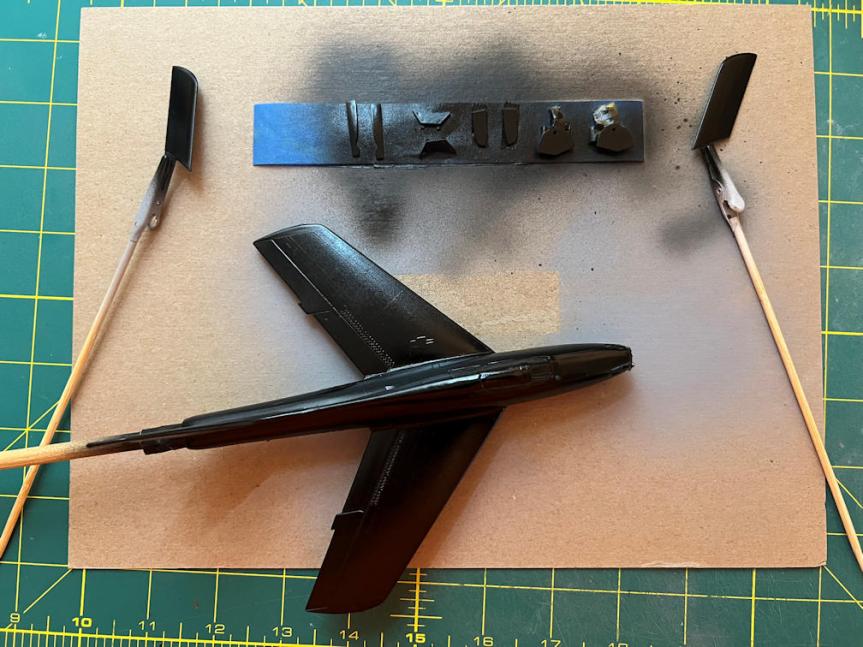
With the rest of the parts primed I started on the parts that will have a natural metal finish. I’m using the Alclad II paint to get that metal finish. The look I was going for was stainless steel. For that I needed to lay down a gloss black base coat. I used the Alclad Gloss Black Base. You can see in the above photo how it turned out. The coverage was good and it looks like I didn’t catch too much dust.
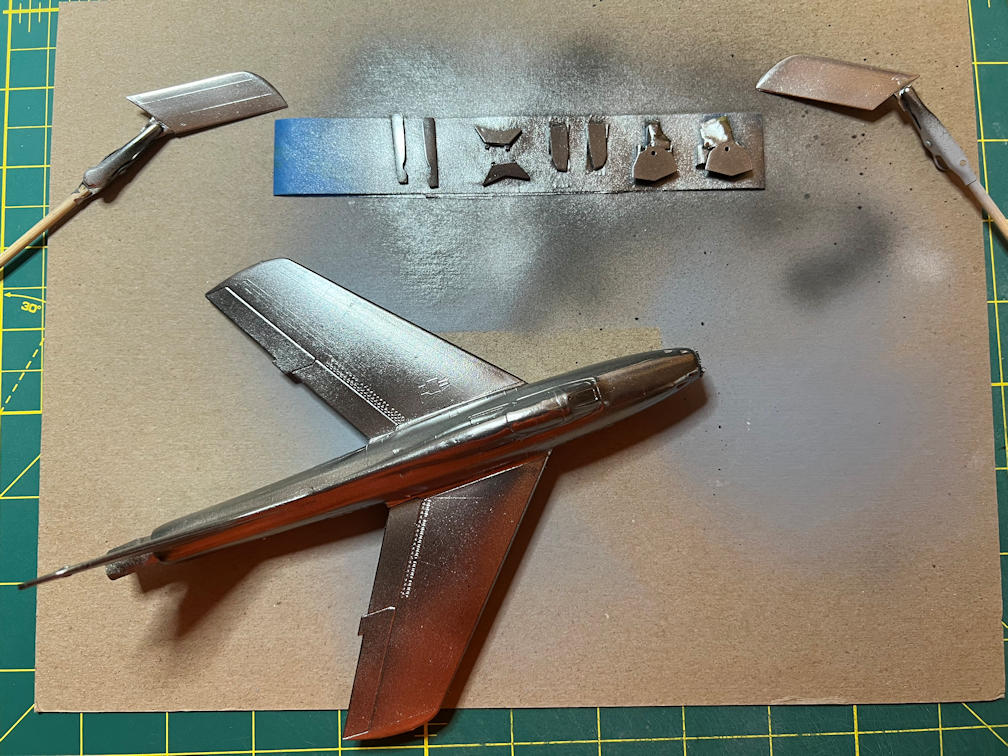
I gave the base coat three days to fully cure. Then applied the Alclad Stainless Steel. I went over the model two times and it just wasn’t giving off the brightness that I wanted. I used the same paint on the 1/48 Atlas rocket but the it didn’t look quite the same. So I let that dry for a day, and then applied a light coat of Alclad Chrome over the Stainless Steel. That gave me the shine I was looking for.
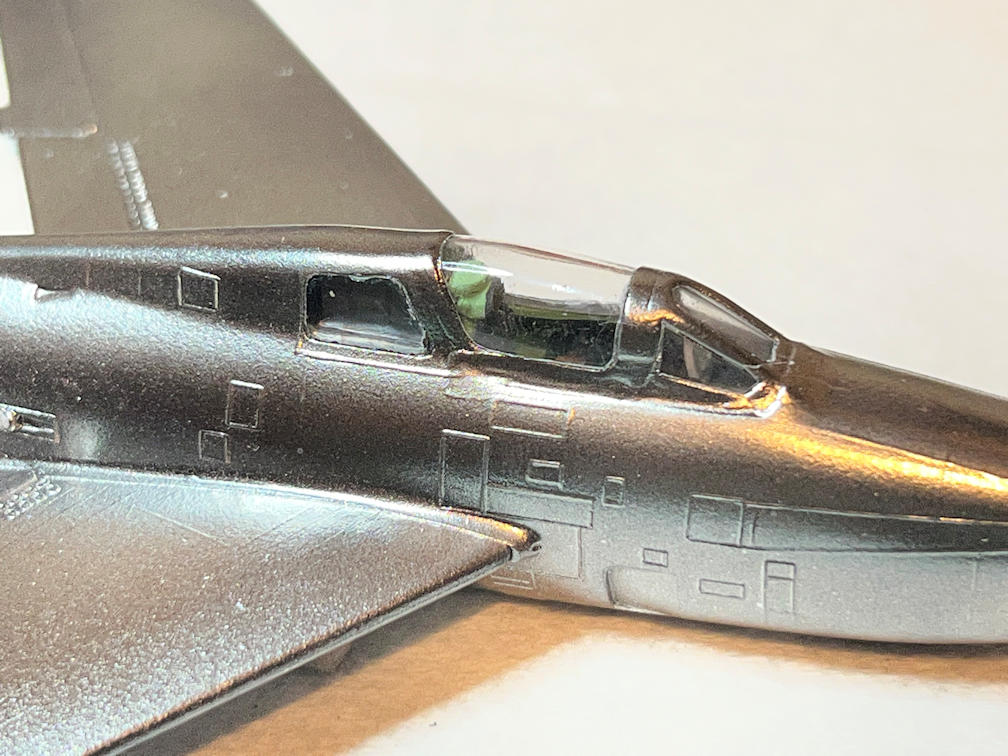
I left that for a couple of days and then removed the masking from the canopy. Here is a close up of the canopy section.
To protect the finish from the decal setting solutions I decided to spray the model with some Alclad Aqua Gloss. I haven’t used it before but it was made for their metallic paints. I sprayed a couple of light coats over all the silver parts and let it set for the recommended 6 hours. I then brushed on a light coat of Future Floor Finish to shine up the clear parts.
Next came painting the other parts of the model. The inside of the landing gear doors were painted with Vallejo 70.954 Yellow Green. When the yellow green dried I applied a light coat of Vallejo Matte Varnish. I painted the main gear struts Tamiya X-11 Chrome Silver.
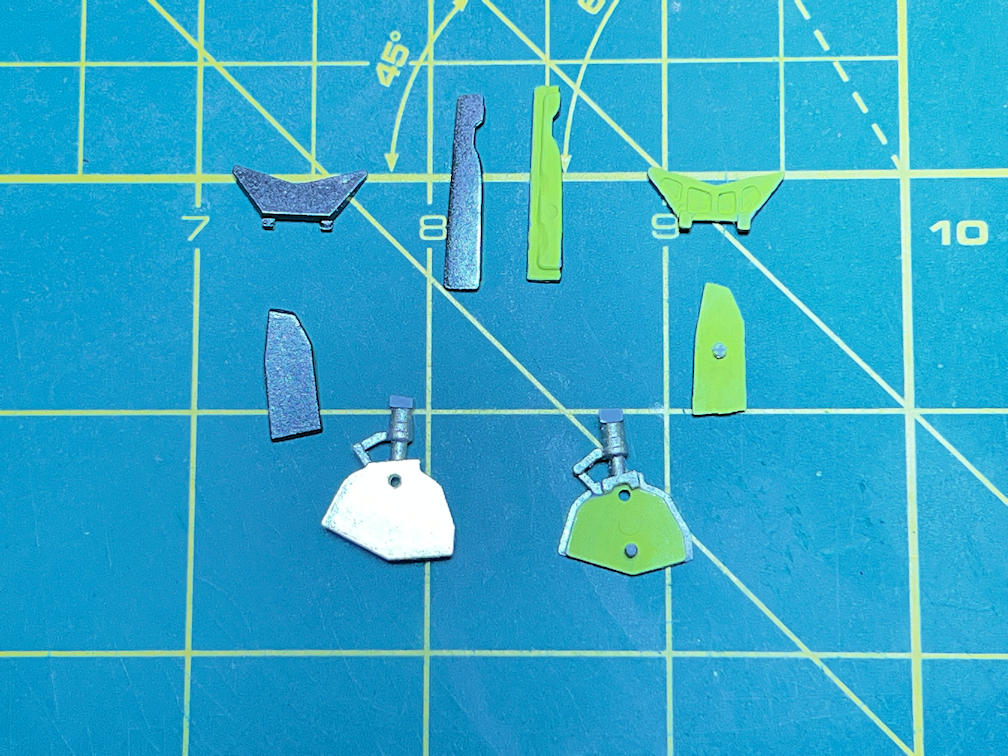
The tires of the main and nose gear were painted with Tamiya XF-85 Rubber Black. When the tires dried the nose gear strut and main gear wheels were painted Tamiya X-11 Chrome Silver. The wheel attachment nuts were also painted the same silver.
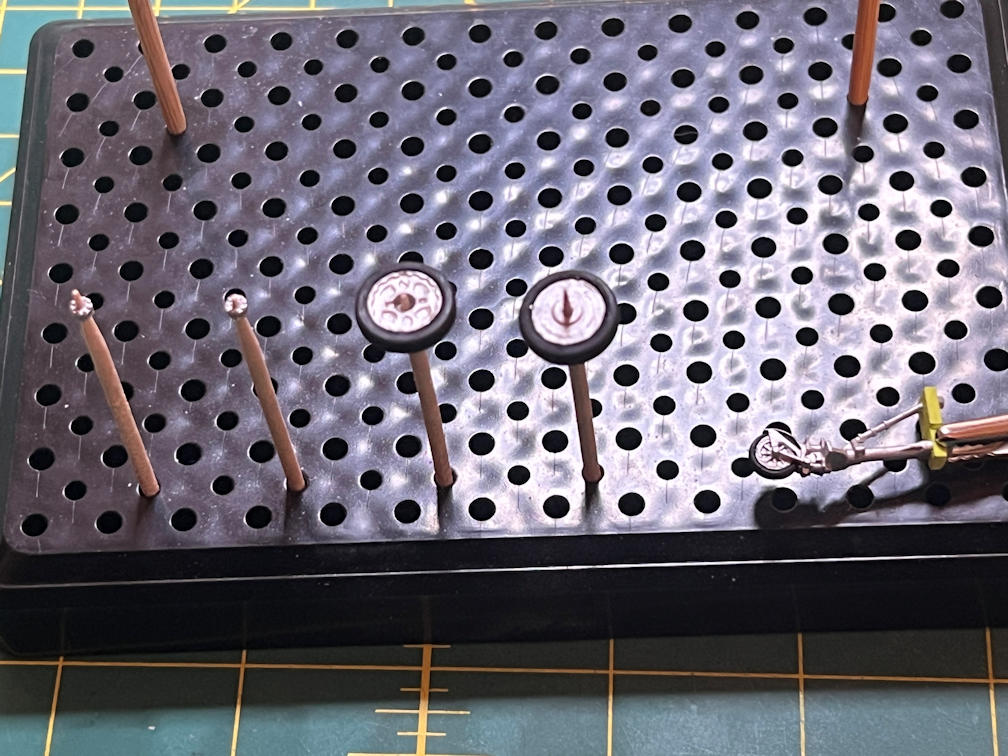
Finally, I painted the main and nose gear wheel wells with Vallejo 70.954 Yellow Green. Then all the yellow green parts were given a light coat of Vallejo Matte Varnish.
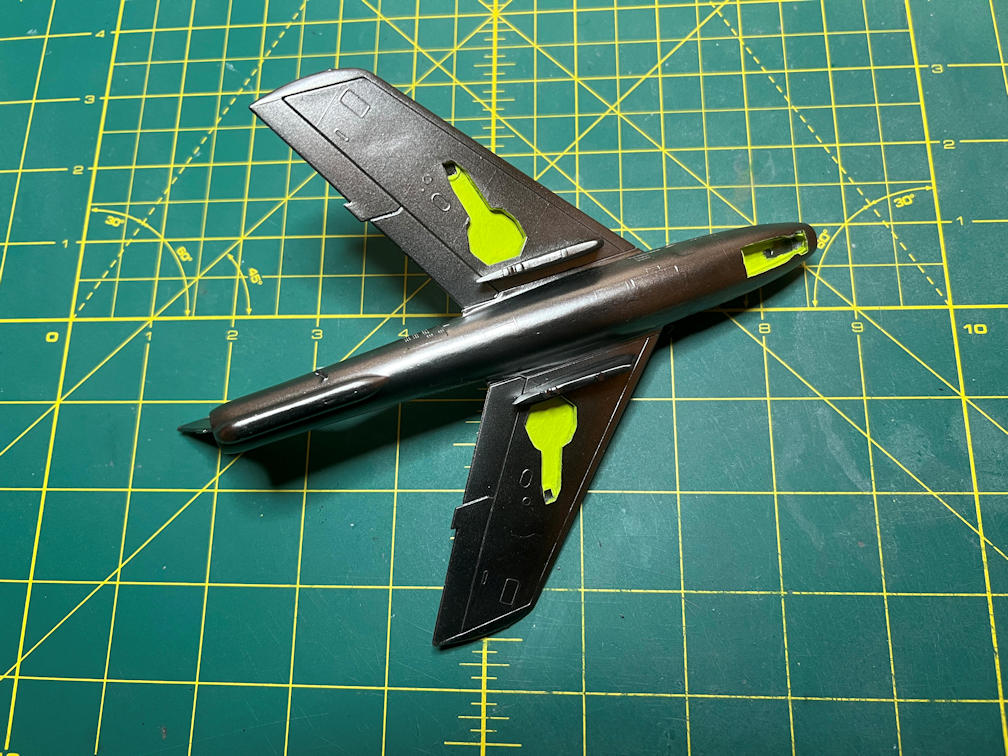
That pretty much completes the painting of the model. Next up will be the beginning of the decal application and assembly of the main gear. Thanks for looking. More to come.

