
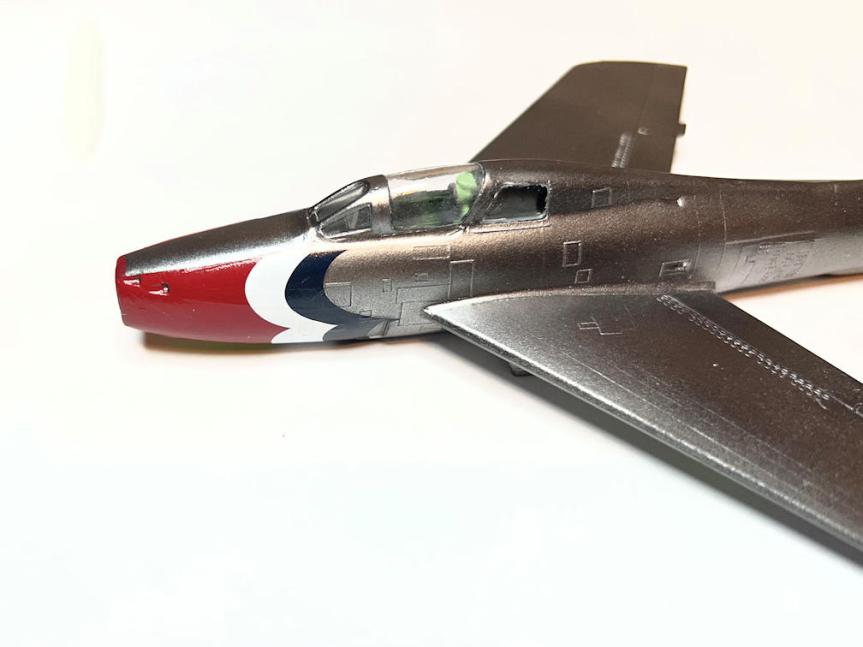
Now for the part that will make this model look like a Thunderbird. The decals. The above photo shows the model after the first half of the nose decal was applied. Note that I also painted the area around the intake with Vallejo 71.102 Red. It is a very good match to the decal red. The Warbird decal seemed not so much thick as stiff. It took a lot of persuasion to get it to conform to the curves of the nose. I used a couple of applications of Micro Set and then several applications of Micro Sol to get it flow over the molded details. The decal didn’t crack but it gave me a couple of scares along the way while applying it.
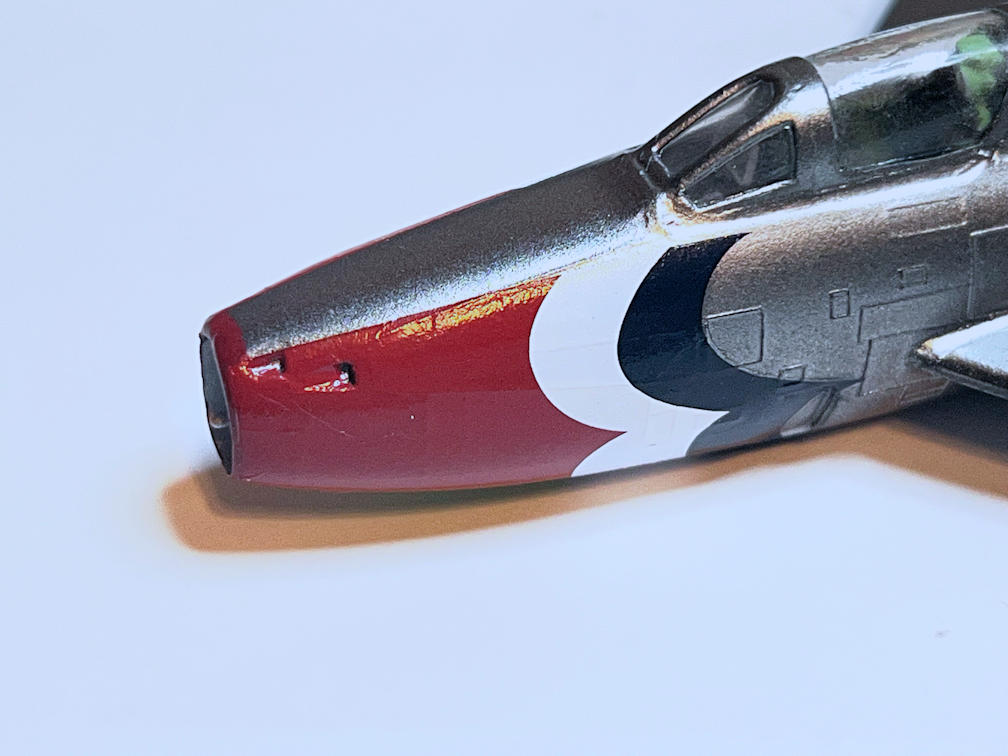
You can see in this closer view that there is a small crease in the decal near the intake and below the gun ports. I did have to cut the decal at the gun ports to get the decal to flow into the depressions. I’ll touch up those with a bit of Vallejo Red. The hardest area to work with was the small intake at the border of the blue scallop. Many additional applications of Micro Sol were needed.
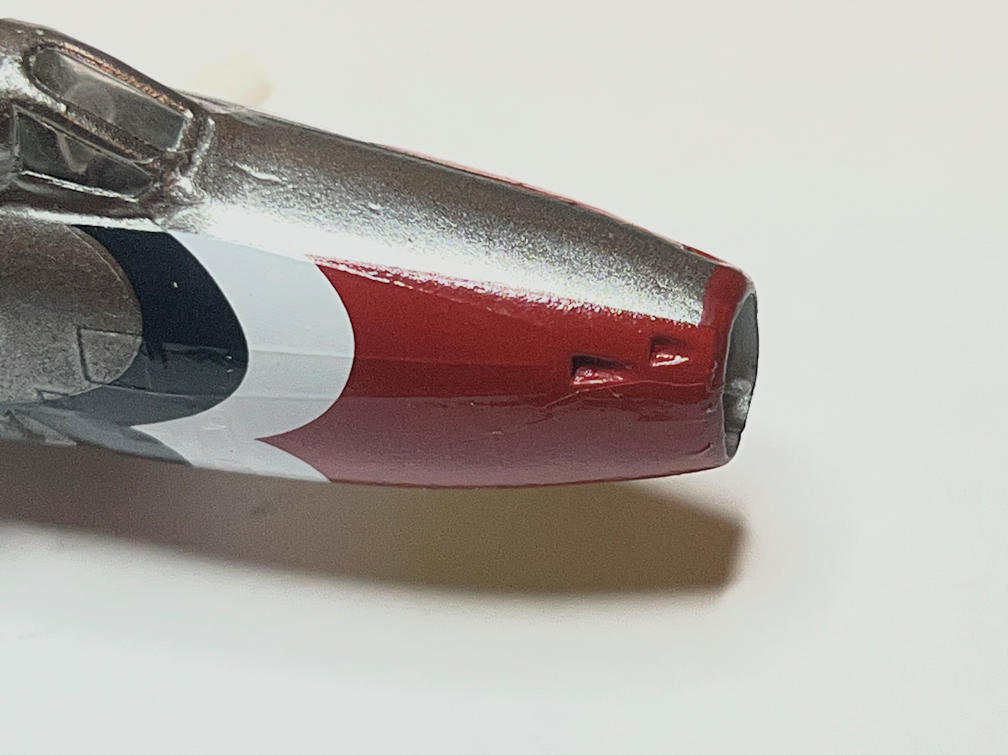
The other side was a similar situation. The decal seemed stiff and threatened to crack many times. It actually did crack twice. Once in the red scallop and once in the white scallop. They are both rather far down toward the bottom of the aircraft and won’t be too noticeable. I did use some Vallejo 71.001 White and Vallejo Red to try to patch them. Here is a close up of the right side. It has a similar crease in the red near the gun ports. In this photo only the white crack is barely visible near the bottom of the visible decal. You can also see that I’ve added a bit of Vallejo Red to the gun ports. The decal at this stage still needs an additional application or two of Micro Sol.
The decals just weren’t reacting the way my previous Warbird decals did. I looked more closely at the decals and determined that they were probably made in 2018. That makes them 8 years old, which isn’t hugely old but not new either. To be safe I coated all the remaining decals with MicroScale Decal Film in the hope that it might prevent further cracking of decals during application.
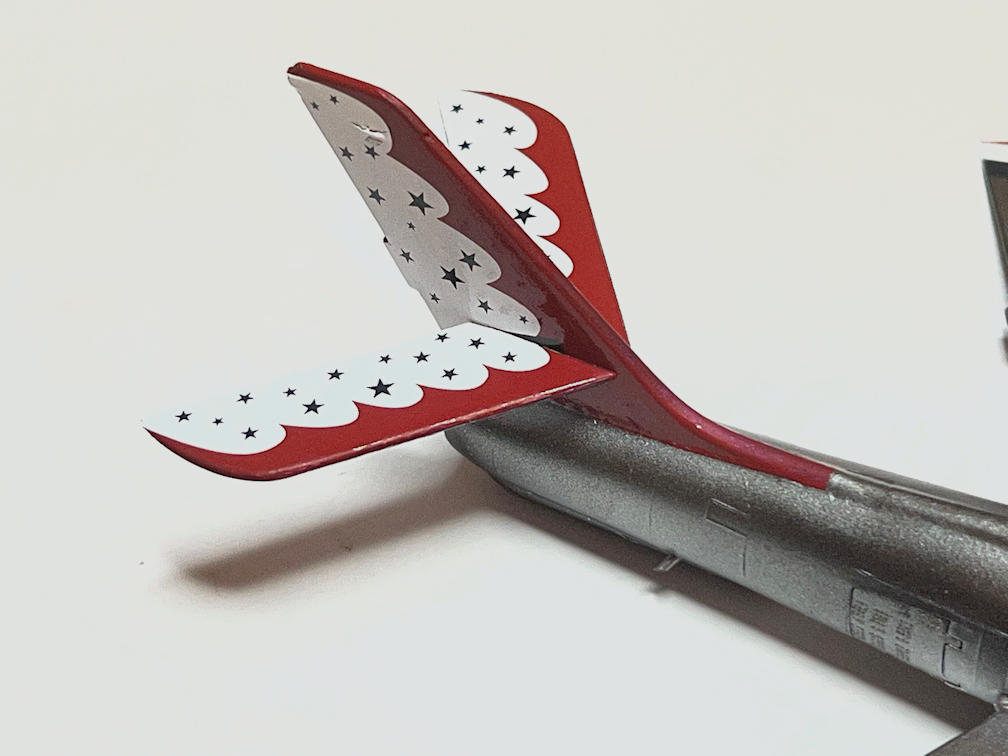
Below you can see that I have applied the vertical tail decals and attached the horizontal stabilizers. To install the horizontal stabilizers I needed to cut out the decal film over the attachment holes in the vertical tail. I also scraped off the primer and color paint inside the holes. I then used Tenax to attach the horizontal stabilizers. I was very careful to keep the Tenax off the tail decal.
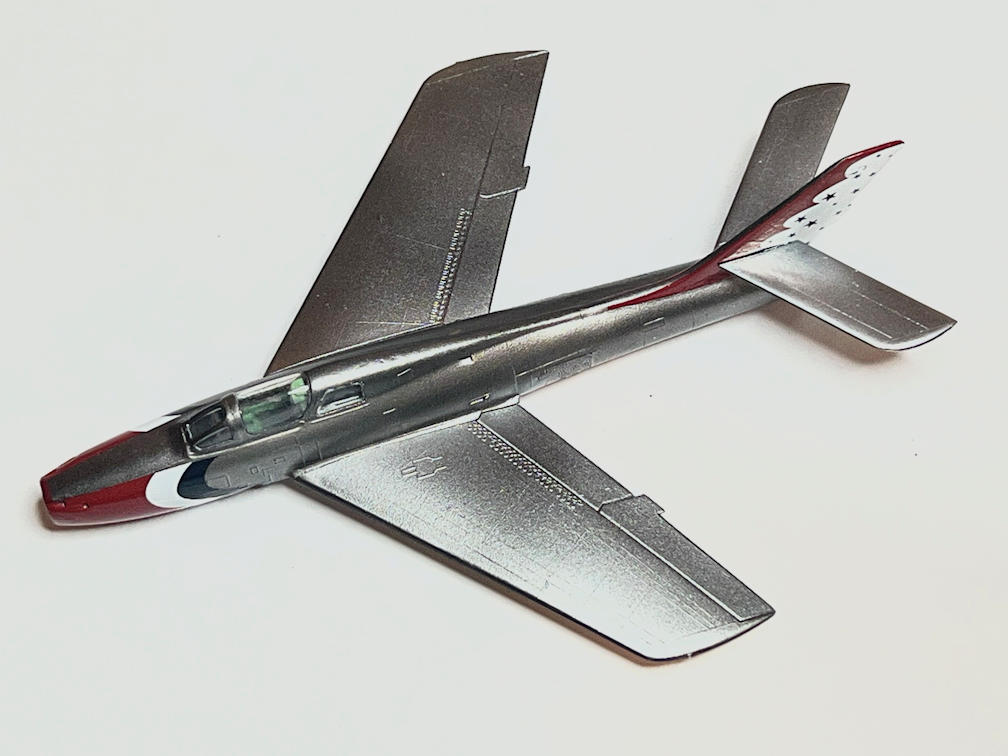
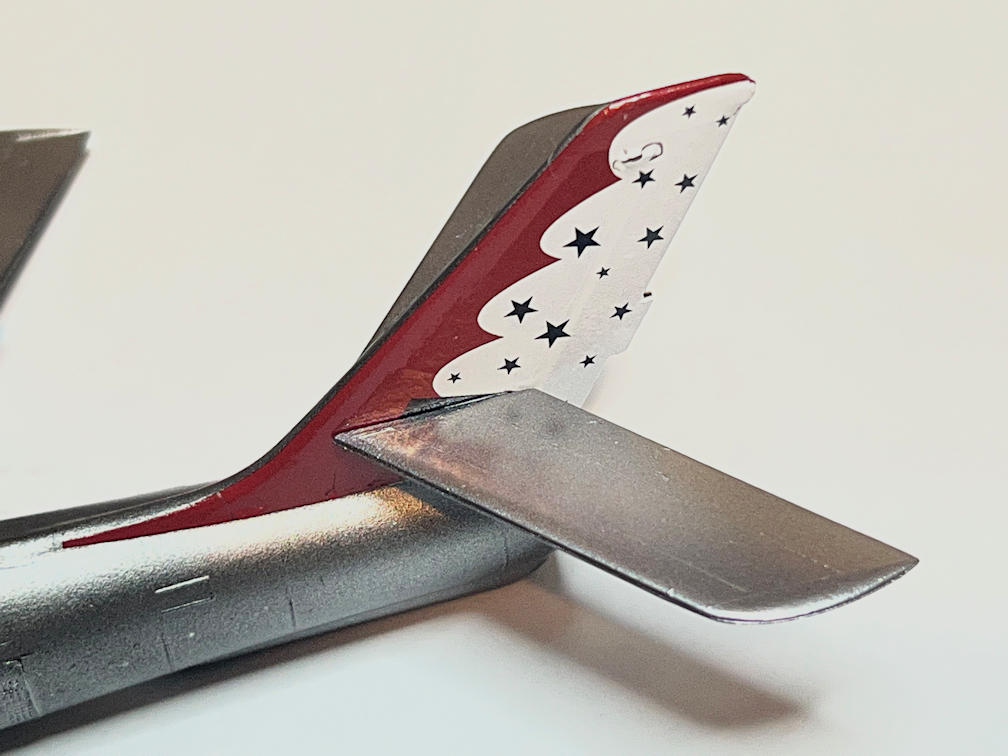
Below is a close up of the vertical tail decal. You can see a crack round a raised detail. It happened on both sides, but this one was the worst. A bit of touch up with Vallejo White paint will cover it satisfactorily. You can also see that the decal does not cover the entire tail area where it blends into the fuselage. I’ll try some Vallejo Red to fill the area first. If it doesn’t look quite right I can use a long rectangle of red decal that Warbird provided on the decal sheet possibly for that purpose.
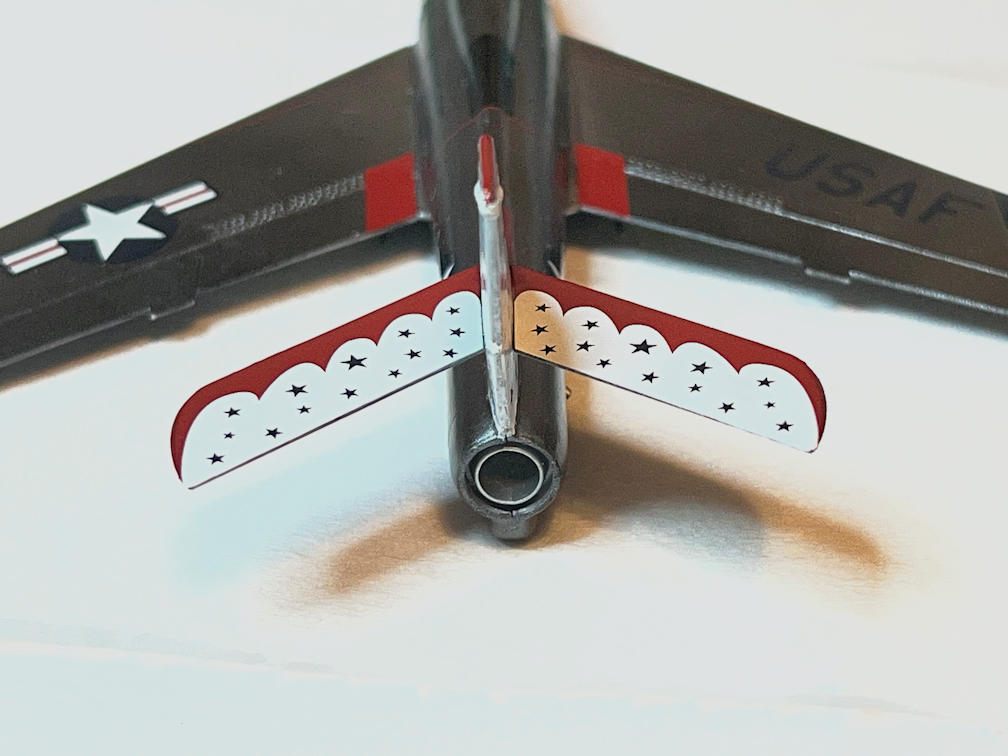
I then applied the decals to top and bottom of the horizontal stabilizers. These decals went down nicely and since the part was pretty much flat there were no cracks. You can see that I have painted in areas where the decal didn’t quite cover namely, the leading edges and tips with some Vallejo Red. The red paint is a flat paint, but I’ll be giving the model an overall gloss clear coat so that won’t be a problem.
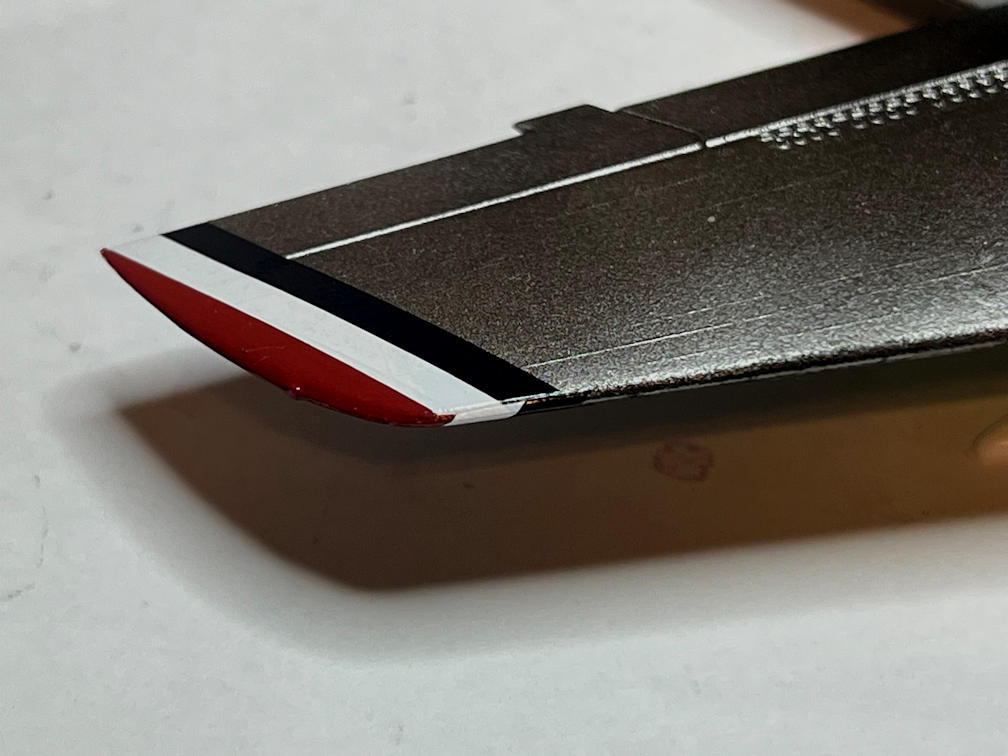
The wingtip decals gave me some problems. Not because the decal was a problem, but because I didn’t quite get the top and bottom lined up properly. There is a noticeable step between the top and bottom on both wings. I’ll try touching them up with some Vallejo White and Vallejo 71.091 Signal Blue.
I turned the model over and applied the USAF and Stars & Bars decals. These decals are made to fit the wing in case the model is built with the gear down. After these decals were applied I applied the appropriate remaining section to the main gear doors.
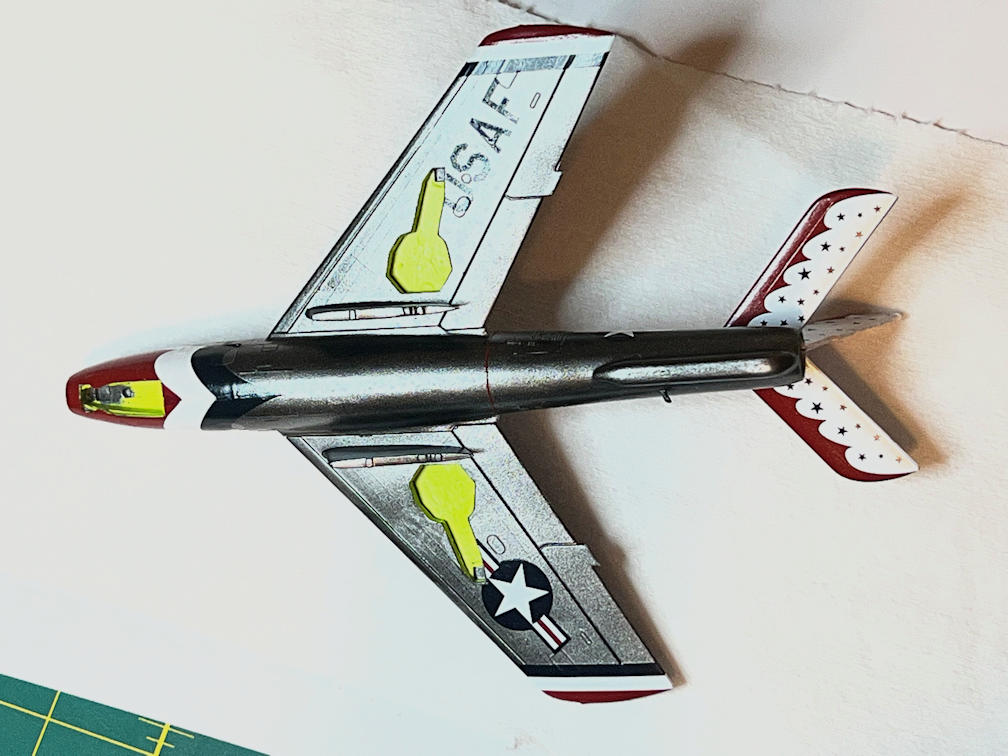
The upper side of the wings had their decals applied. I decided that I would model the lead plane so there are two thin red decals that run from the fuselage to around mid wing. These marking were only on the lead plane. The wide red “No Step” wing markings were then applied. The anti-glare panel decal was applied to the nose as well. You can see that other decals have also been applied at this point, but let’s ignore that. This is the order that I applied them.
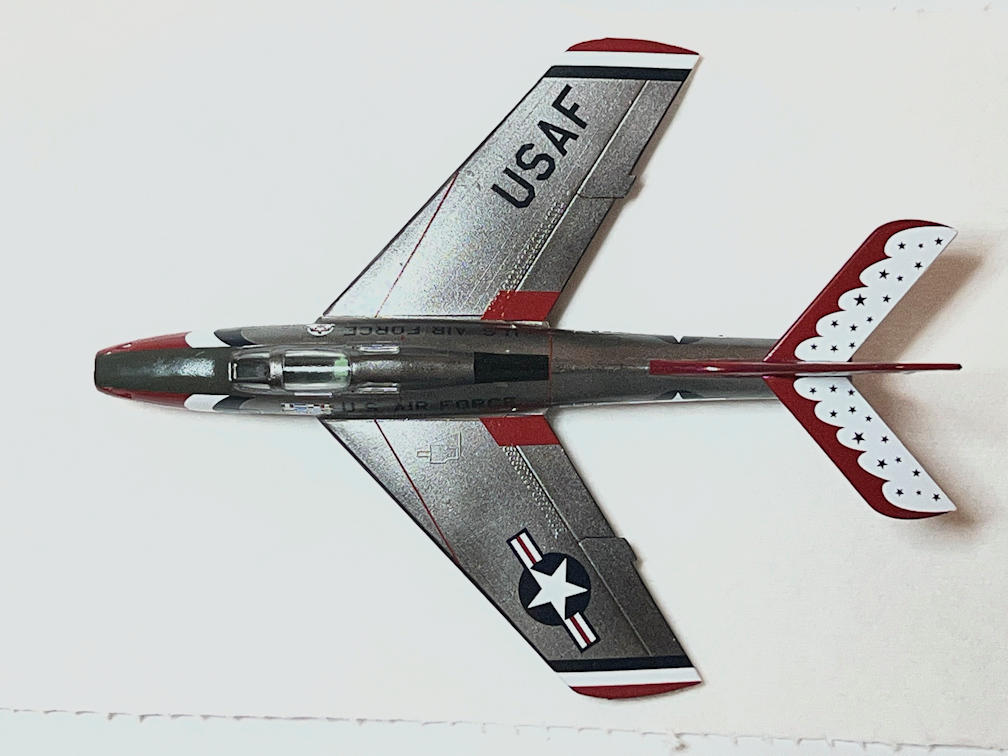
I also noticed that handling the plane to add the decals was having an effect on the gloss coat. It was getting sticky and in some area it was removing a bit of the underlying paint. To save the model I sprayed the whole thing with a good coat of Tamiya TS-80 Clear. After that cured I continued with the decals after applying a light coat of Vallejo 70.520 Matt Varnish to the anti-glare decal.
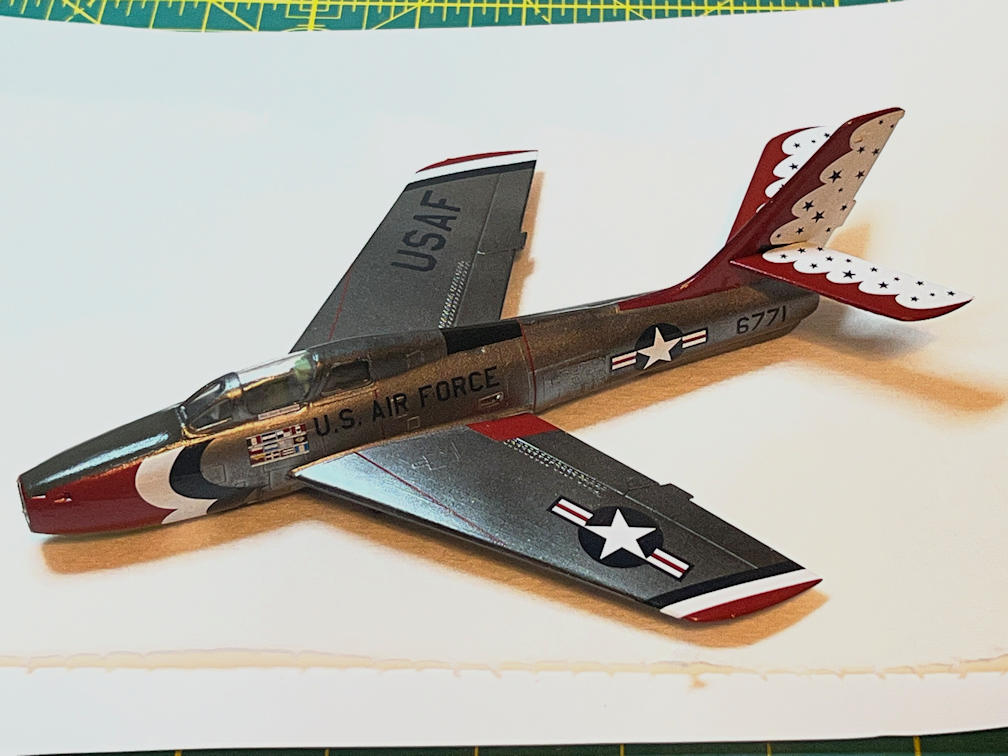
I applied decals to the sides of the airframe using the buzz number 6771 for the team leader. The decal on the left side of the cockpit frame has his name (Maj. Jack Broughton) on it.
Prior to adding the clear coat I painted the back edge of the vertical tail Vallejo White since the decal did not cover that area.
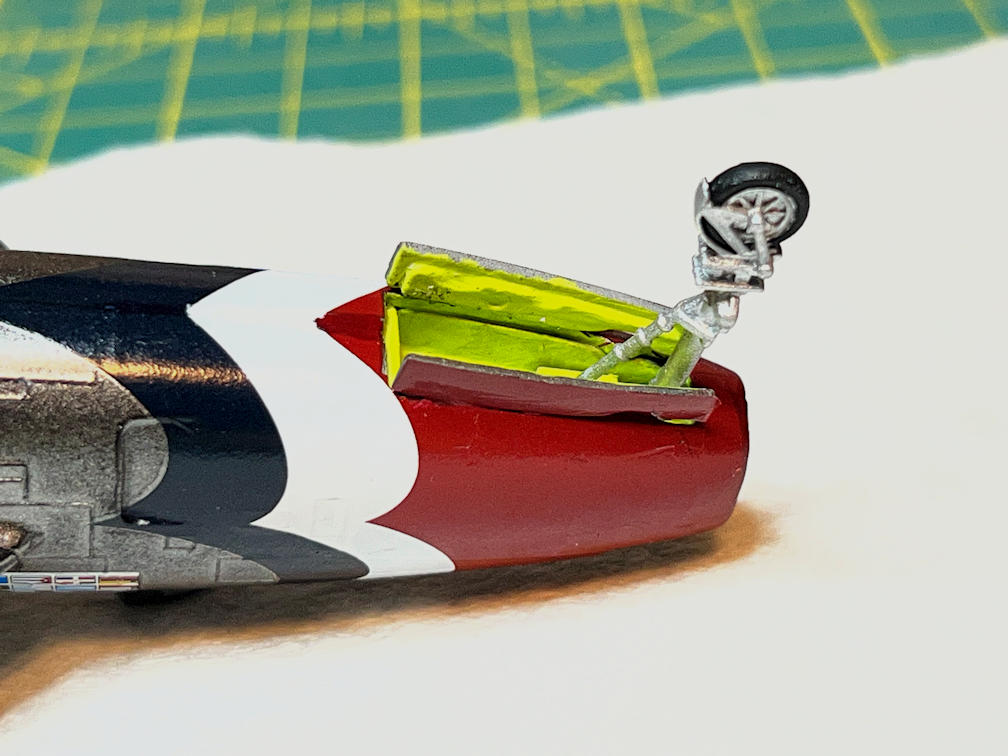
It was now time to tackle the problem of the nose gear doors. Those parts had no locator pins, no indicators at all of how to attach them to the fuselage. To make it harder, that part of the nose has a curved profile so that as the doors open less and less is near the fuselage. I dry fitted one several times trying to find the sweet spot of contact with the curved nose. I then scraped paint off of the door at that position and also removed a corresponding area of paint/decal from the nose.
I attached the nose gear first since I didn’t want to damage the doors while attaching it. Then I coated the cleared section of the door with Tenax so that it became sticky and then applied a tiny bit more and pressed it to the corresponding area next to the gear bay. I had not yet applied the decal to the door since I didn’t want to get Tenax on it. Once the Tenax dried I put a small amount of Plasi-Zap to the rear of the door/fuselage area to help assure a solid bond. I repeated that process on the other side. Then the nose gear door decal was applied. When the decal was dry I put some Micro Sol on it to ensure good adherence to the door.
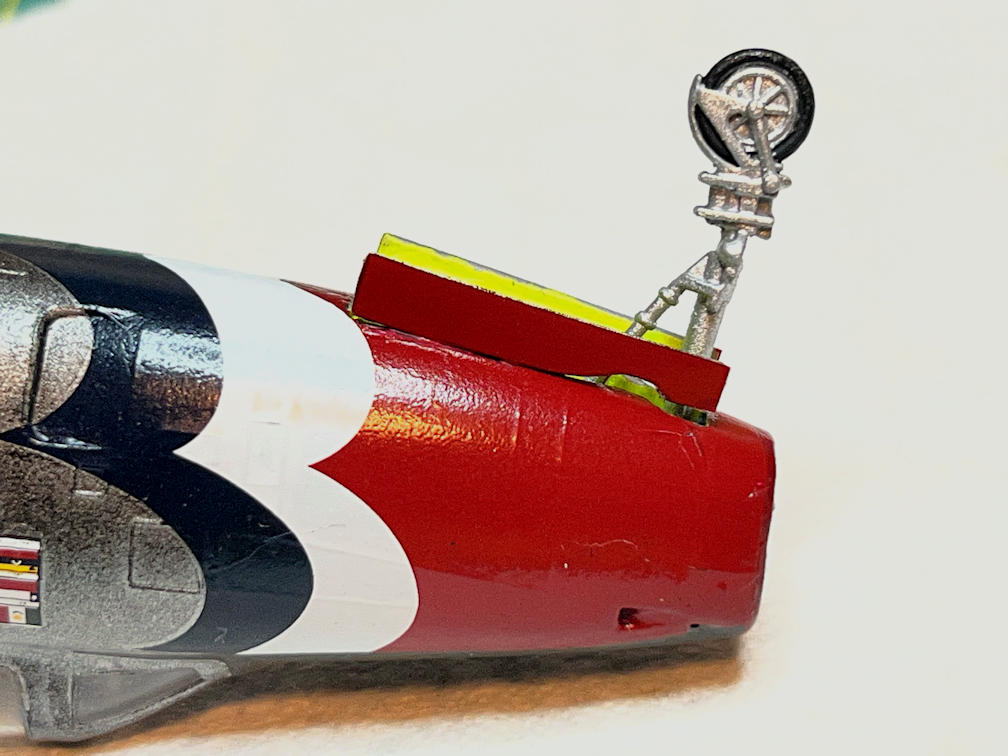
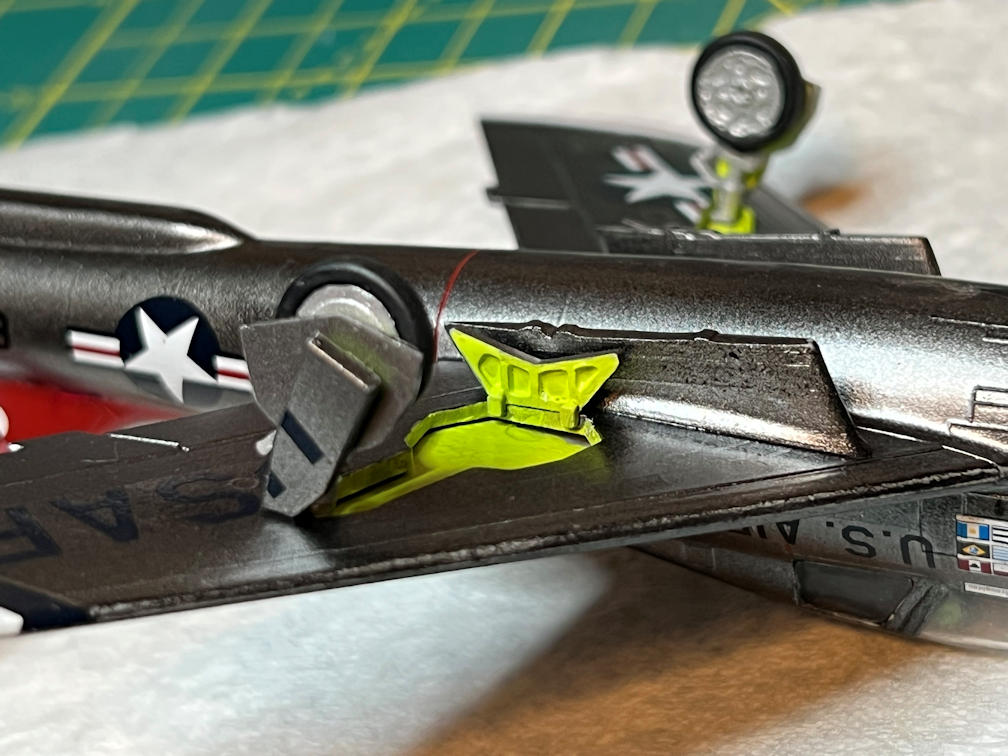
Finally the main gear were attached to the model. you can see the partial markings on the gear doors.
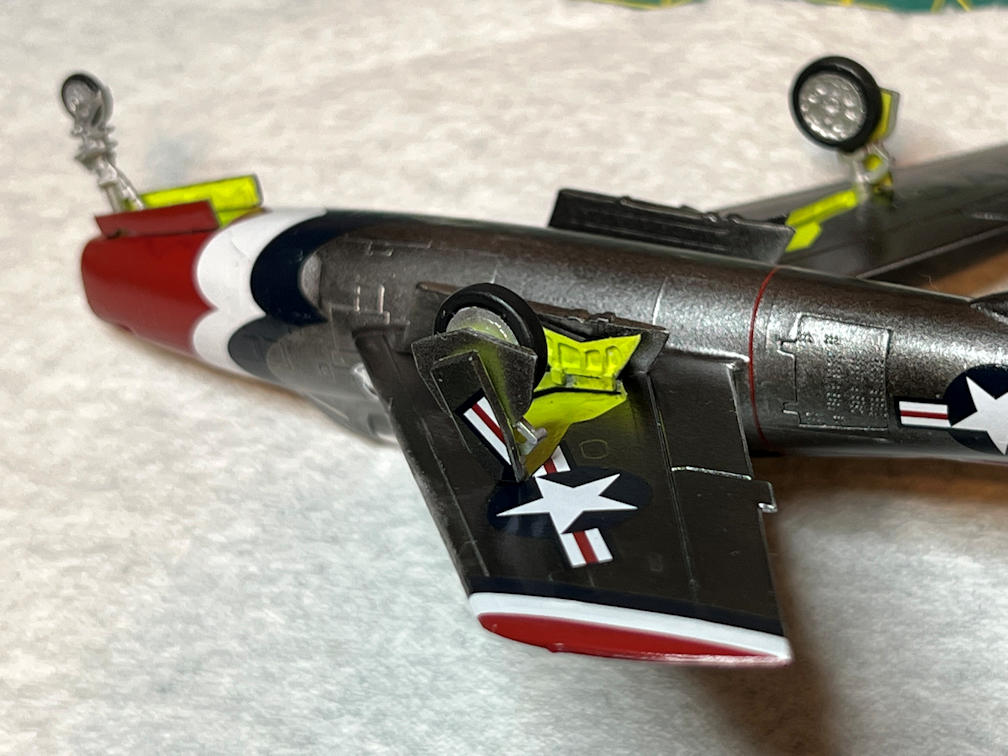
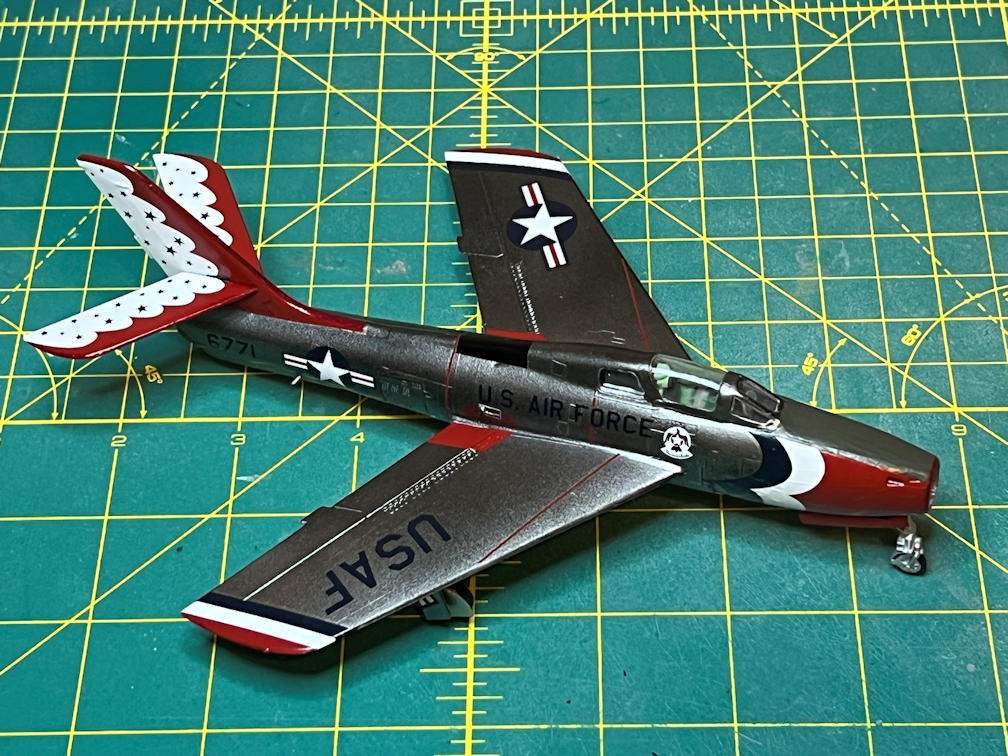
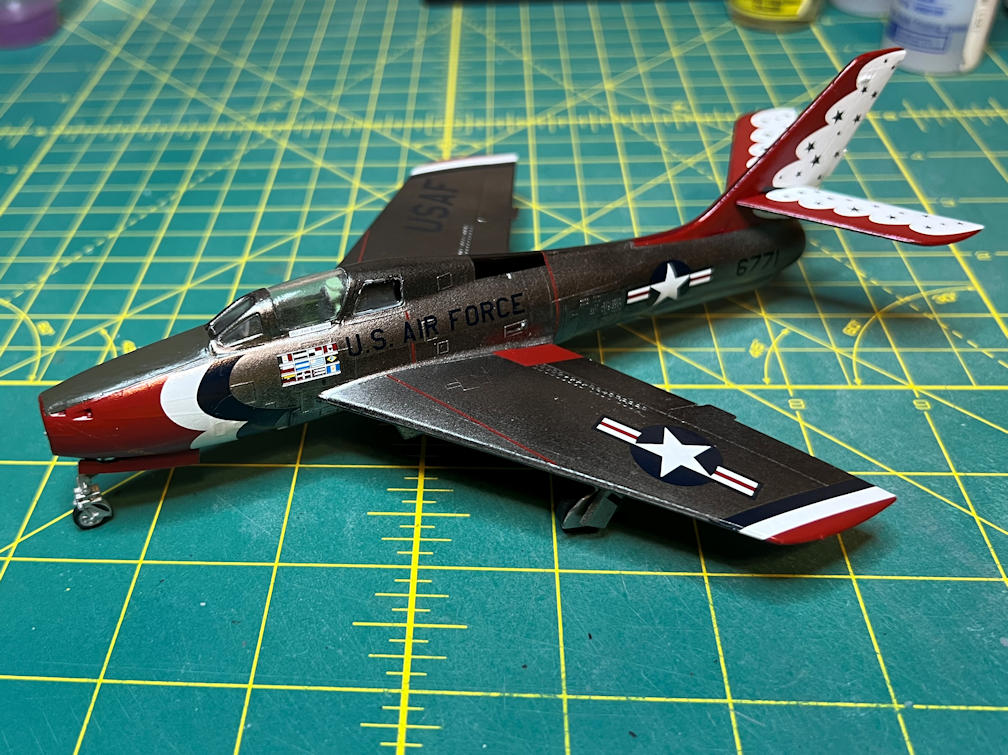
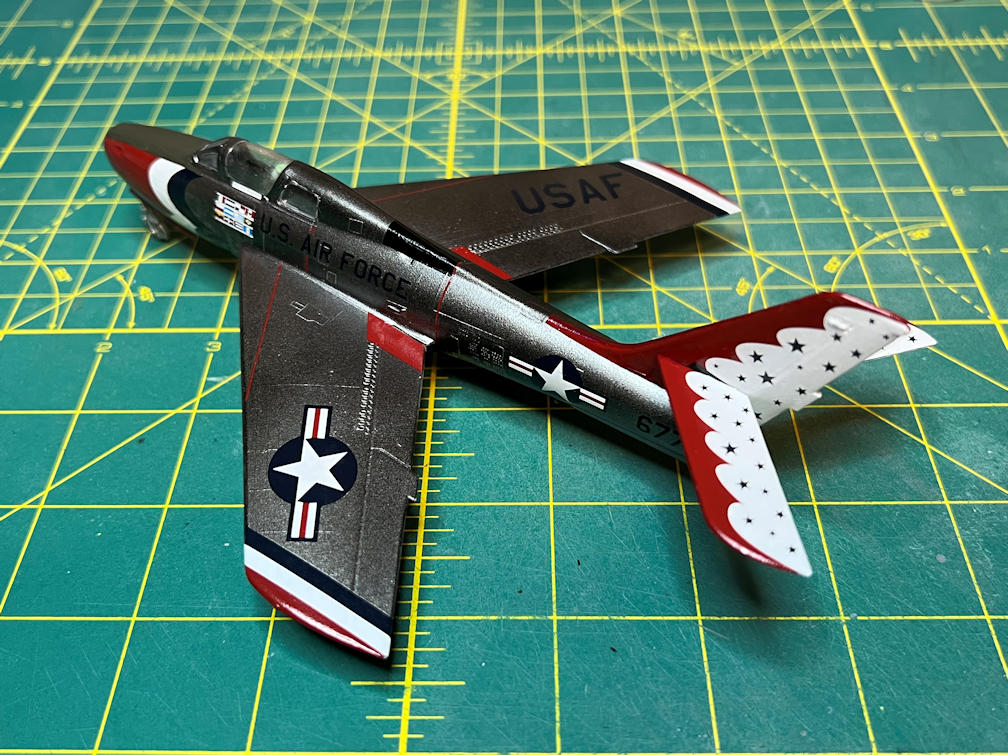
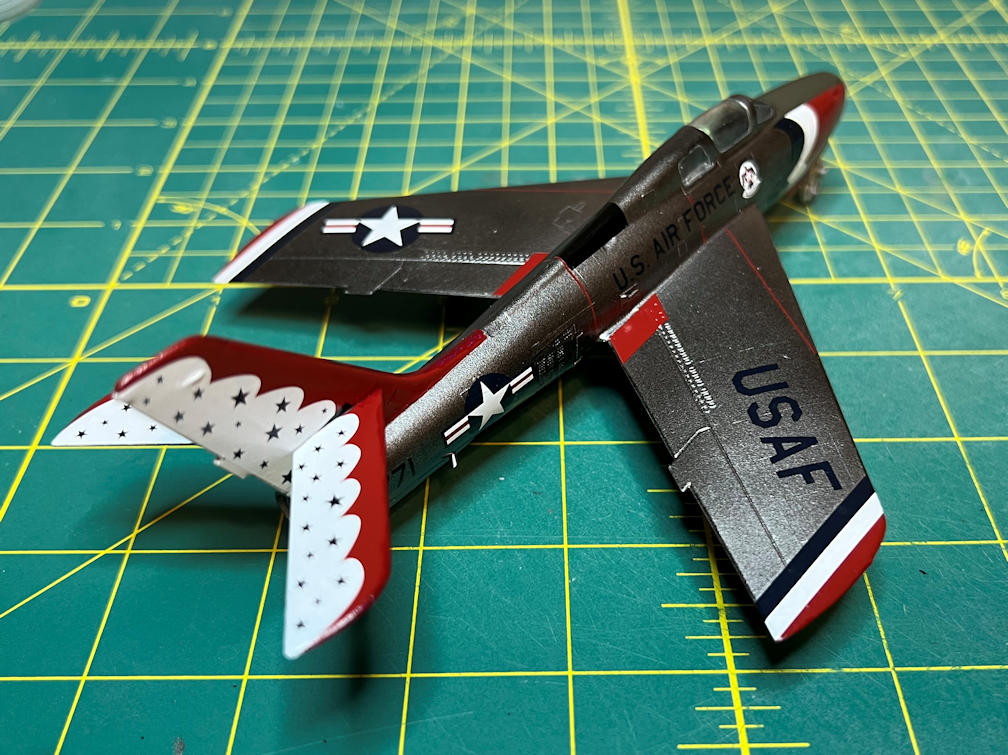
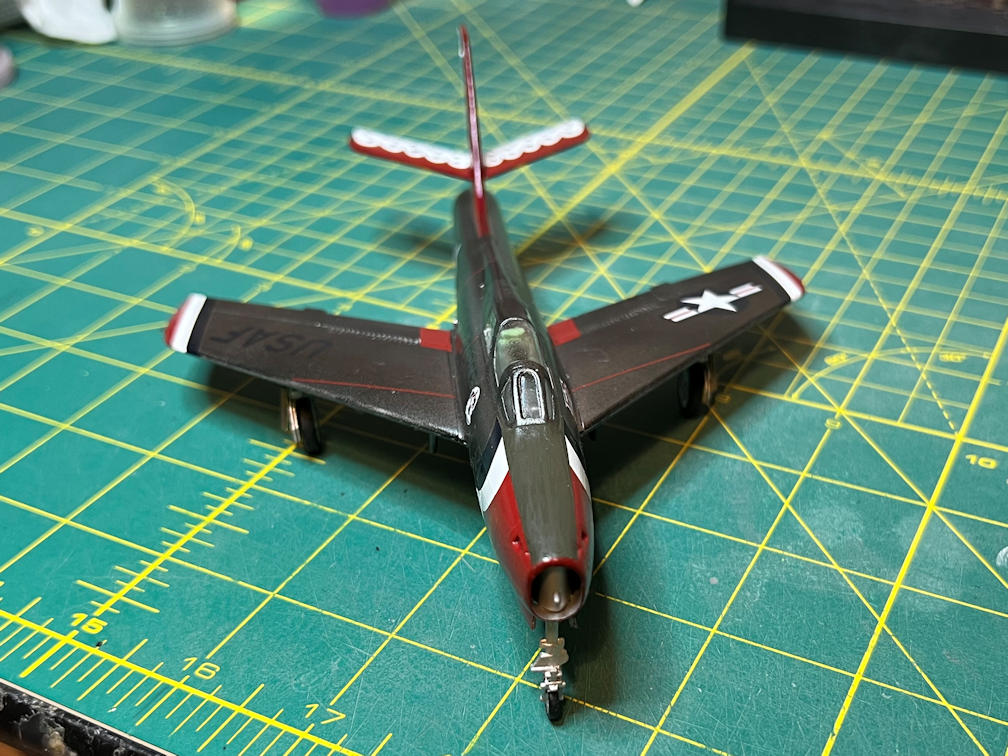
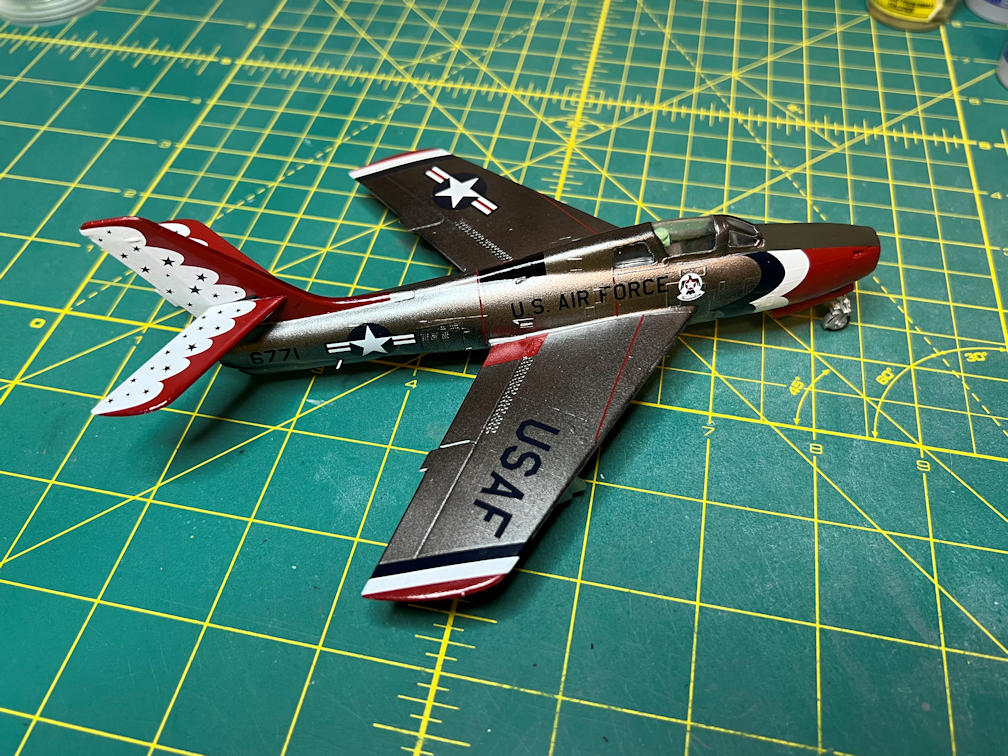
With that the model is complete. I’m not completely happy with the airframe color. I wanted it to be a bit brighter, but the Alclad Gloss incident didn’t allow it. It’s still a good looking model and will take it’s place next to the F84-G. Here is a gallery of the finished model.
The next project will come soon. I’m thinking it will be a space model, I just need to nail down which one. Thanks for following along. Don’t forget to subscribe if you want notices of new posts. It’s free and I promise I won’t spam you.

