
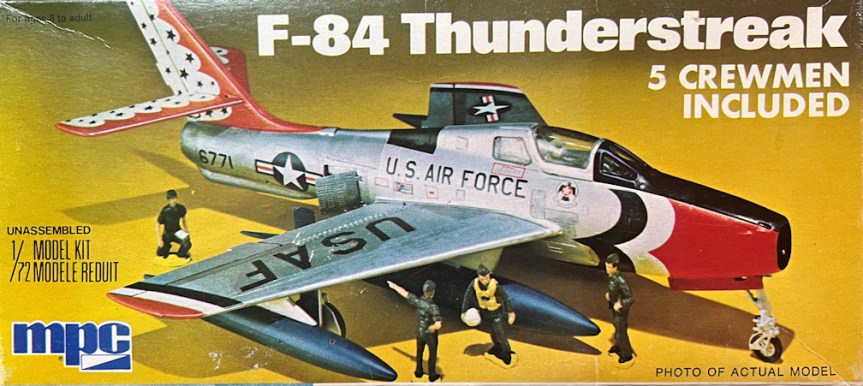
My new project will add to my 1/72 Thunderbird collection. Currently I have built only the Thunderbirds first plane, the Republic F-84G Thunderjet which I built a little over a year ago. This one will be the Thunderbirds second ride the Republic F-84F Thunderstreak. It is the MPC kit from 1975. It is actually a repackage of the 1974 1/72 Airfix F-84F kit. I’m going to try and resist the urge to ultra-detail the model and try my best to build it out of the box.
The reason the straight winged F-84G has what seems like a newer designation is because the F-84F with the swept wings and larger power plant was started before the F-84G. The F-84E was a major upgrade for the F-84 with a lengthened fuselage, improved range and a more powerful engine. Shortly after the introduction of the E model a new program was started to make a swept wing variant of the F-84 to obtain higher speeds and better compete against the Russian MIGs. Retaining the F-84 designation was a funding decision rather than a commonality of parts from the straight wing versions. Delays in the F program and Air Force needs for a nuclear capability and areal refueling version led Republic to build the stopgap F-84G. The G entered service in 1951 while the F didn’t start deployment until 1952.
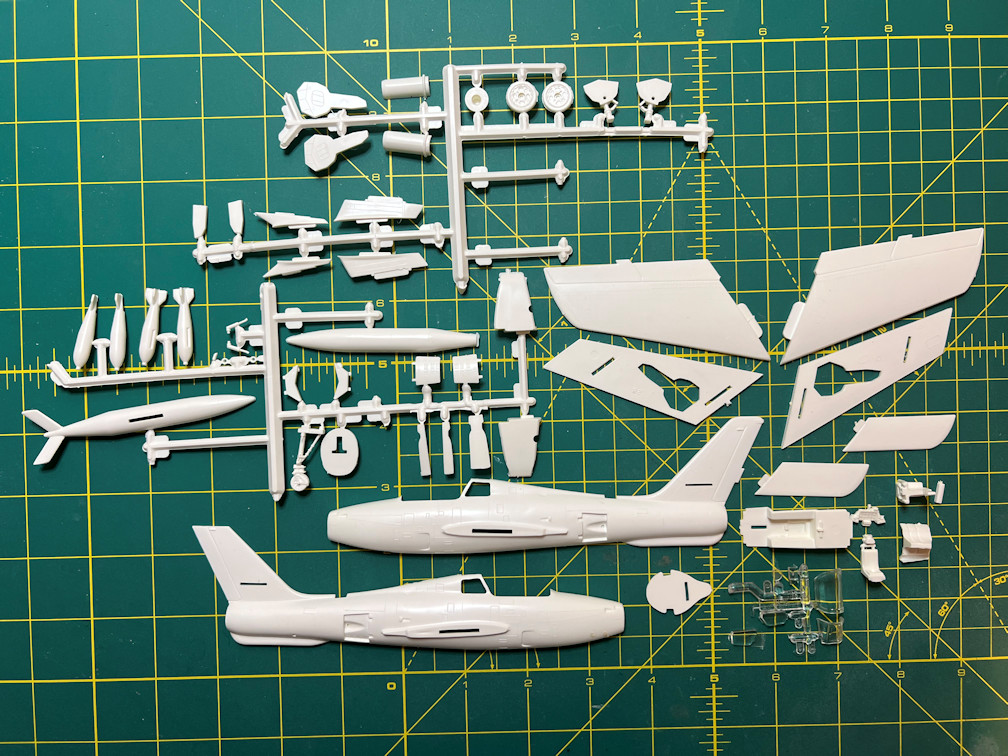
Here is a photo of the part sprues. All of the parts are in white plastic except for a small set of clear parts. The parts have a fair amount of flash and mold mismatch lines like many kits from that era. There are plenty of ejector pin marks and it has raised panel lines rather than recessed lines. I don’t really plan on modifying the panel lines if I can help it.
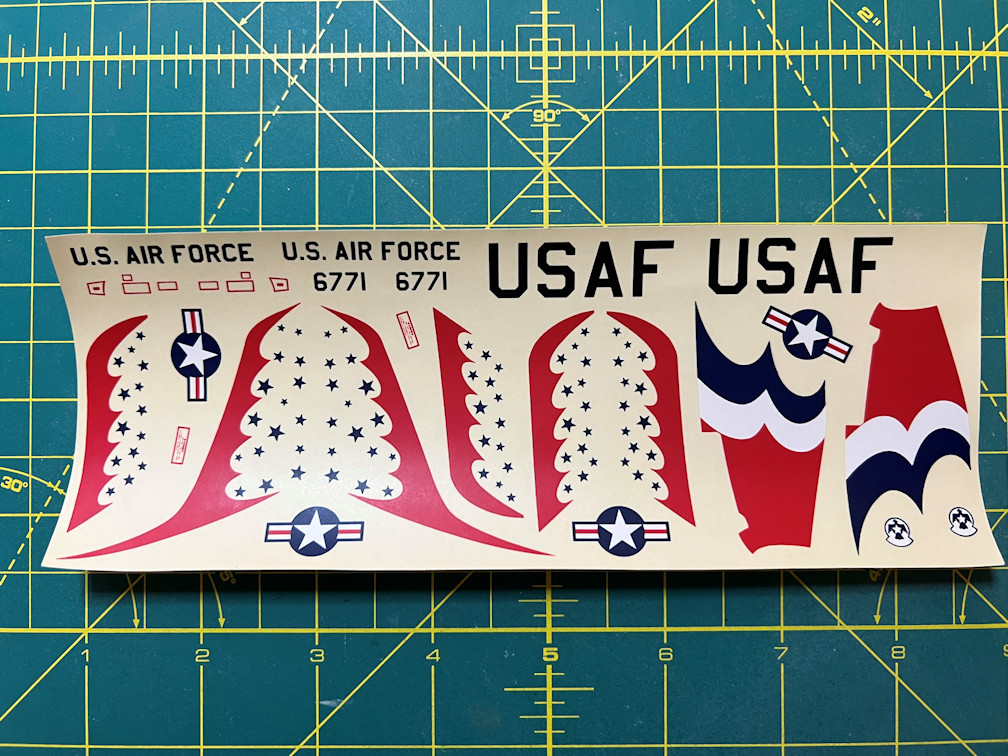
The decals are, of course, very old and most likely very brittle. Not to mention the fact that it can only be built as one single tail number. It also leaves out quite a few Thunderbird marks that are obviously seen on photos of the actual aircraft.
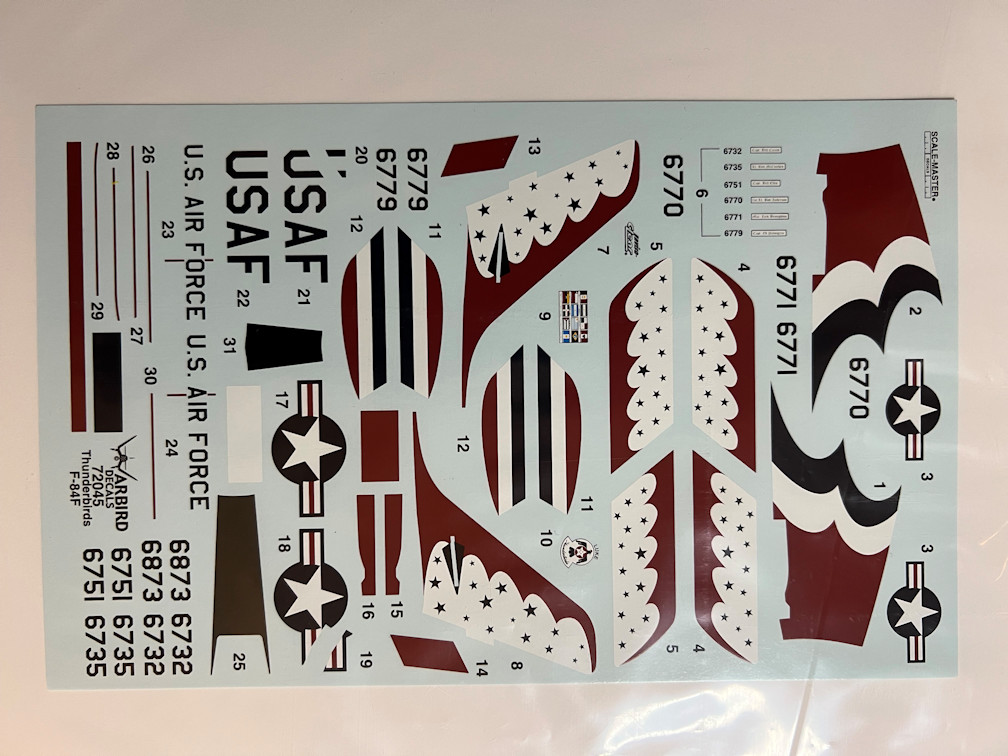
I decided to go with the Warbird aftermarket set. They are made for the Airfix kit and should fit nicely. They also include quite a few more markings than the kit decals. It has seven different tail numbers. Only six are matched to pilot names. Tail number 6873 is not matched to a pilot. Possibly that was the narrator’s plane?
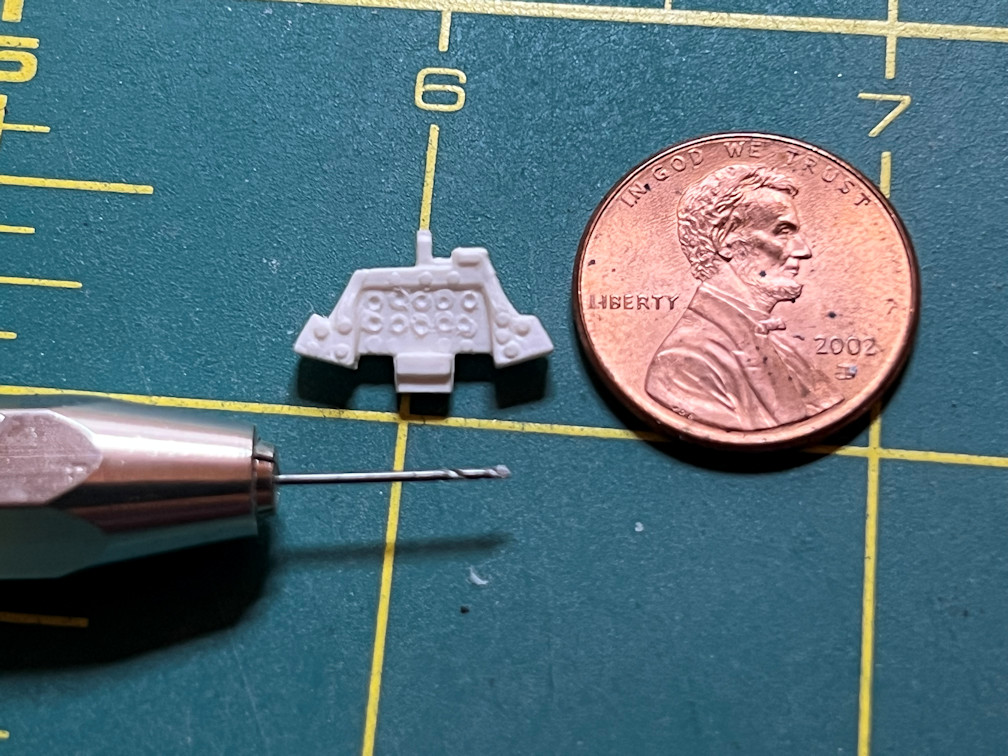
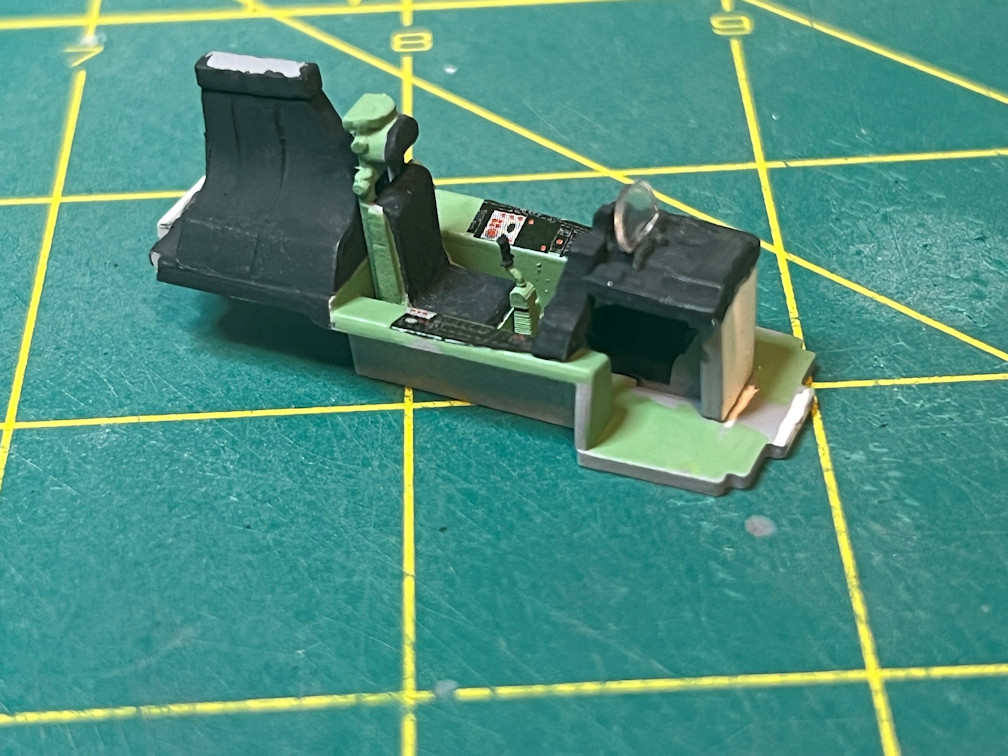
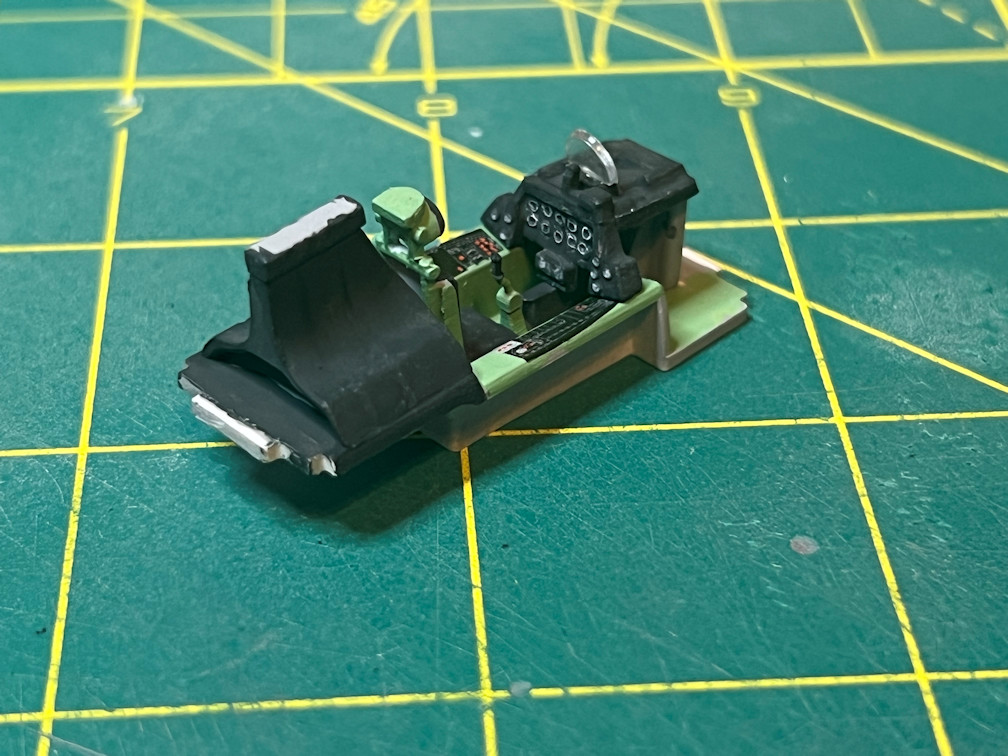
I started the build with the cockpit. I couldn’t find a good replacement for the pilot’s seat so I went with the kit supplied one. If you look at it with one eye closed and squint real hard it looks acceptable. The main control panel was a bit plain so I drilled out some of the gauges to make them look a bit better. You can see the gauges on the sides haven’t been drilled out. It’s really hard to get centered every time so there are a few boo-boos, but I’m going with it.
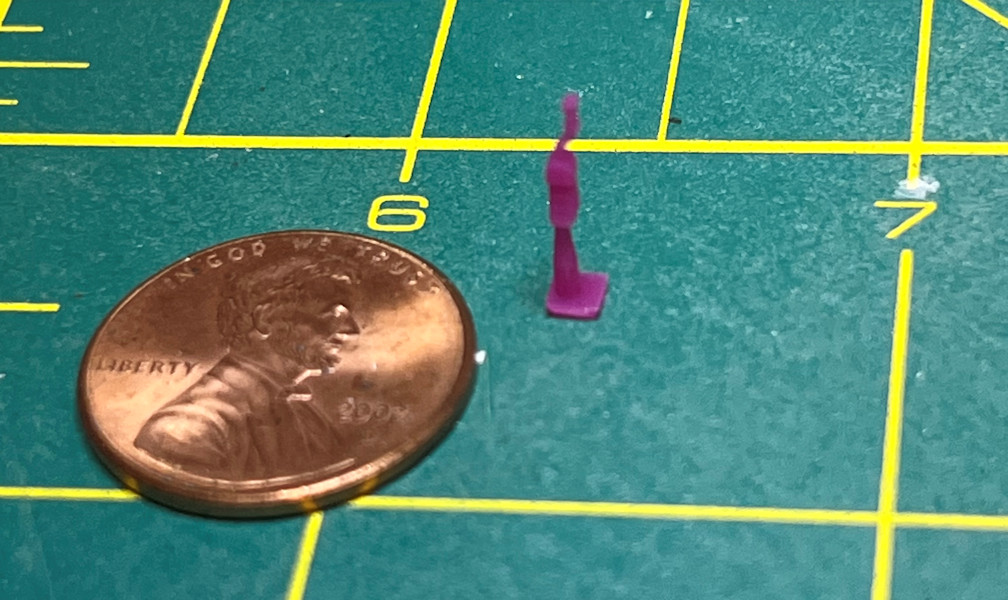
There is no control stick included in the kit. I found one I could print and it looks like it will fit the bill just fine.
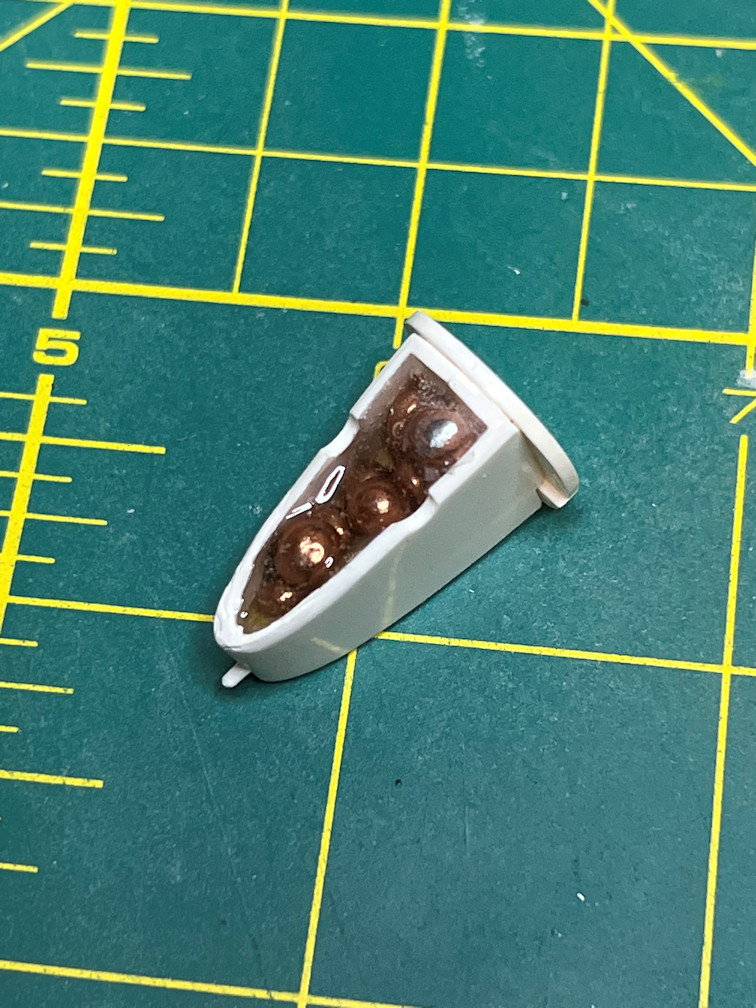
The cockpit attaches to the intake splitter, so I assembled that part. The model also needs some nose weight to keep from being a tail dragger. I used BB’s and used 5 minute epoxy to hold them in place. If you look very closely you can also see the beginnings of putty work around the front of the splitter. The fit is very bad with the fuselage and has to be built-up to look acceptable.
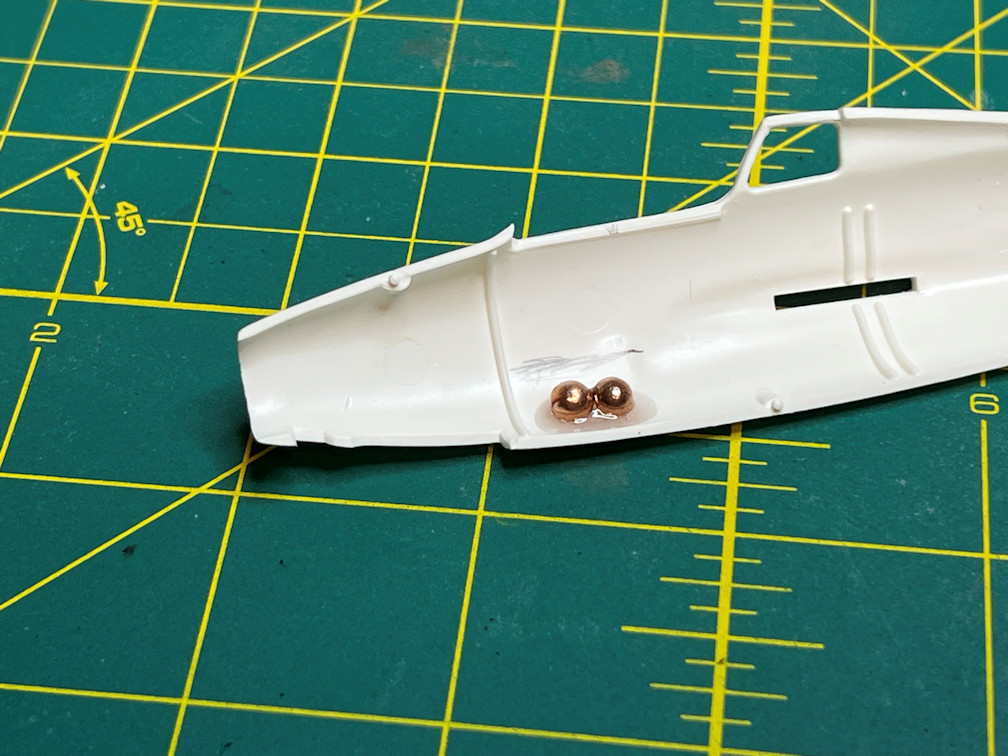
I also added a couple of BB’s to the fuselage behind where the splitter goes for good measure.
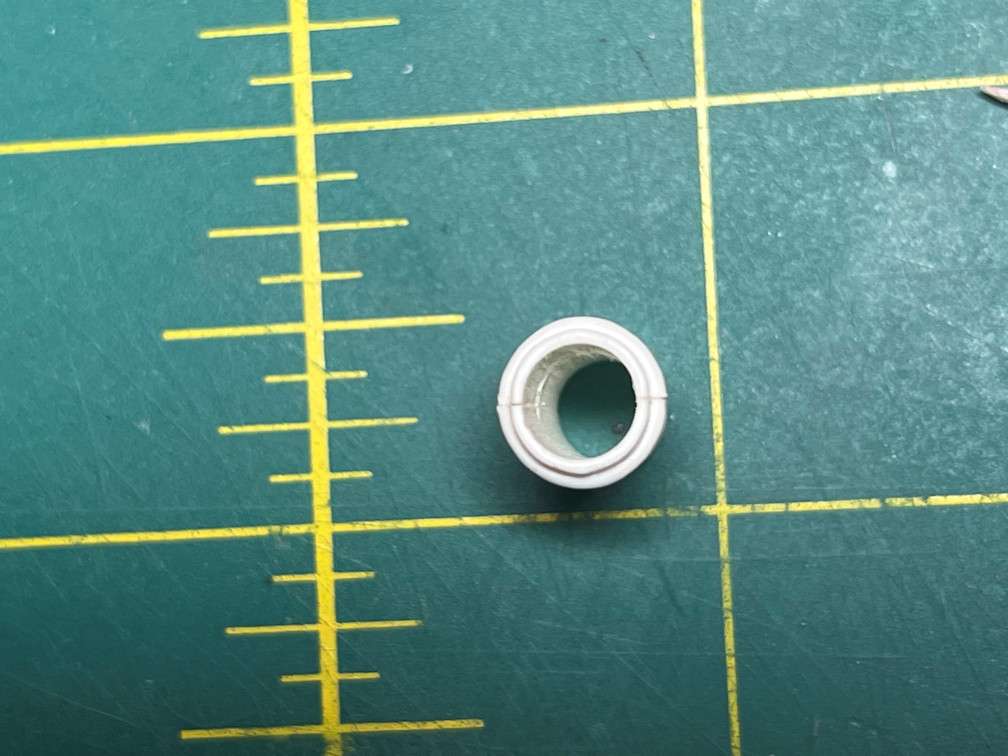
Next I assembled the jet exhaust pipe. There are a couple of locator pins that help align the pipe during assembly. The problem is they are quite large and are easily viewed from the back. I assembled the pipe and then cut the locator pins out. Here is what it looks like when first assembled.
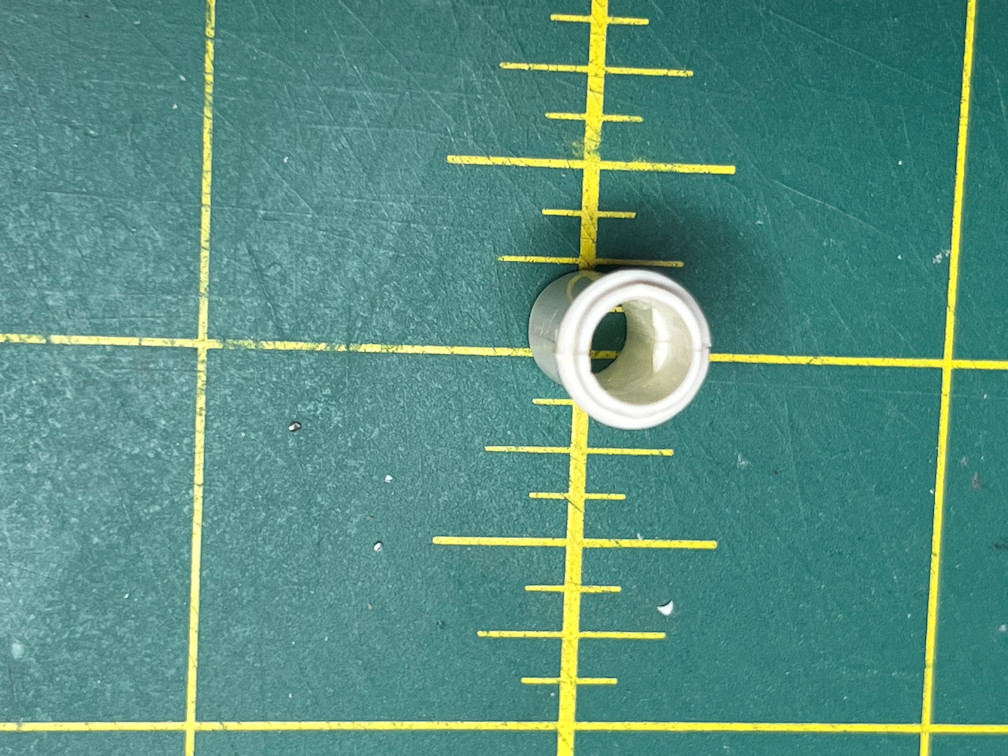
Here is what it looks like after removing the locator pins.
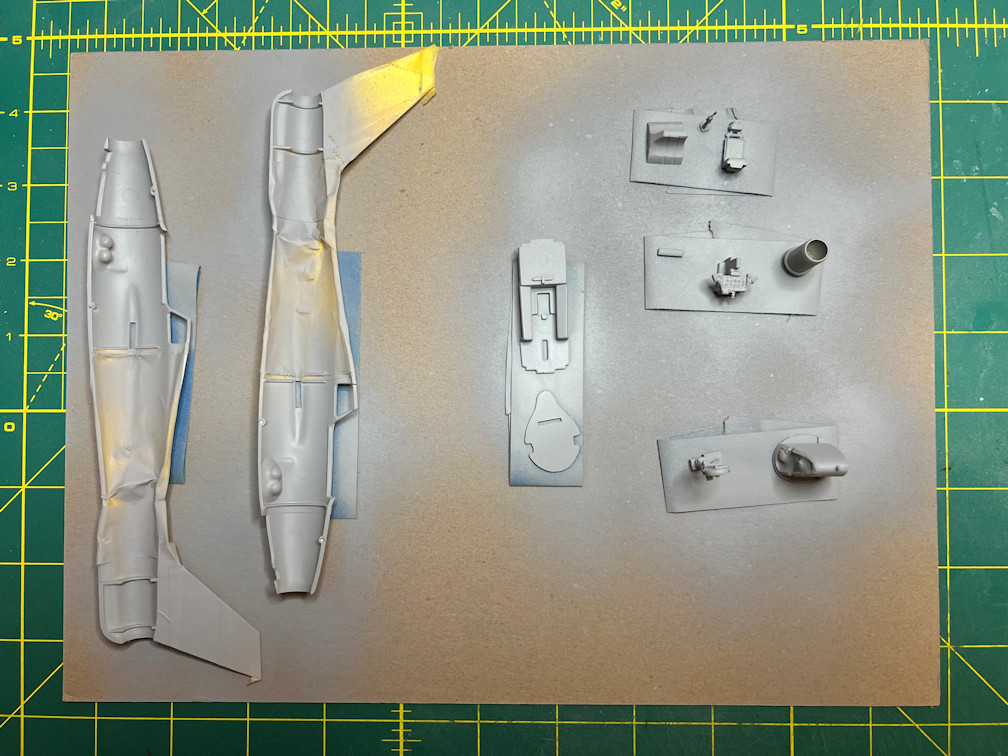
Next I primed all the parts that needed to be built before attaching the fuselage halves. I masked off sections of the fuselage that don’t need to be painted.
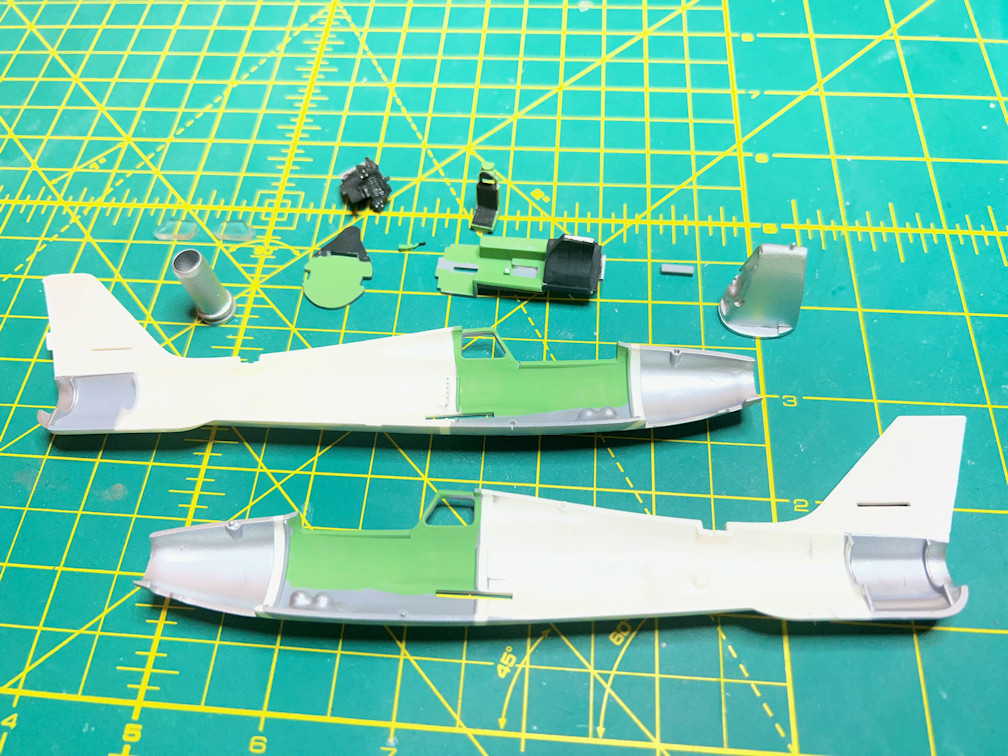
Then I painted the interior parts and the parts of the interior that will be visible when it is assembled. I painted the cockpit areas with Vallejo 70.974 Green Sky. The black areas are Tamiya XF-69 Nato Black. The silver sections (the splitter, tailpipe, and the fuselage areas for the splitter and tailpipe) were painted with Tamiya TS-30 Silver Leaf.
Then I started assembly of the cockpit. I began with the seat and the area behind the seat. I also installed the control stick. I used spare decals from a BanDai Y-Wing kit to give the impression of controls on either side of the cockpit.
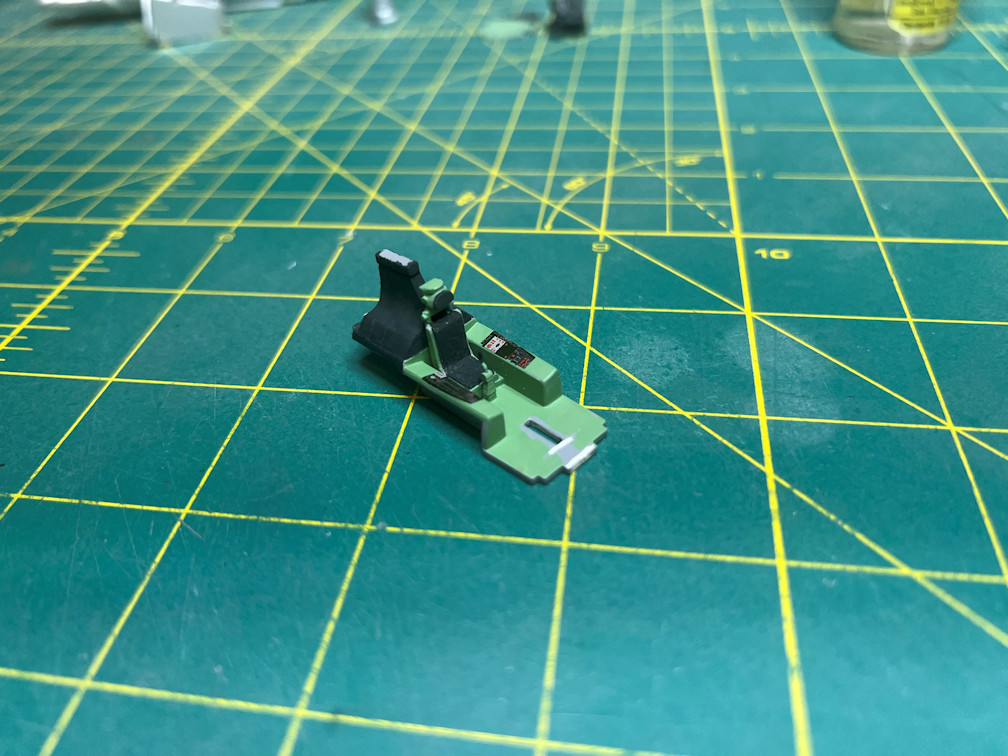
Then the main control panel was attached. I also added the HUD screen. The main control panel was dry brushed with Vallejo 71.001 White.
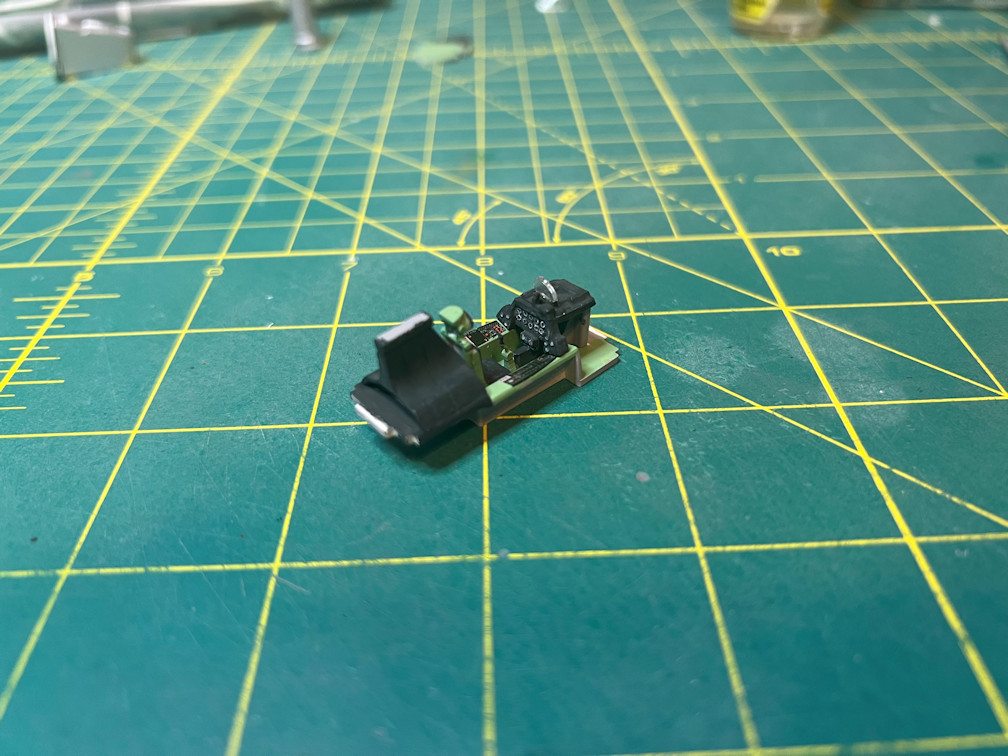
Here are a couple of close-ups of the assembled cockpit.
The wings were a simple assembly and the parts fit well. I did fill the slot for the outer pylon since it was not used by the Thunderbirds.
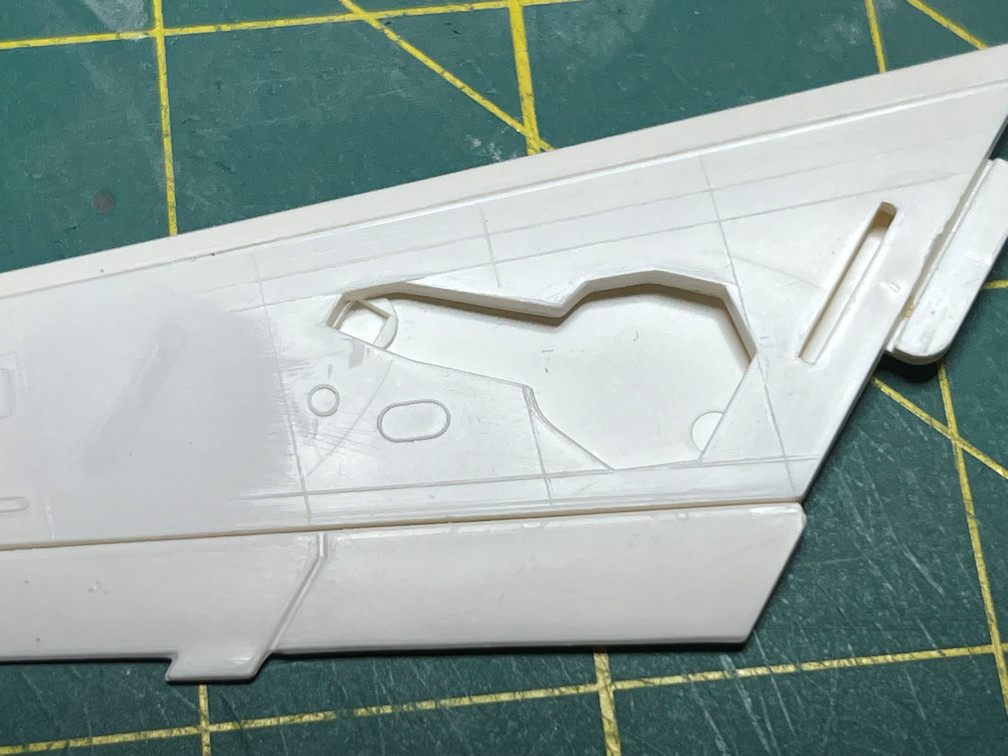
The inner pylons were used when the planes were ferried from one location to another, but the tanks were not used for shows. Since I was not going to install the large tanks to the pylons I needed to modify the pylon parts prior to assembly. The pylons have a large molded in section that allows the tanks to be fitted. I needed to remove that. You can see the section that needed to be removed in this photo. I’ve also removed a couple of ejector pin marks.
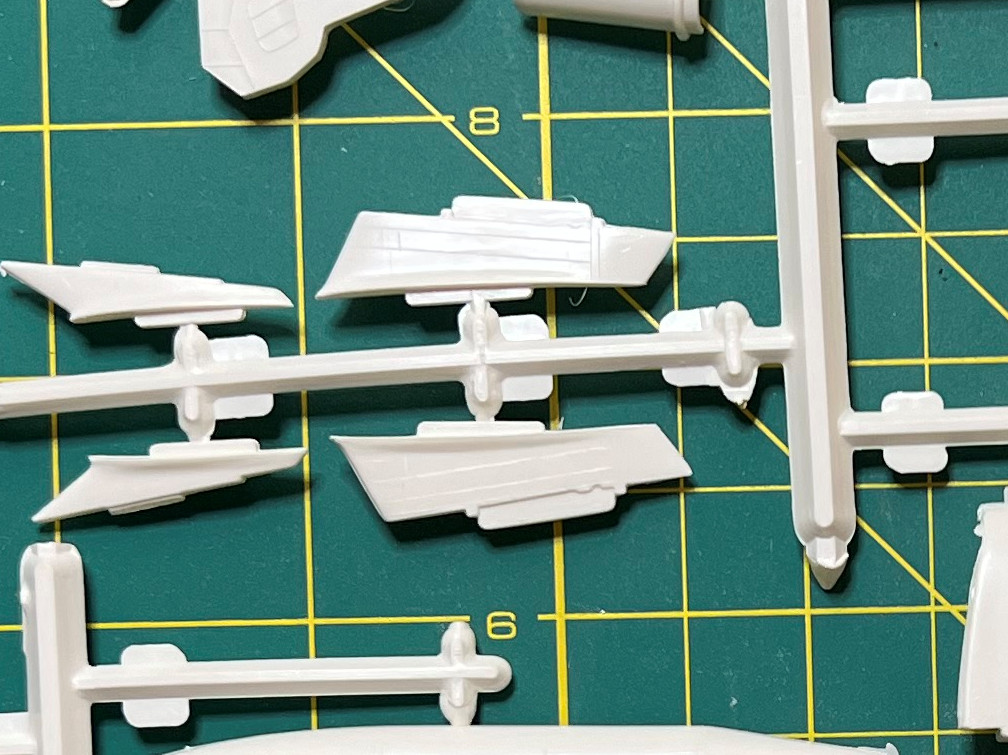
Here is the pylon after trimming.
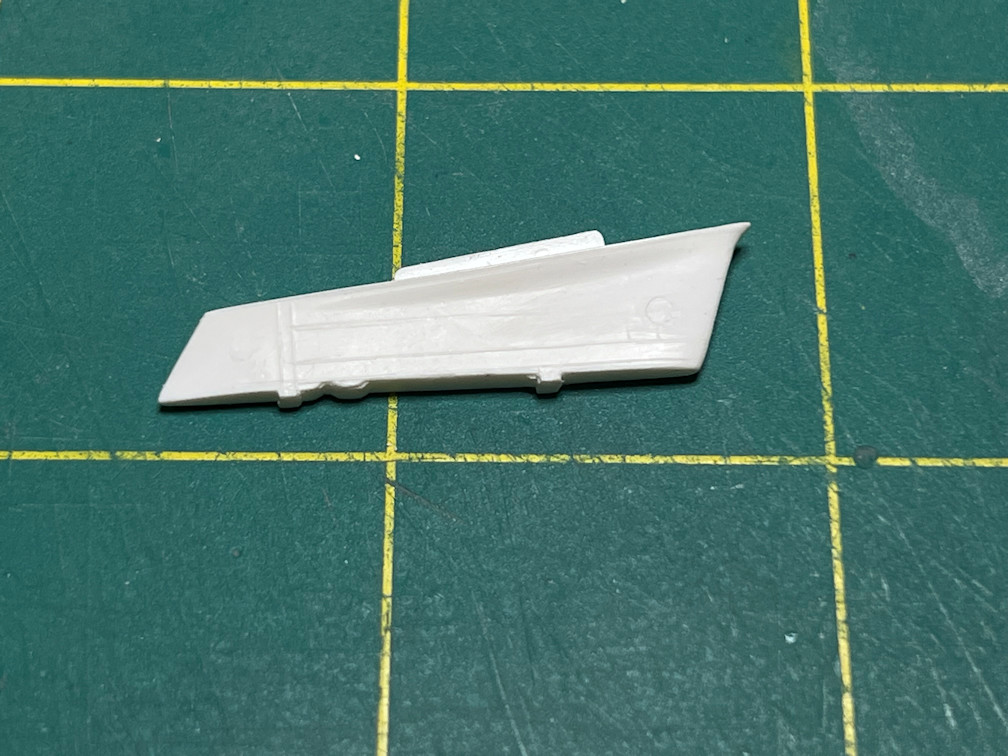
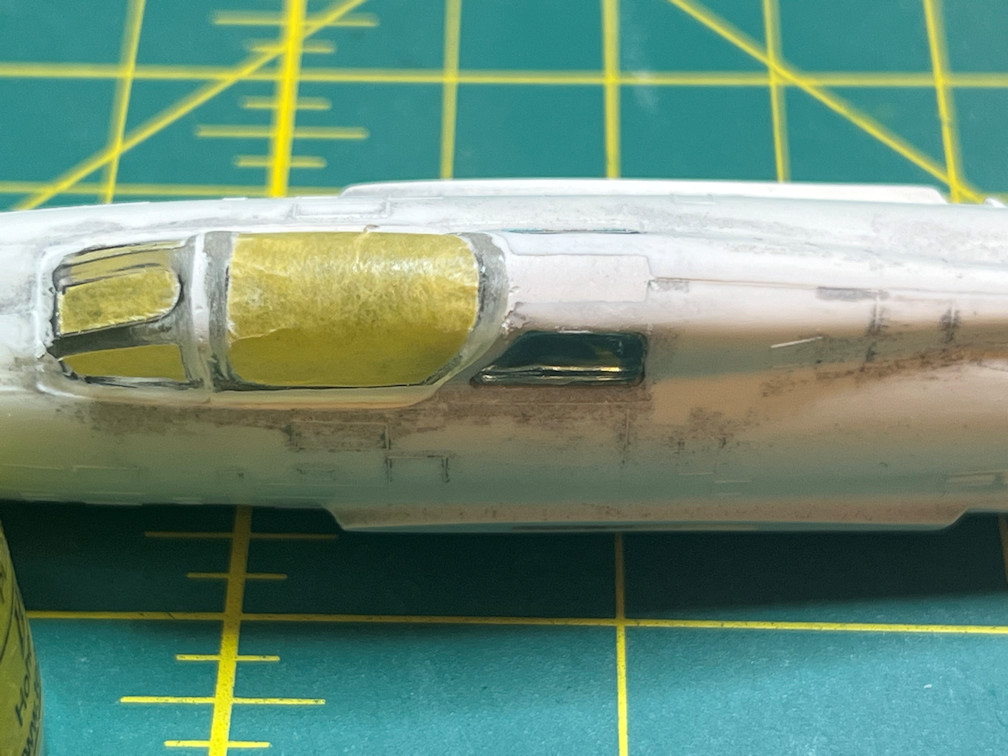
I then glued the fuselage halves together and attached the clear canopy parts. The large windows behind the cockpit were attached with PlastiZap. I used Microscale Micromask to mask the large windows behind the cockpit. The clear canopy parts were attached with PlastiZap and a bit of carefully placed Tenax cement. I used Tamiya masking tape on the rest of the canopy. The two canopy pieces are slightly smaller than they should be. Some putty will need to be applied at the point where it meets the fuselage. There are some large gaps between the front and rear canopy parts that were puttied. The airbrakes behind where the wings attach were also installed.
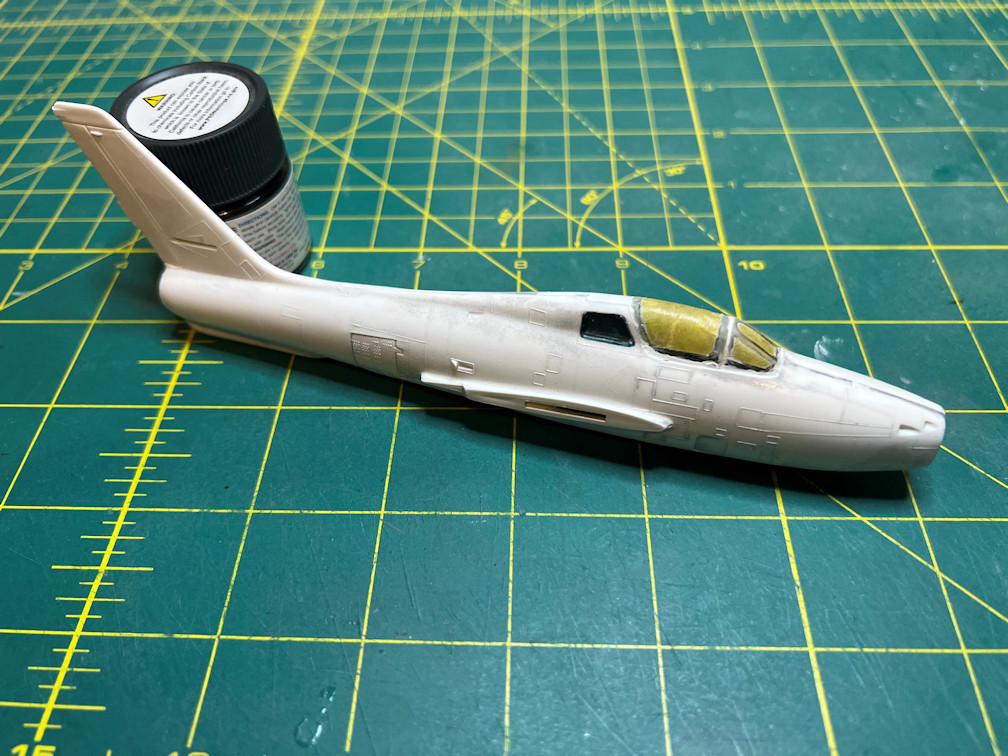
This photo shows the area just behind the cockpit and between the two large windows. It actually is part of the canopy opening mechanism. The problem is that it was too narrow and too short for the opening in the fuselage. I puttied the area and sanded it smooth. On the actual plane it is hardly noticeable until the canopy is opened.
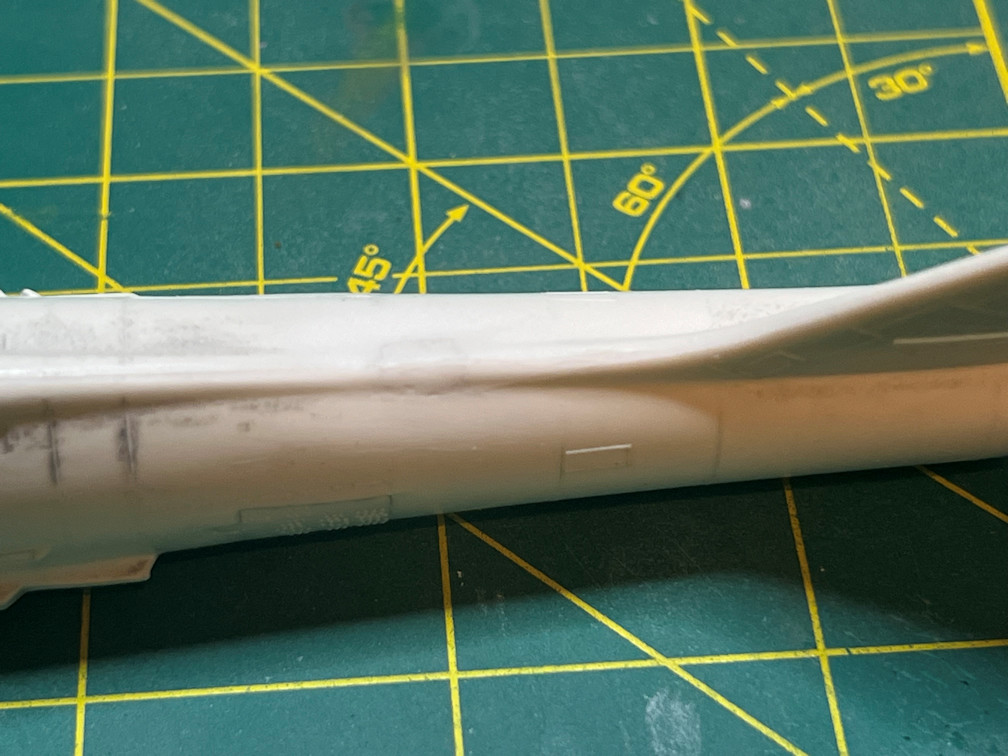
There is an upper navigation light on the rear spine of the fuselage. MPC/Airfix provide a clear part to fit that area, but is over sized and does not fit the area. Rather that spend a ton of time trying to fix this I just puttied over the opening and sanded it smooth to match the rest of the contour. It needs a bit more sanding but it is coming along well.
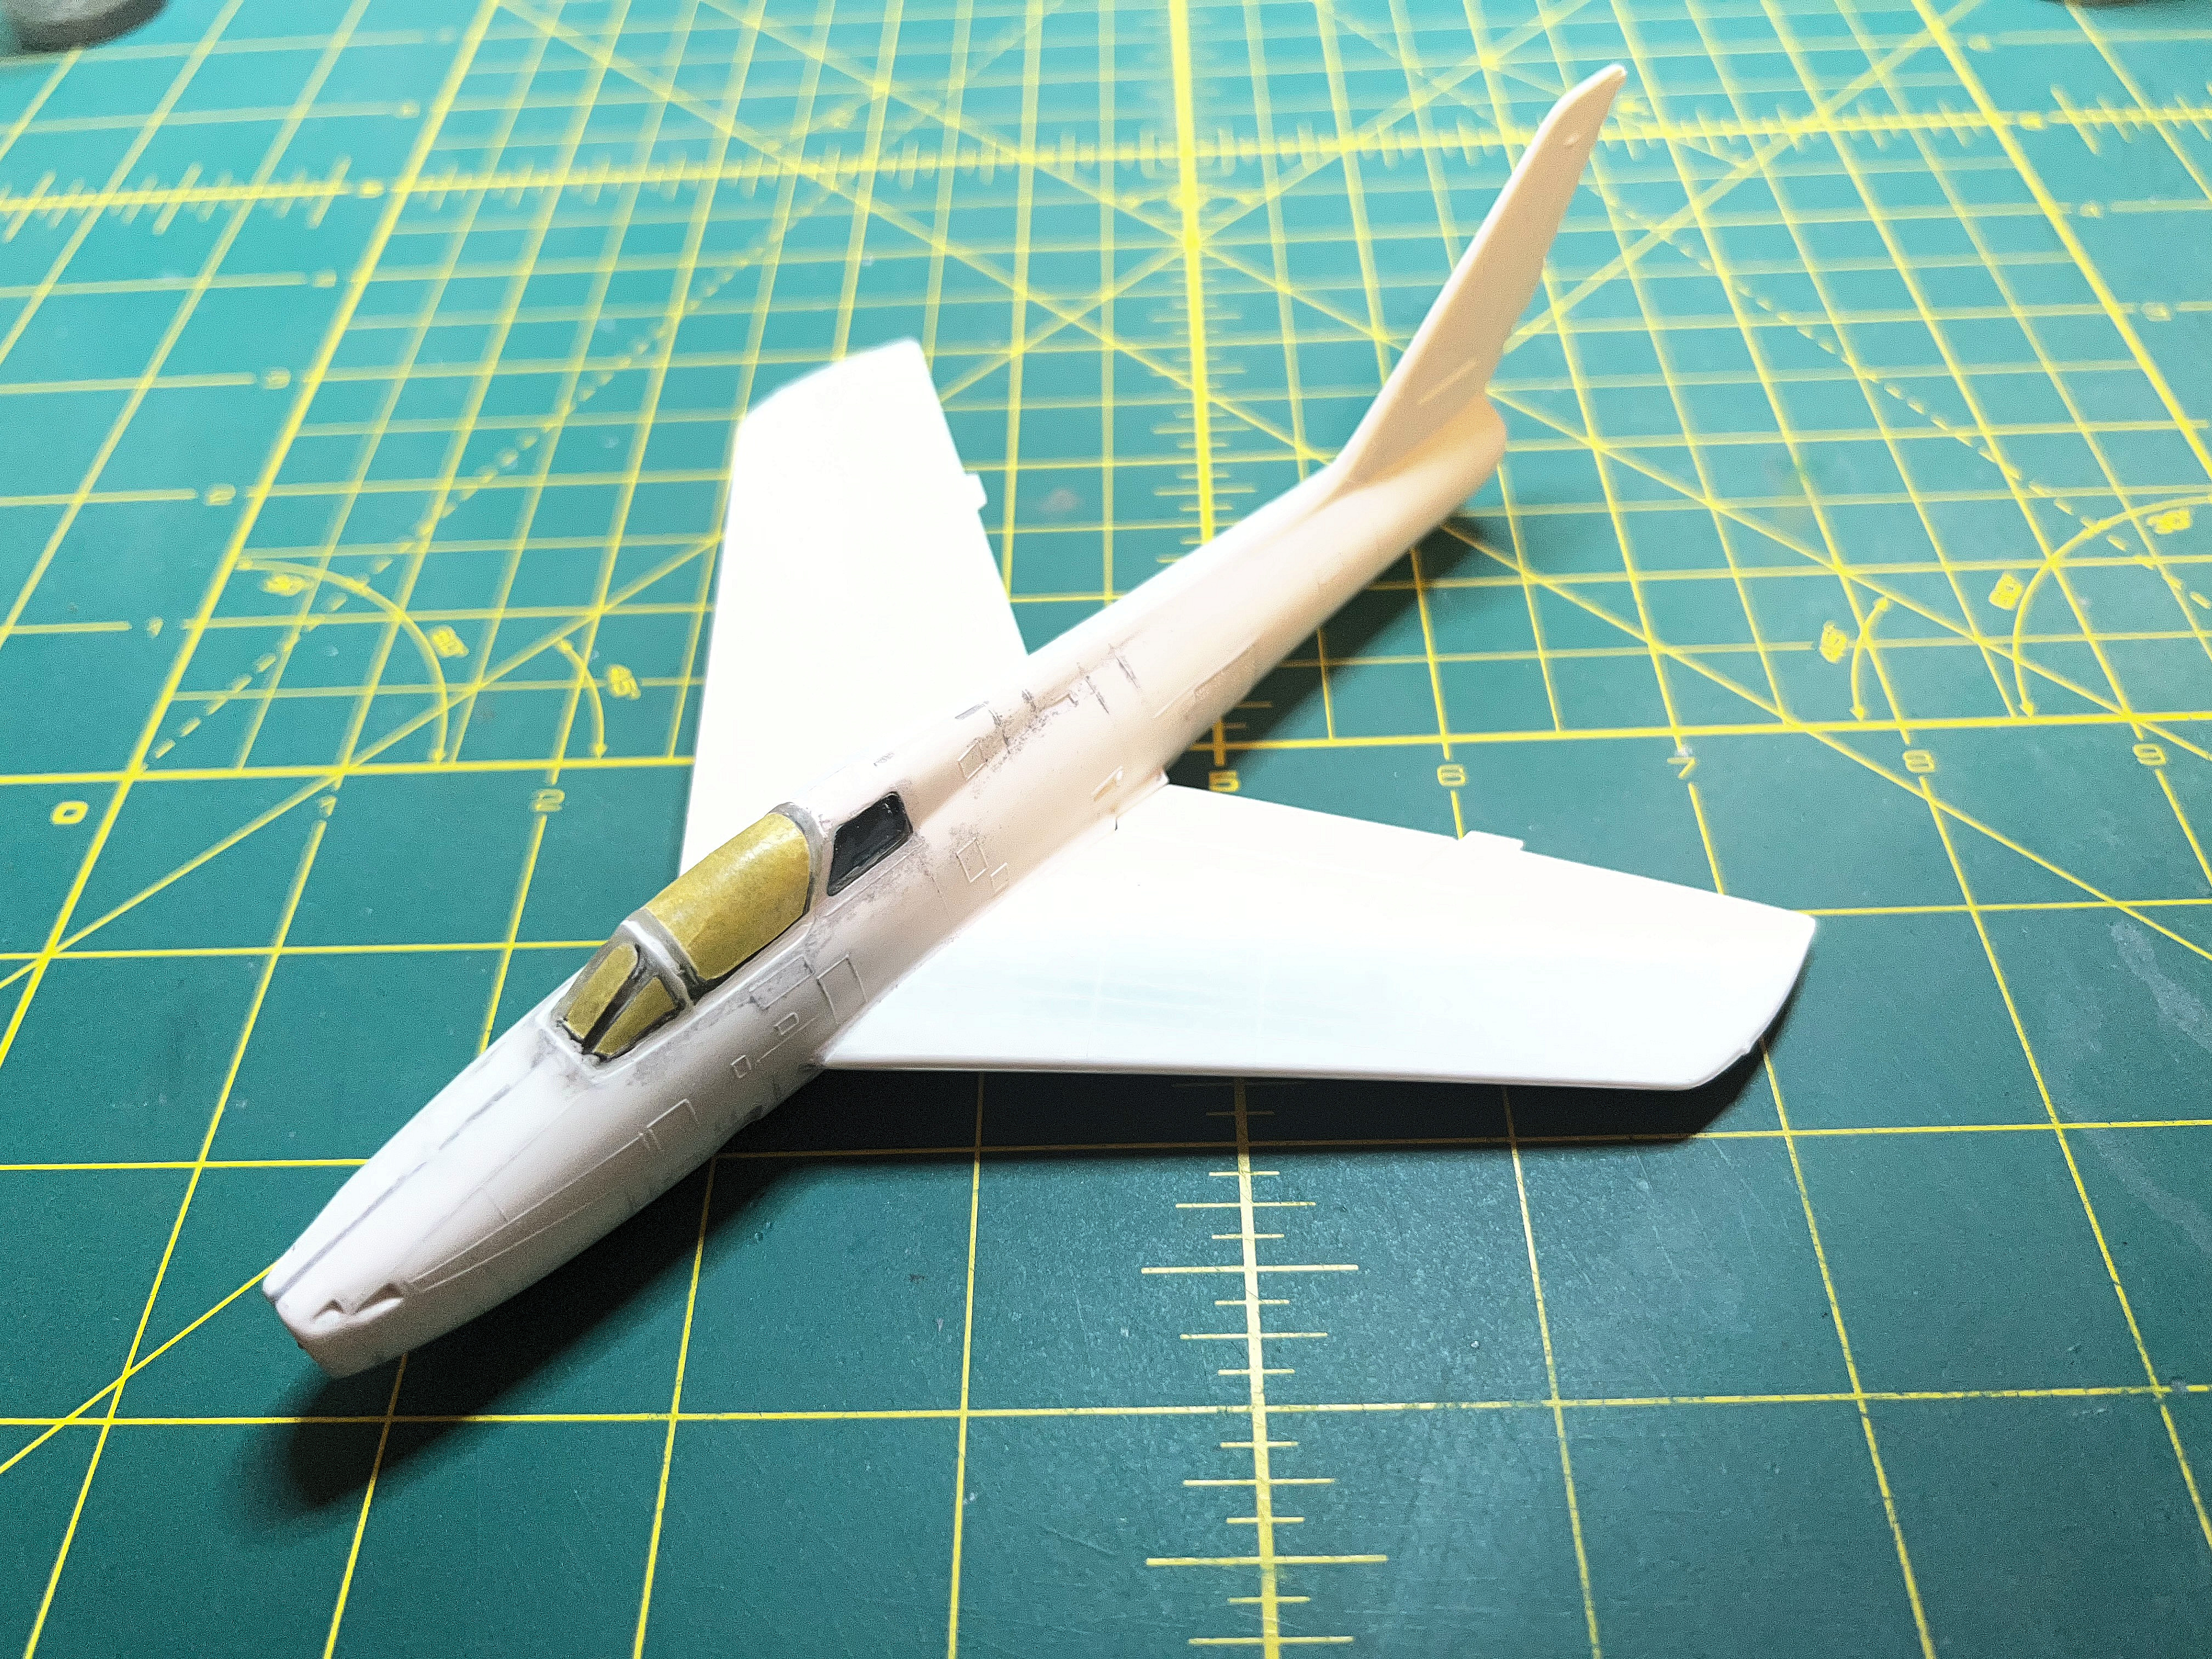
I then attached the pylons to the wings and then the wings to the fuselage. The fit was pretty good, maybe only a tiny bit of putty will need to be applied.
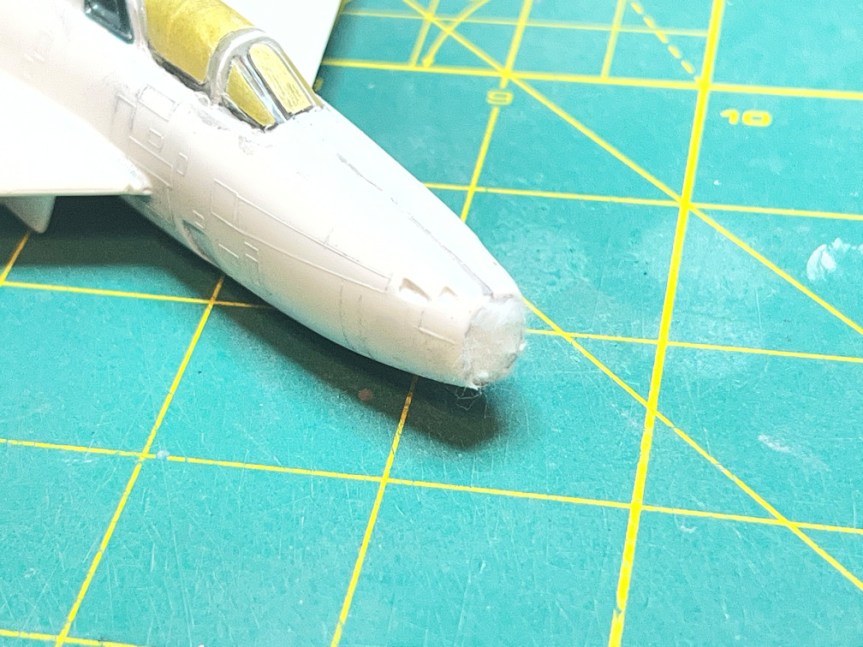
To prepare for a coat of primer, I stuffed a bit of cotton into the front intake.
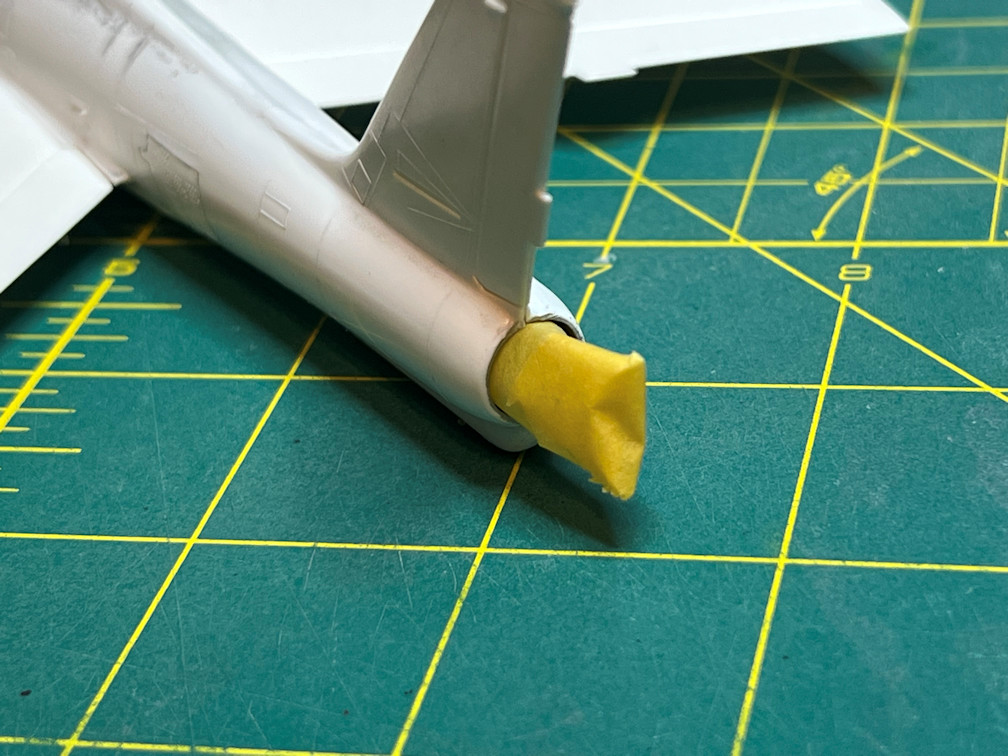
At the rear, I rolled some masking tape and attached it to the tailpipe at the rear of the plane.
Primer was then applied to the mostly assembled fuselage. There are still seam lines to take care of and a couple of places near the canopy and the former location of the navigation light. The horizontal stabilizers will be added after putting decals on the tail. Attaching them first would make it much harder to add the vertical tail decals.
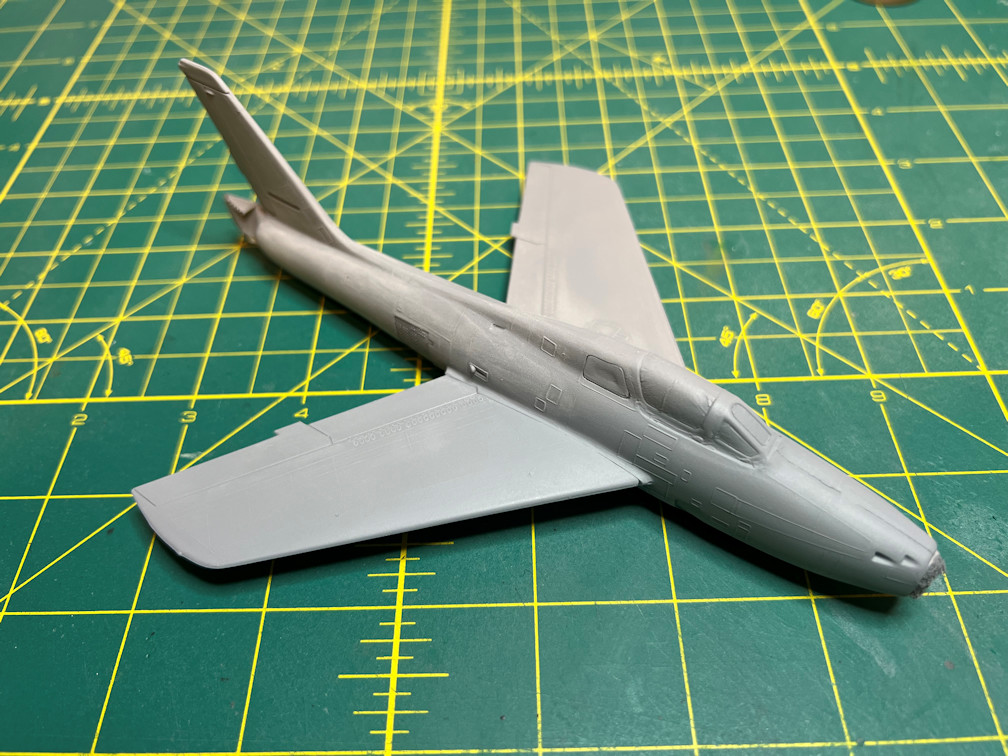
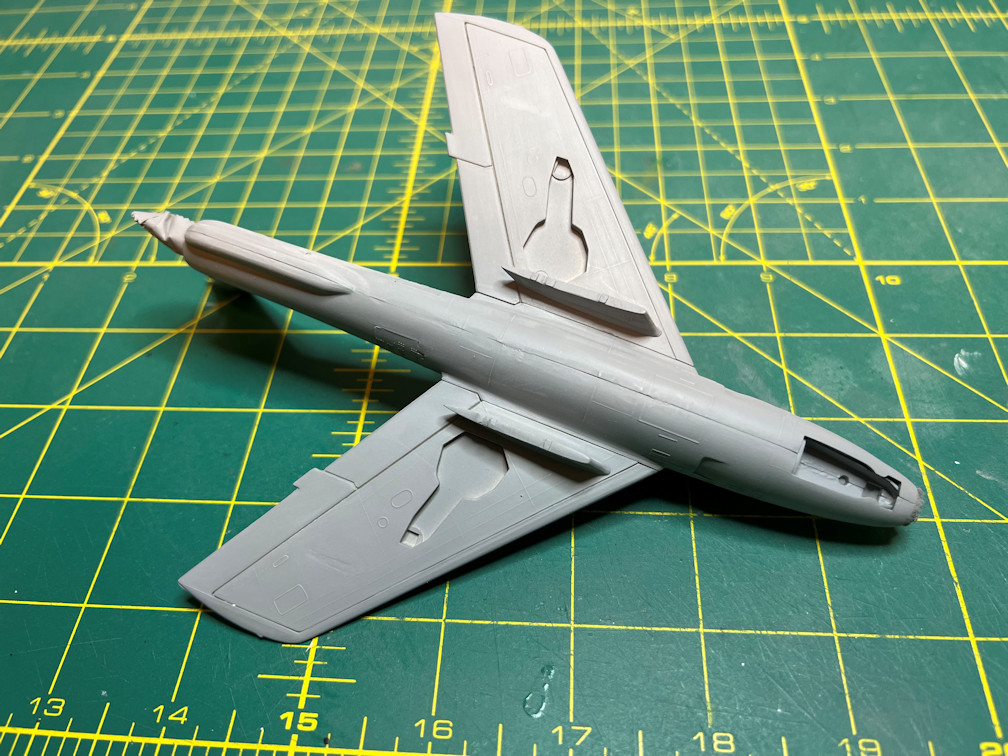
That’s it for now. I still have more putty work and all the landing gear to start working on. Thanks for looking in.

