
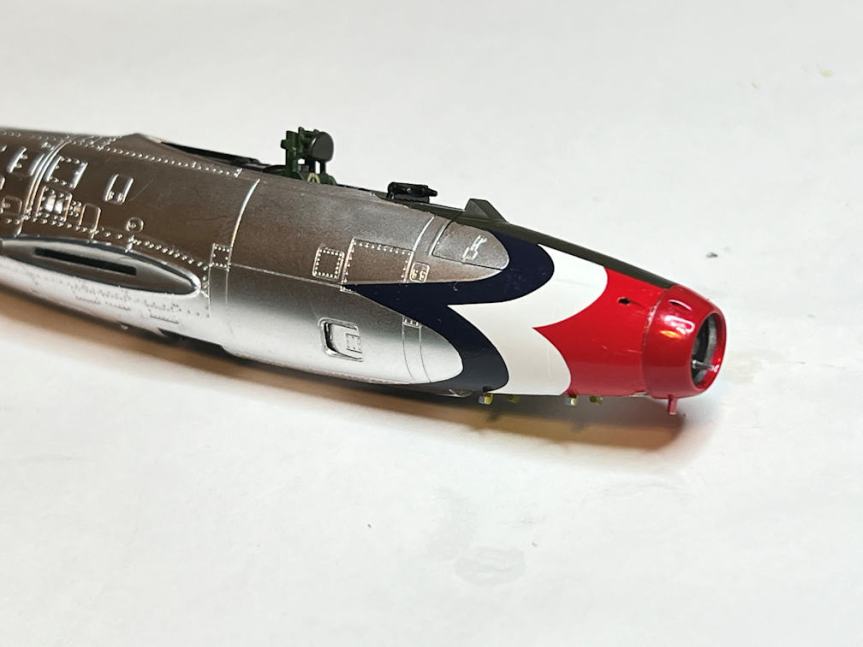
The photo above shows the first few things I got done this week. I glued on the nose/air intake and applied the left and right Thunderbird decals to the nose. These decals are a bit thicker than the black lettering decals that I had applied previously. I didn't have any problem with curling after the … Continue reading 1/72 Tamiya F-84G Thunderbirds Update 3
Tag: 1/72
1/72 Tamiya F-84G Thunderbirds Update 2
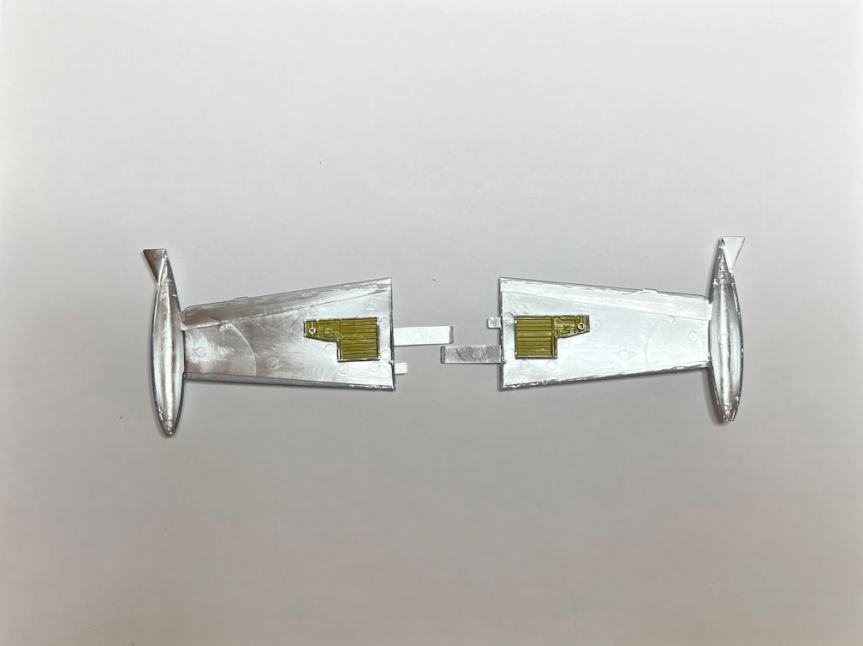
This week's work began by painting the main wheel bays with Tamiya XF-4 Yellow Green. You might be able to tell from the above photo that I also scraped the silver paint from the glue areas. In between coats on the gear bays I put masking tape close to the seam on the bottom rear … Continue reading 1/72 Tamiya F-84G Thunderbirds Update 2
1/72 Tamiya F-84G Thunderbirds Update 1
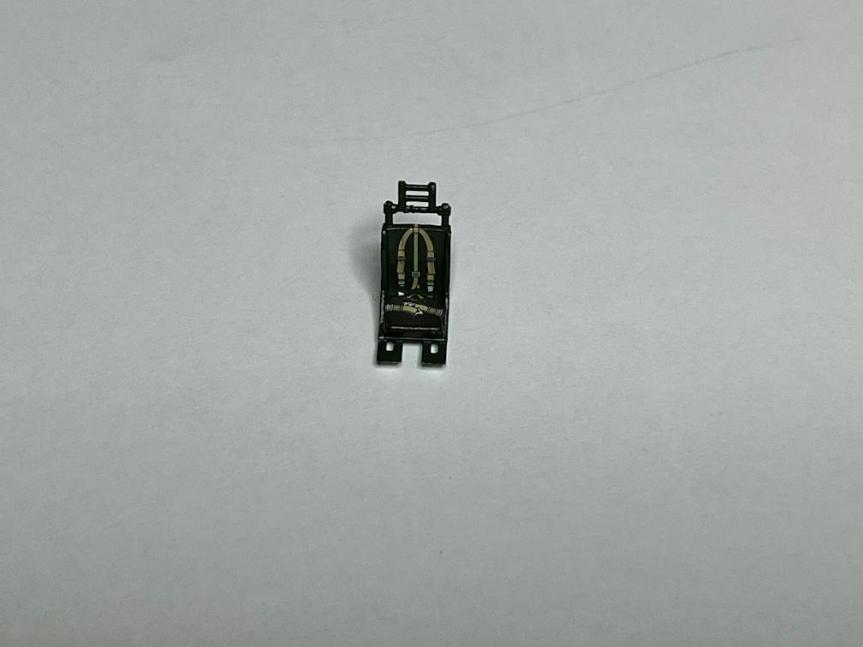
I finally carved out some time to work on the model. As you can see from the featured image above, I added the seat belt decals to the seat. The next thing to do was to complete the assembly of the seat. There were three other parts, the seat back and the head and arm … Continue reading 1/72 Tamiya F-84G Thunderbirds Update 1
1/72 Tamiya F-84G Thunderbirds
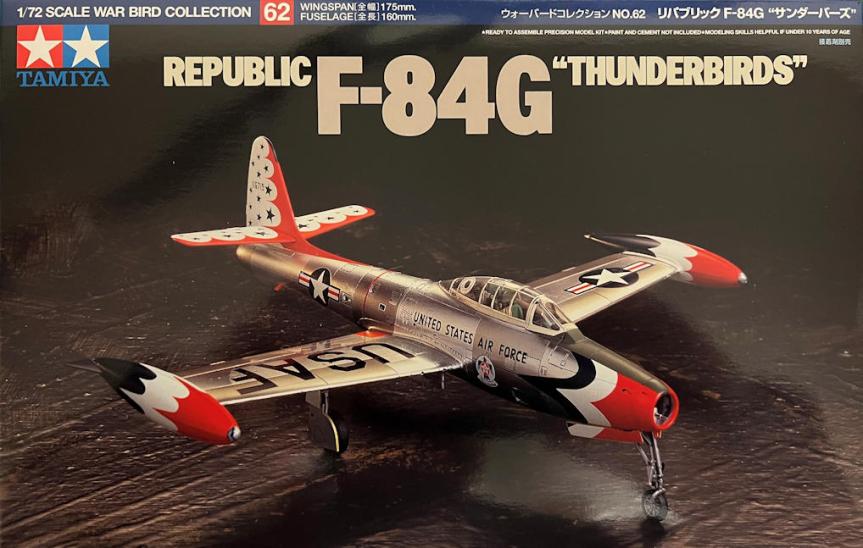
I've picked my next project. It's the Tamiya F-84G Thunderbirds in 1/72 scale. The F-84G was the first plane flown by the Thunderbirds which were officially formed on June 1st, 1953 and stationed at Luke AFB in Arizona. The F-84G was a front-line fighter of the day and was utilized in combat during the Korean … Continue reading 1/72 Tamiya F-84G Thunderbirds
1/72 Mercury Redstone Part 3, Finish
Before starting to decal the Redstone booster, I did some more work on the Mercury capsule. I mixed two drops of Vallejo 71.004 Blue and one drop of Vallejo 71.001 White to get a color that will highlight the portholes on the capsule. I then used Plasti-Zap CA glue to attach the capsule to the … Continue reading 1/72 Mercury Redstone Part 3, Finish

