
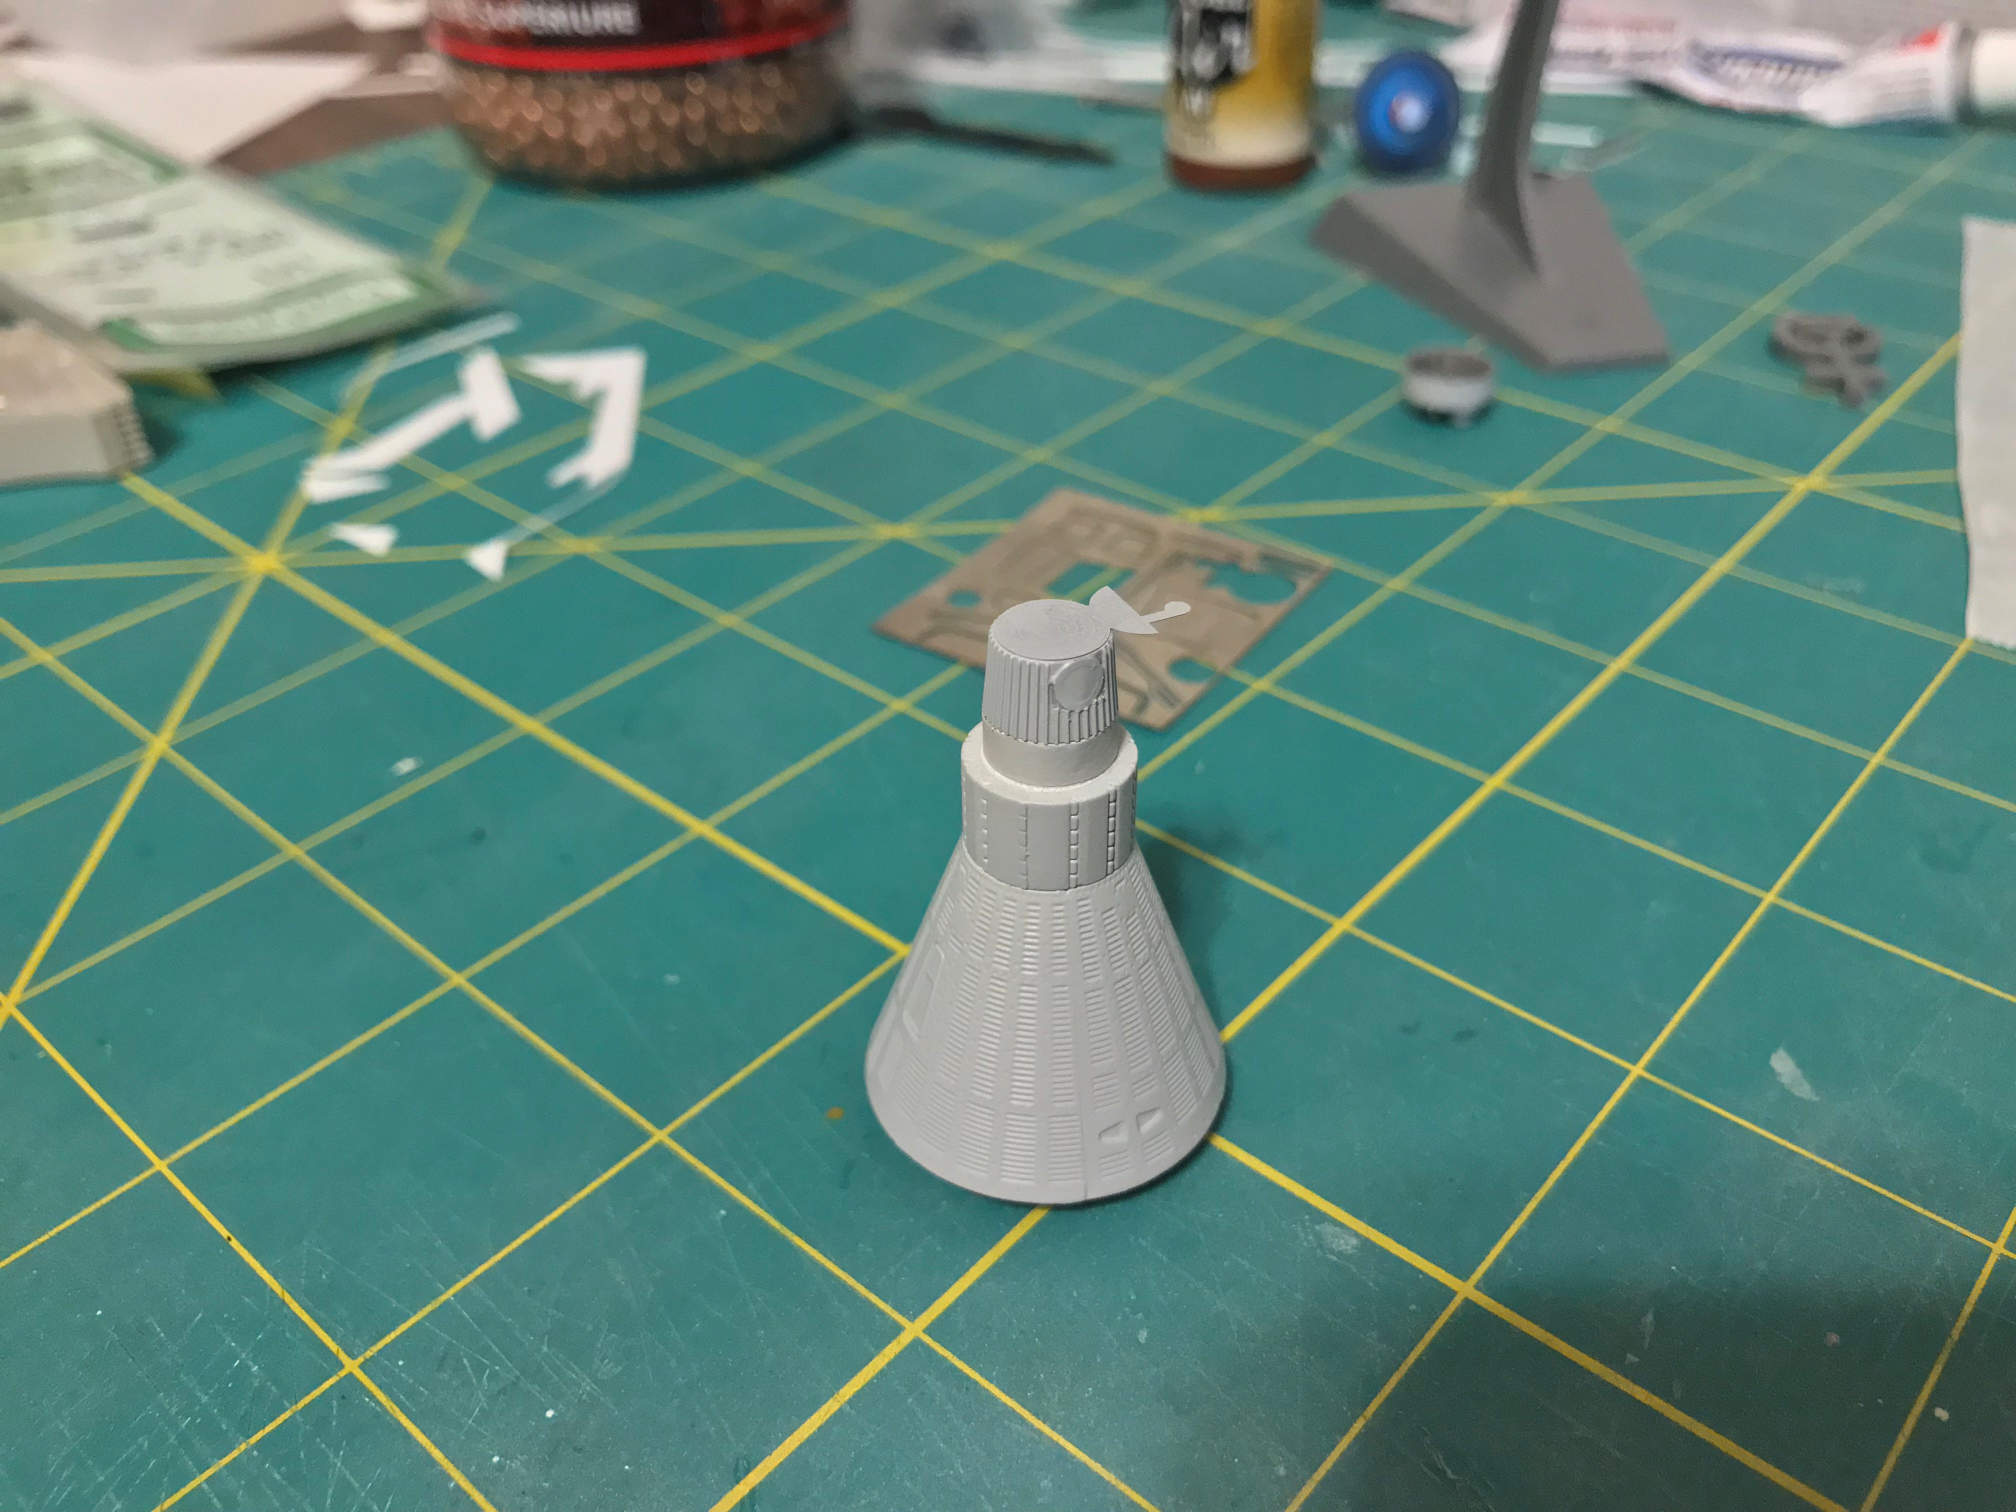
I needed a break from the XST build so I went back to work on the Mercury spacecraft pair. I sprayed the forward part of the capsules with Tamiya white primer. After giving that a day to cure I masked off the top and then glued on the nose of the capsules. I then removed the ribbing from part of the nose for the horizon sensor PE part on each capsule. I also glued on the deployed destabilizing flap to the front of the noses. You will need to refer to the instructions to be sure you get them placed in the appropriate orientation. Once that was done I sprayed the completed capsules with Tamiya Fine gray primer.
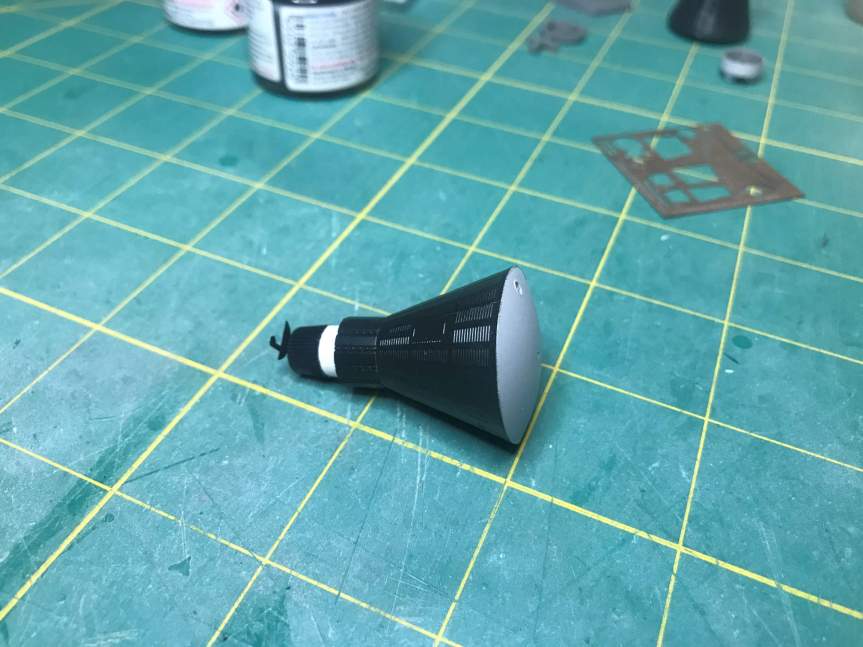
I masked off the heat shield on each capsule and sprayed the rest with Tamiya NATO Black. When that had dried, I removed all the masking.

Next, I bent the PE retro pack retaining straps to the proper angles. It helps to use the retro pack as a guide on how much and where to bend the straps. With the straps properly shaped, I took one of them and used CA to glue it to the porthole (MR-3) version’s retro pack. I’ll wait to glue one to the window version retro pack until after all the decals are applied to it. The porthole version did not have any of the lines on the retro pack like the window version did. In the first two pictures I have the retro pack just dry fitted and will glue it on later in the build.


The decals on the window version retro pack were next and I started with the three decals that cover the end of the retro pack and surround the retro rocket nozzles. This was made much easier since they put a hole in the decal right where each posigrade rocket is on the retro pack. The posigrade rockets are the tiny bumps you see along the edge of the retro pack between each retro rocket nozzle.

The next decals to go on were the three decals that covered the end of each retro nozzle. I had some problems with these decals. First the lines on the decals are not long enough. They should go from the nozzle end all the way down the nozzle to the top of the retro pack. They only go down the mostly straight portion of the nozzle. The next problem they presented was that even though they had the backing for each individual line separated from each other, the backing still went too far from the center of the decal. This made it very hard to get the decal to lay down properly over the nozzle.

I had to remove the first decal and set it aside. I was able to keep it in one piece and placed it on a piece of parchment paper to dry. Once it was dry I used a sharp #11 blade and cut the backing closer to the center. I then put Micro Sol on the nozzle and reapplied the decal. This time I was able to dab small drops of Micro Sol to the lines and they then laid down properly. It was still difficult to get the lines properly separated from each other.
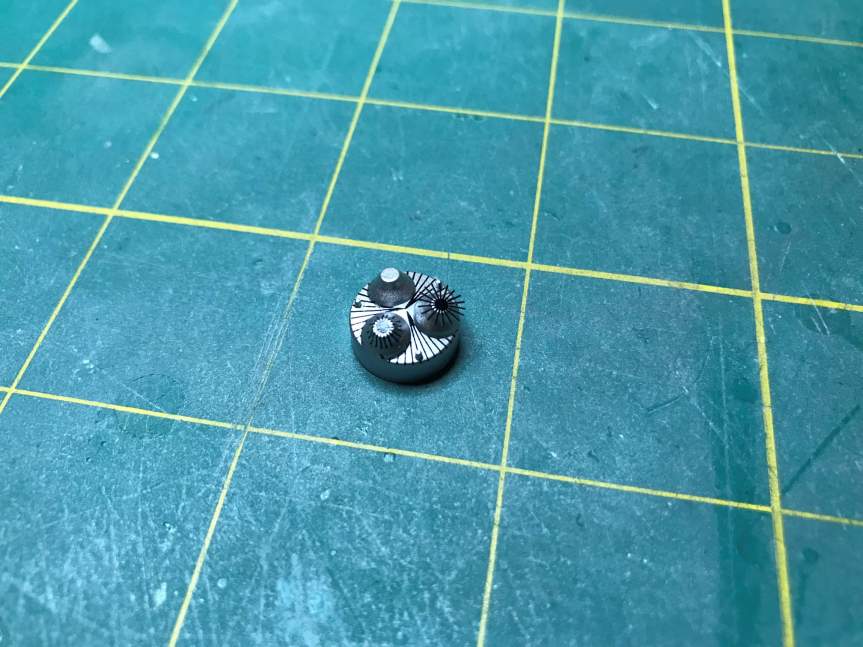
Applying second decal. The lines have not had Micro Sol applied yet. 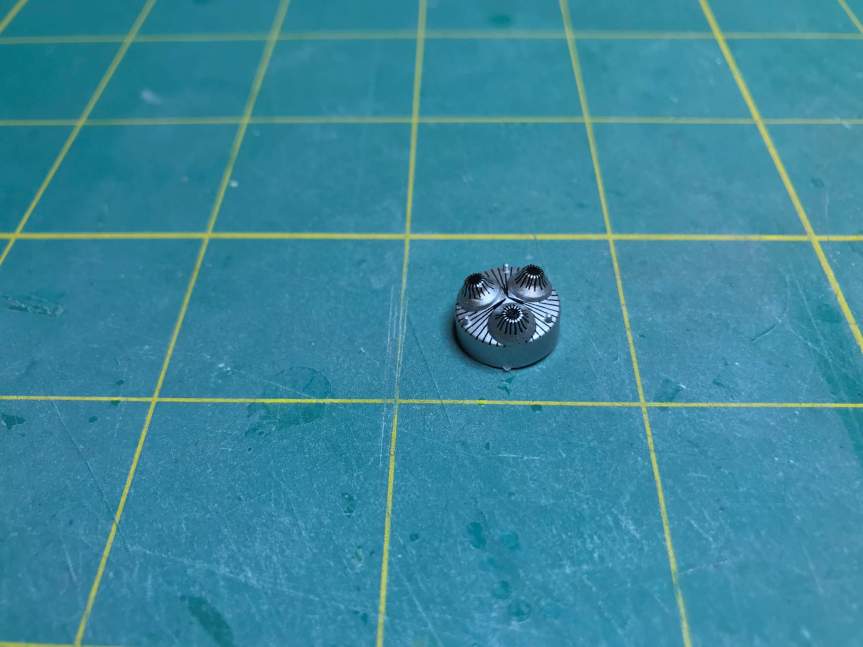
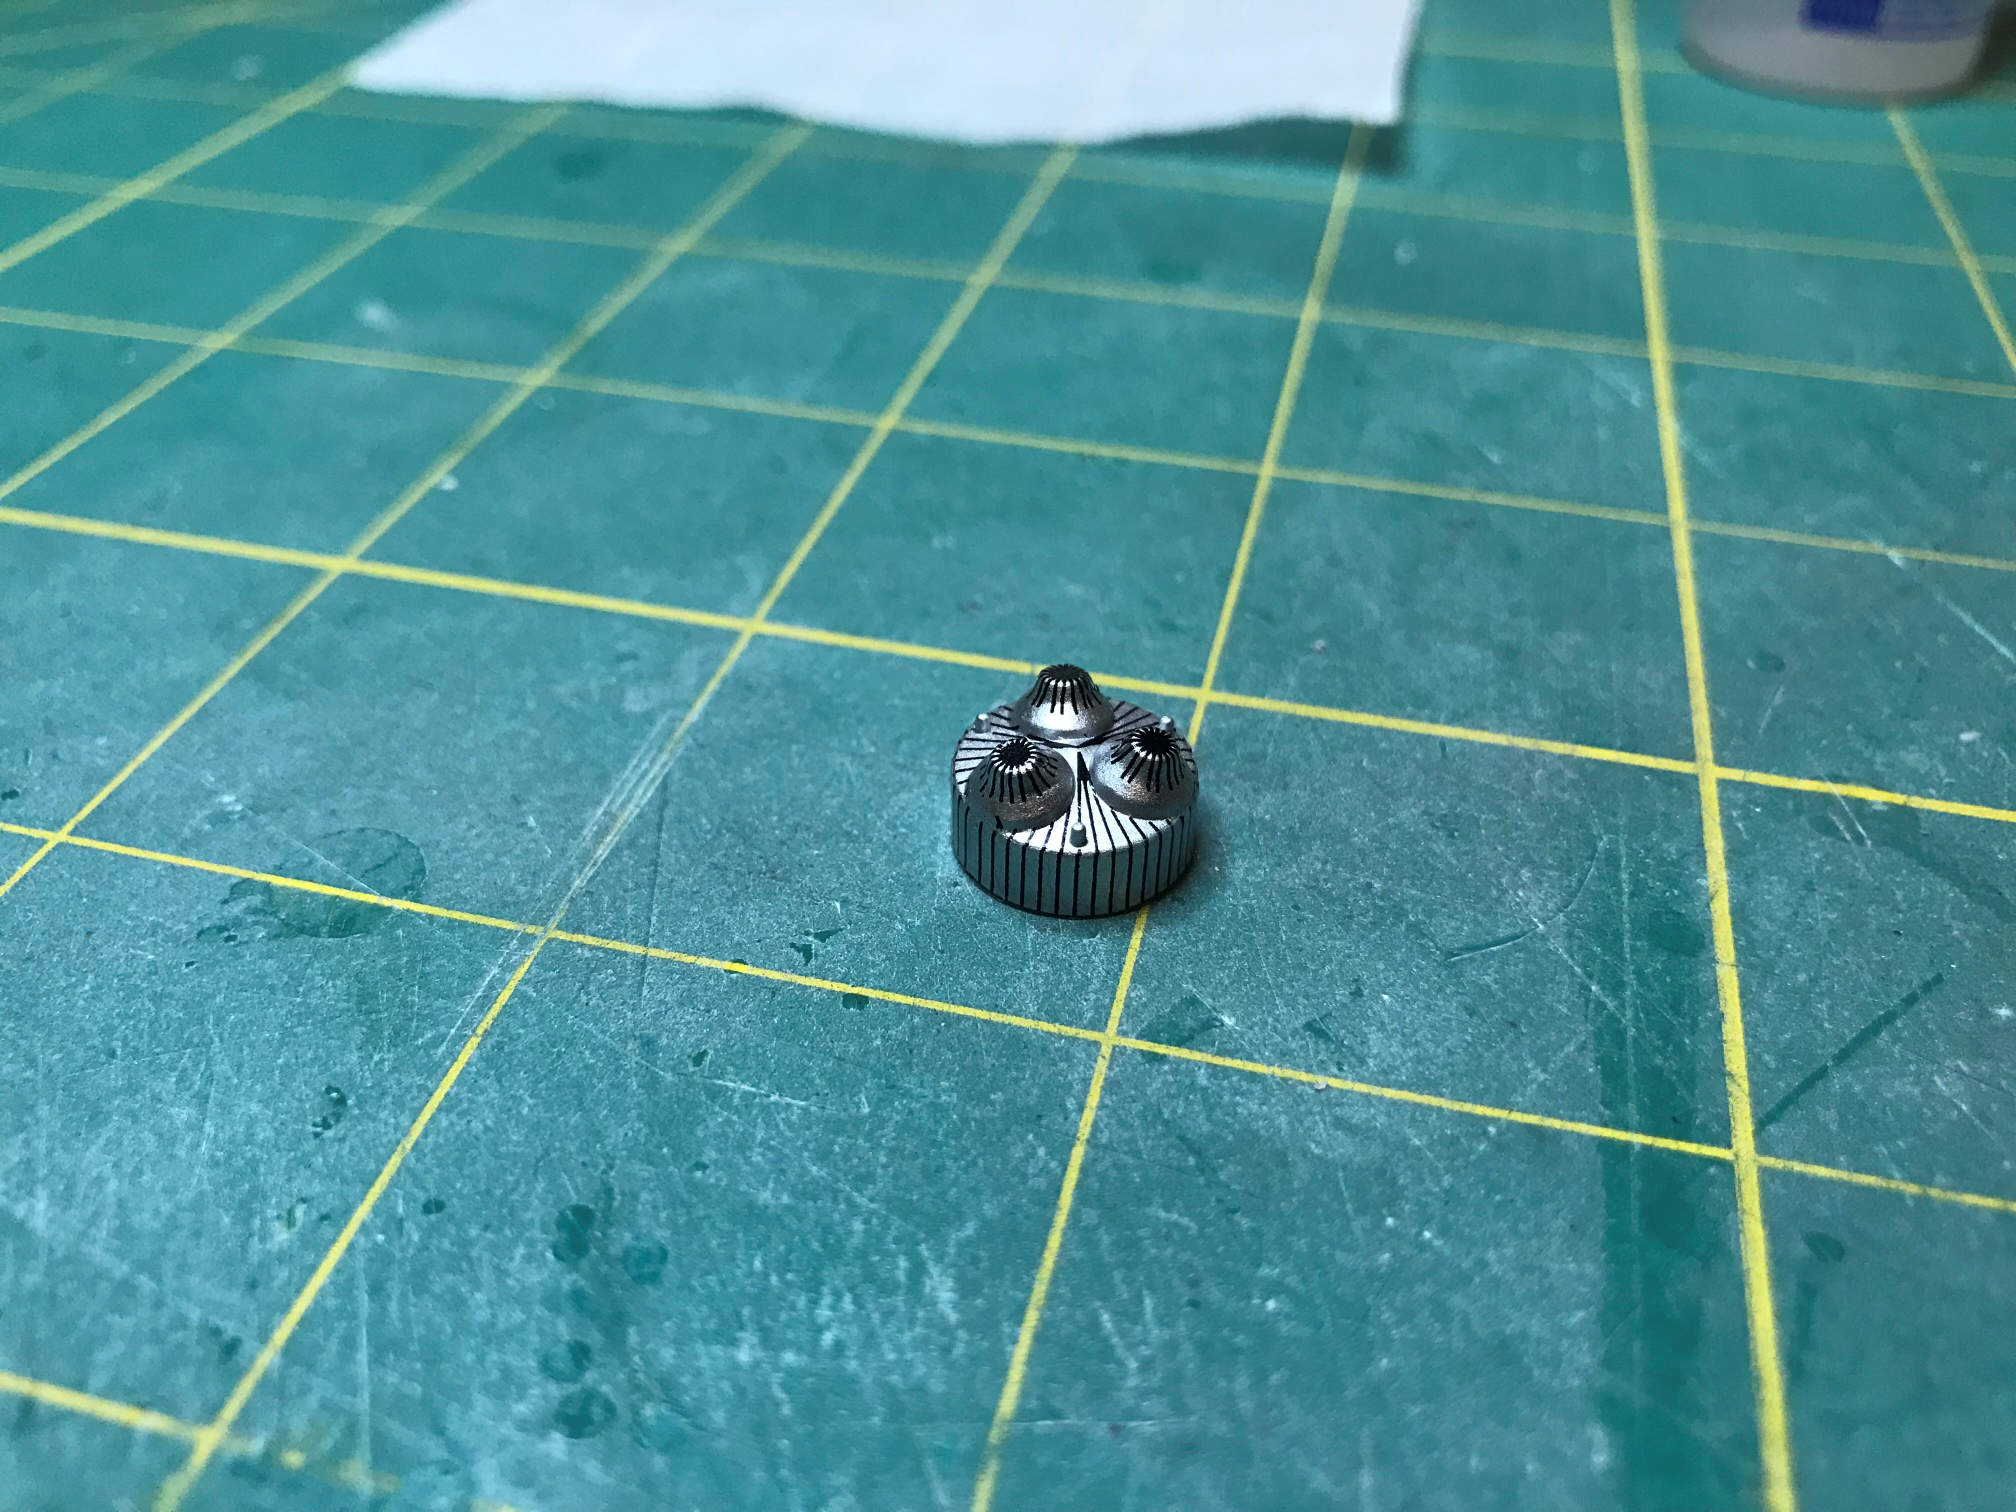
All three decals applied. The lines are not as straight or even as I would like.
When all three nozzles were finished I applied the lines that go around the outside edge of the retro pack. The only tricky part of this decal is getting the lines to line up with the first decals that were applied. I cut the decal into three sections to make it easier to apply.
The final thing I did at this time was to drill a hole in the side of each capsule. I decided that I didn’t like the provided mount after all and would do one of my own. Mine will use a section of 3/32 steel rod to hold each capsule. I drilled the hole through the outside of the capsule and through one side of the inner cylinder. This will provide a solid mount that the will hold the capsule in the proper orientation.
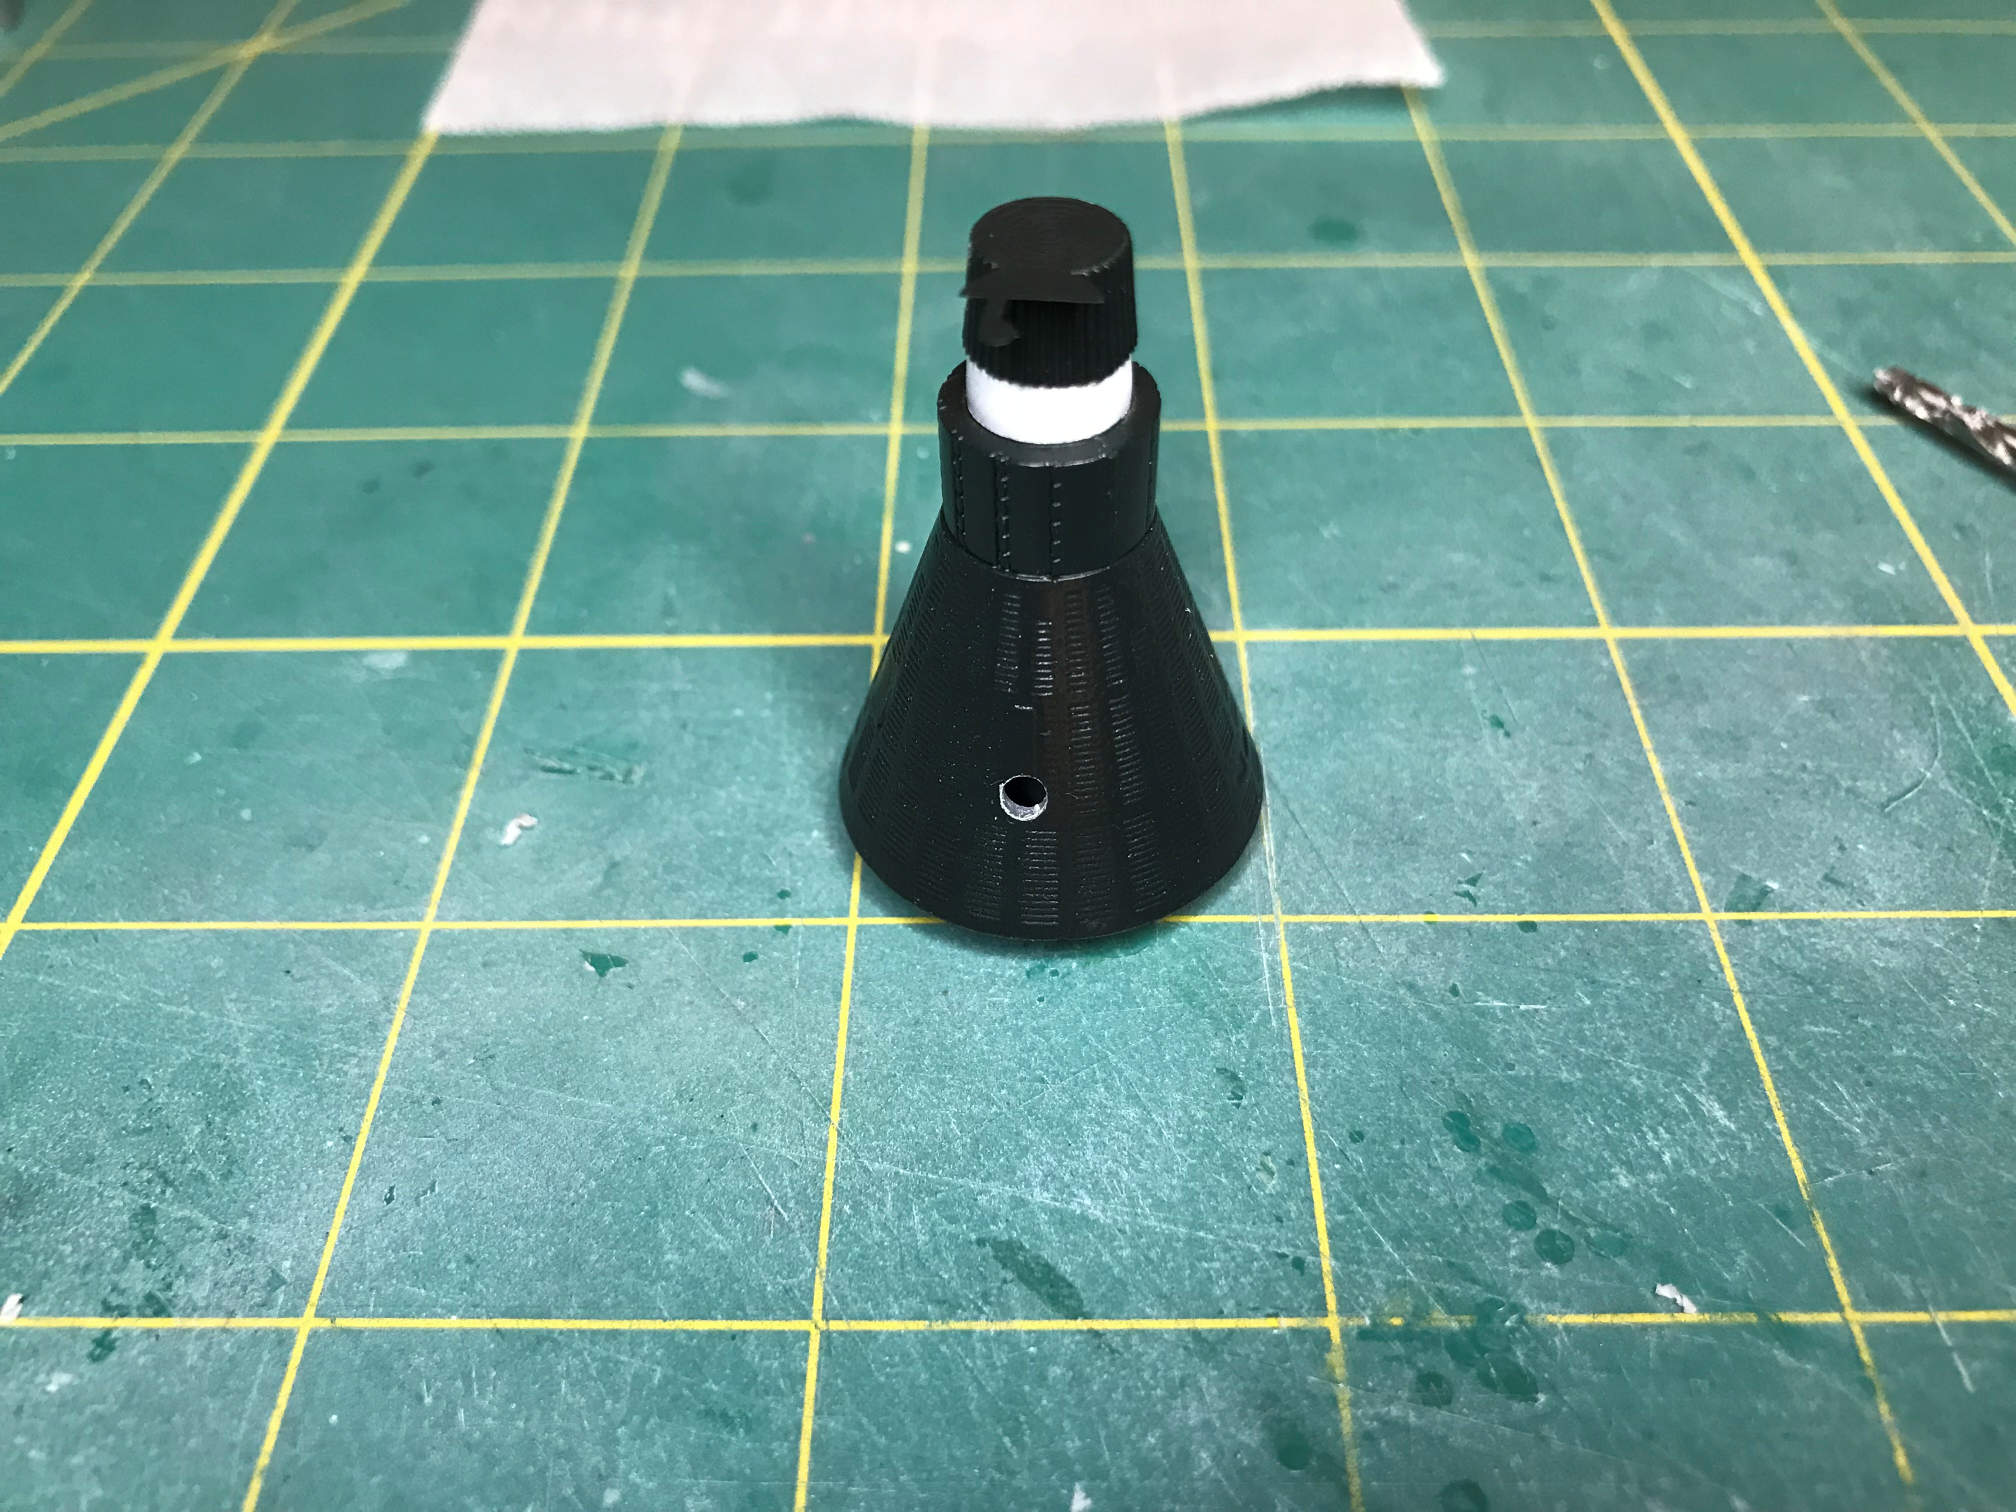
This also meant that I had to fill the hole in the heat shield that I had previously drilled. I will then mask and repaint each heat shield before attaching the retro packs. The porthole version has a grayish heat shield that was made from beryllium. The window version had an ablative heat shield which was a reddish brown color. I’ll paint the window version heat shield for the next update.
That is it for now. Thanks for looking.
