
Picking up from the last update, I masked and painted the intake grill areas. You can also see that I have painted the exhaust area a red-brown color. I’ve found no photos of that area of the aircraft, so I took modeler’s license and painted the area to represent an area to absorb left over heat from the exhaust. I then gave the craft and overall coat of matte clear. I did not put any decals on it. After viewing all my available photos of the plane, I could not find any that showed the plane having markings on it. Of course, all of the photos may be doctored since I believe that parts of the project are still classified.
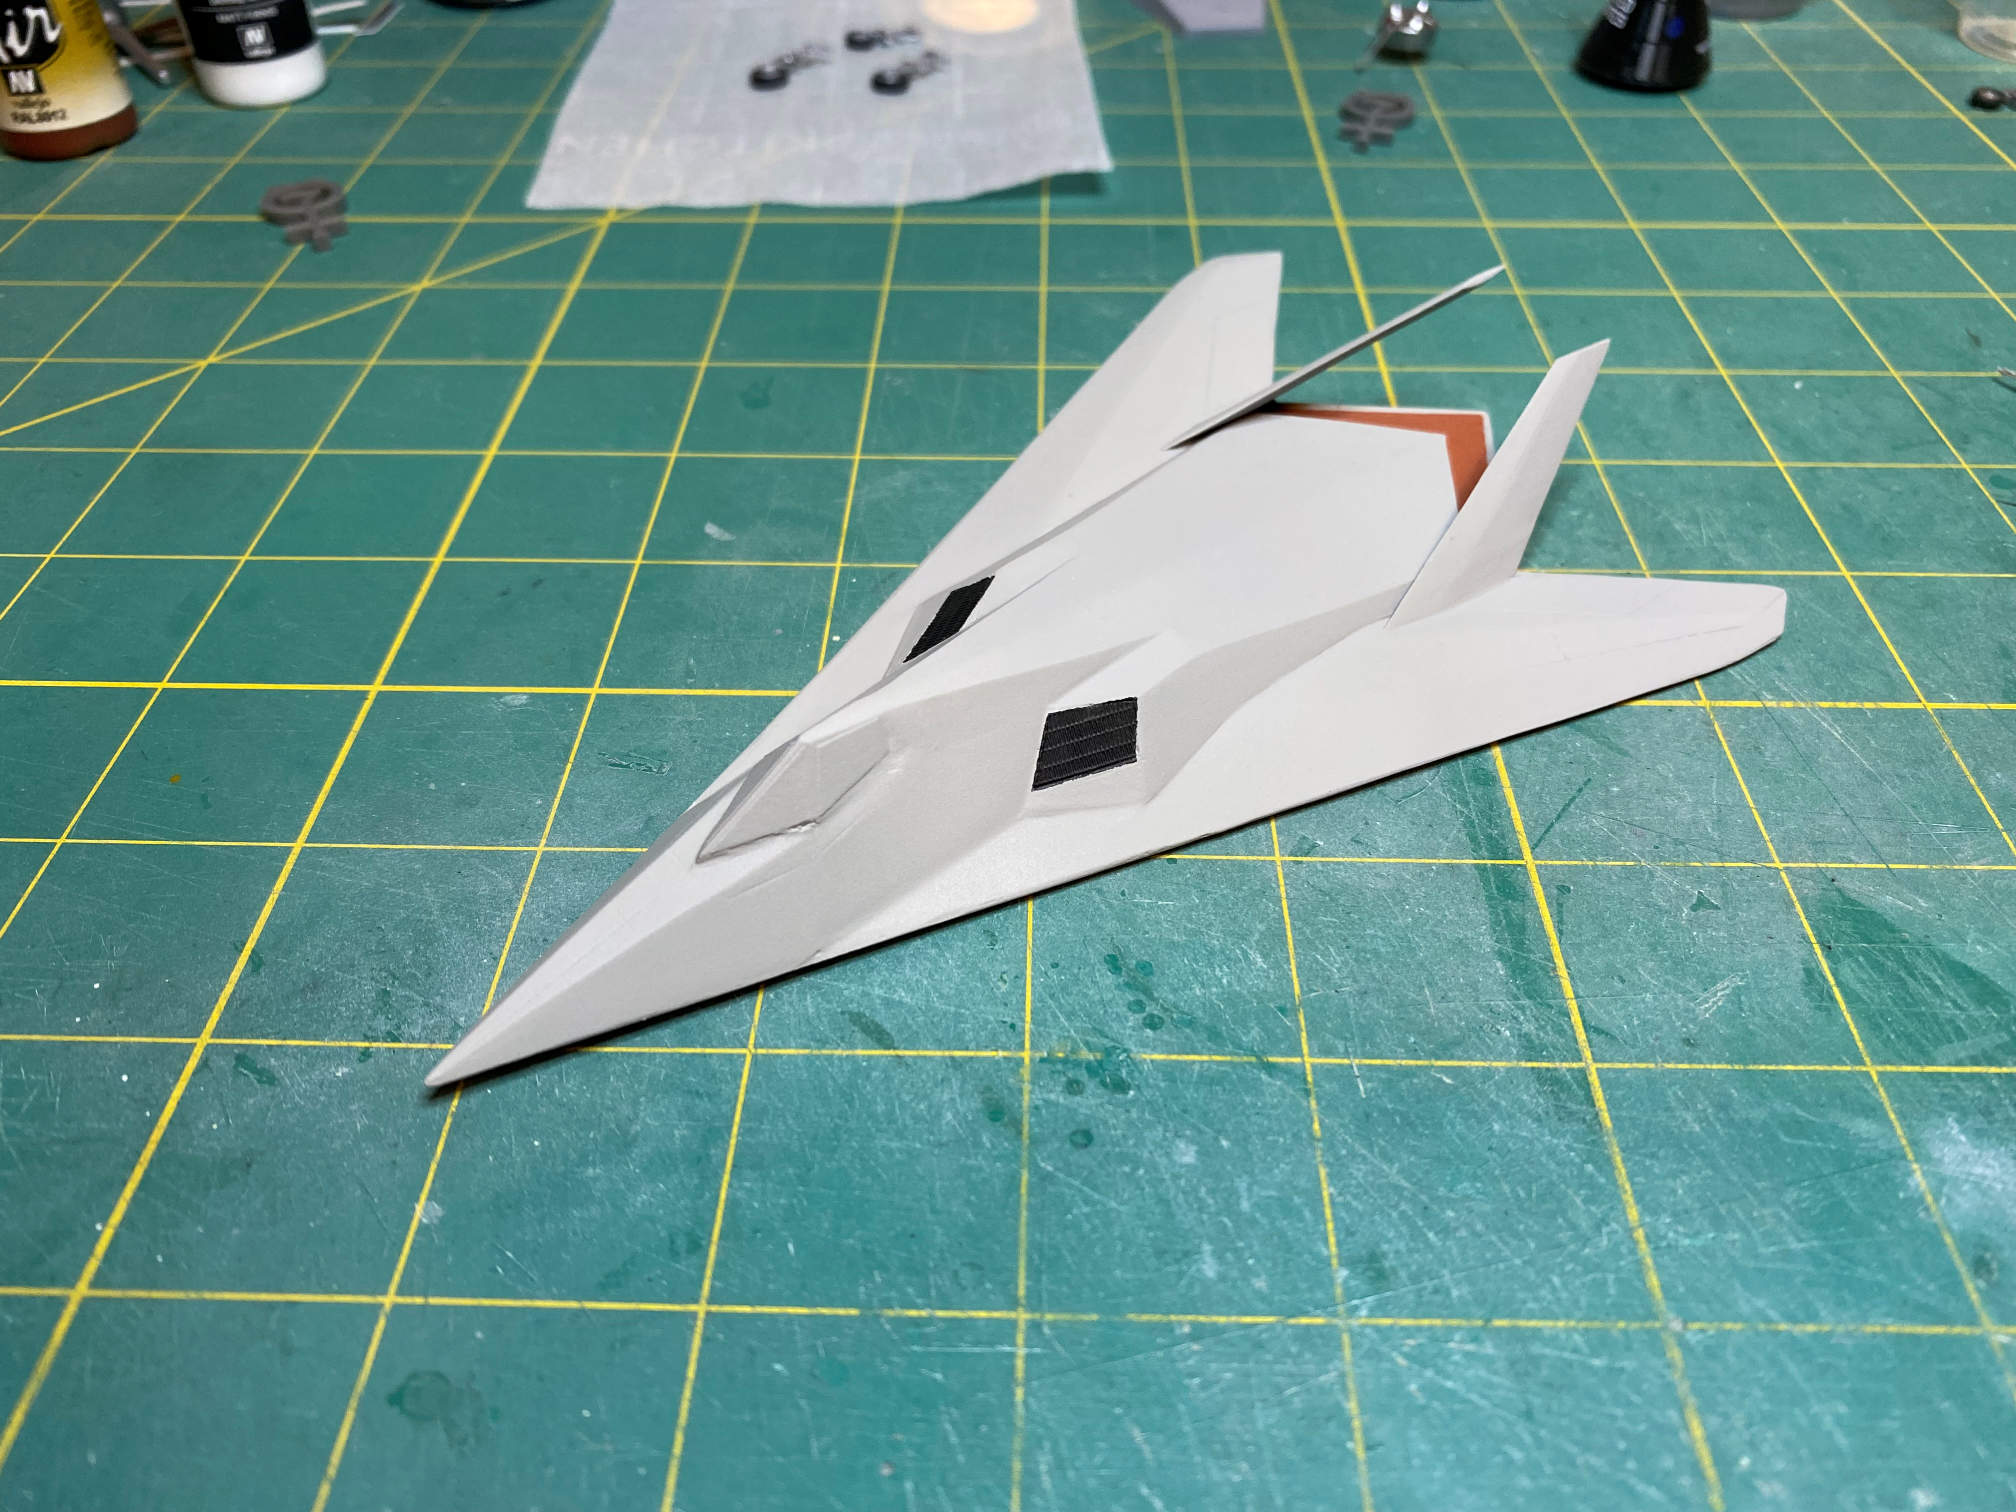
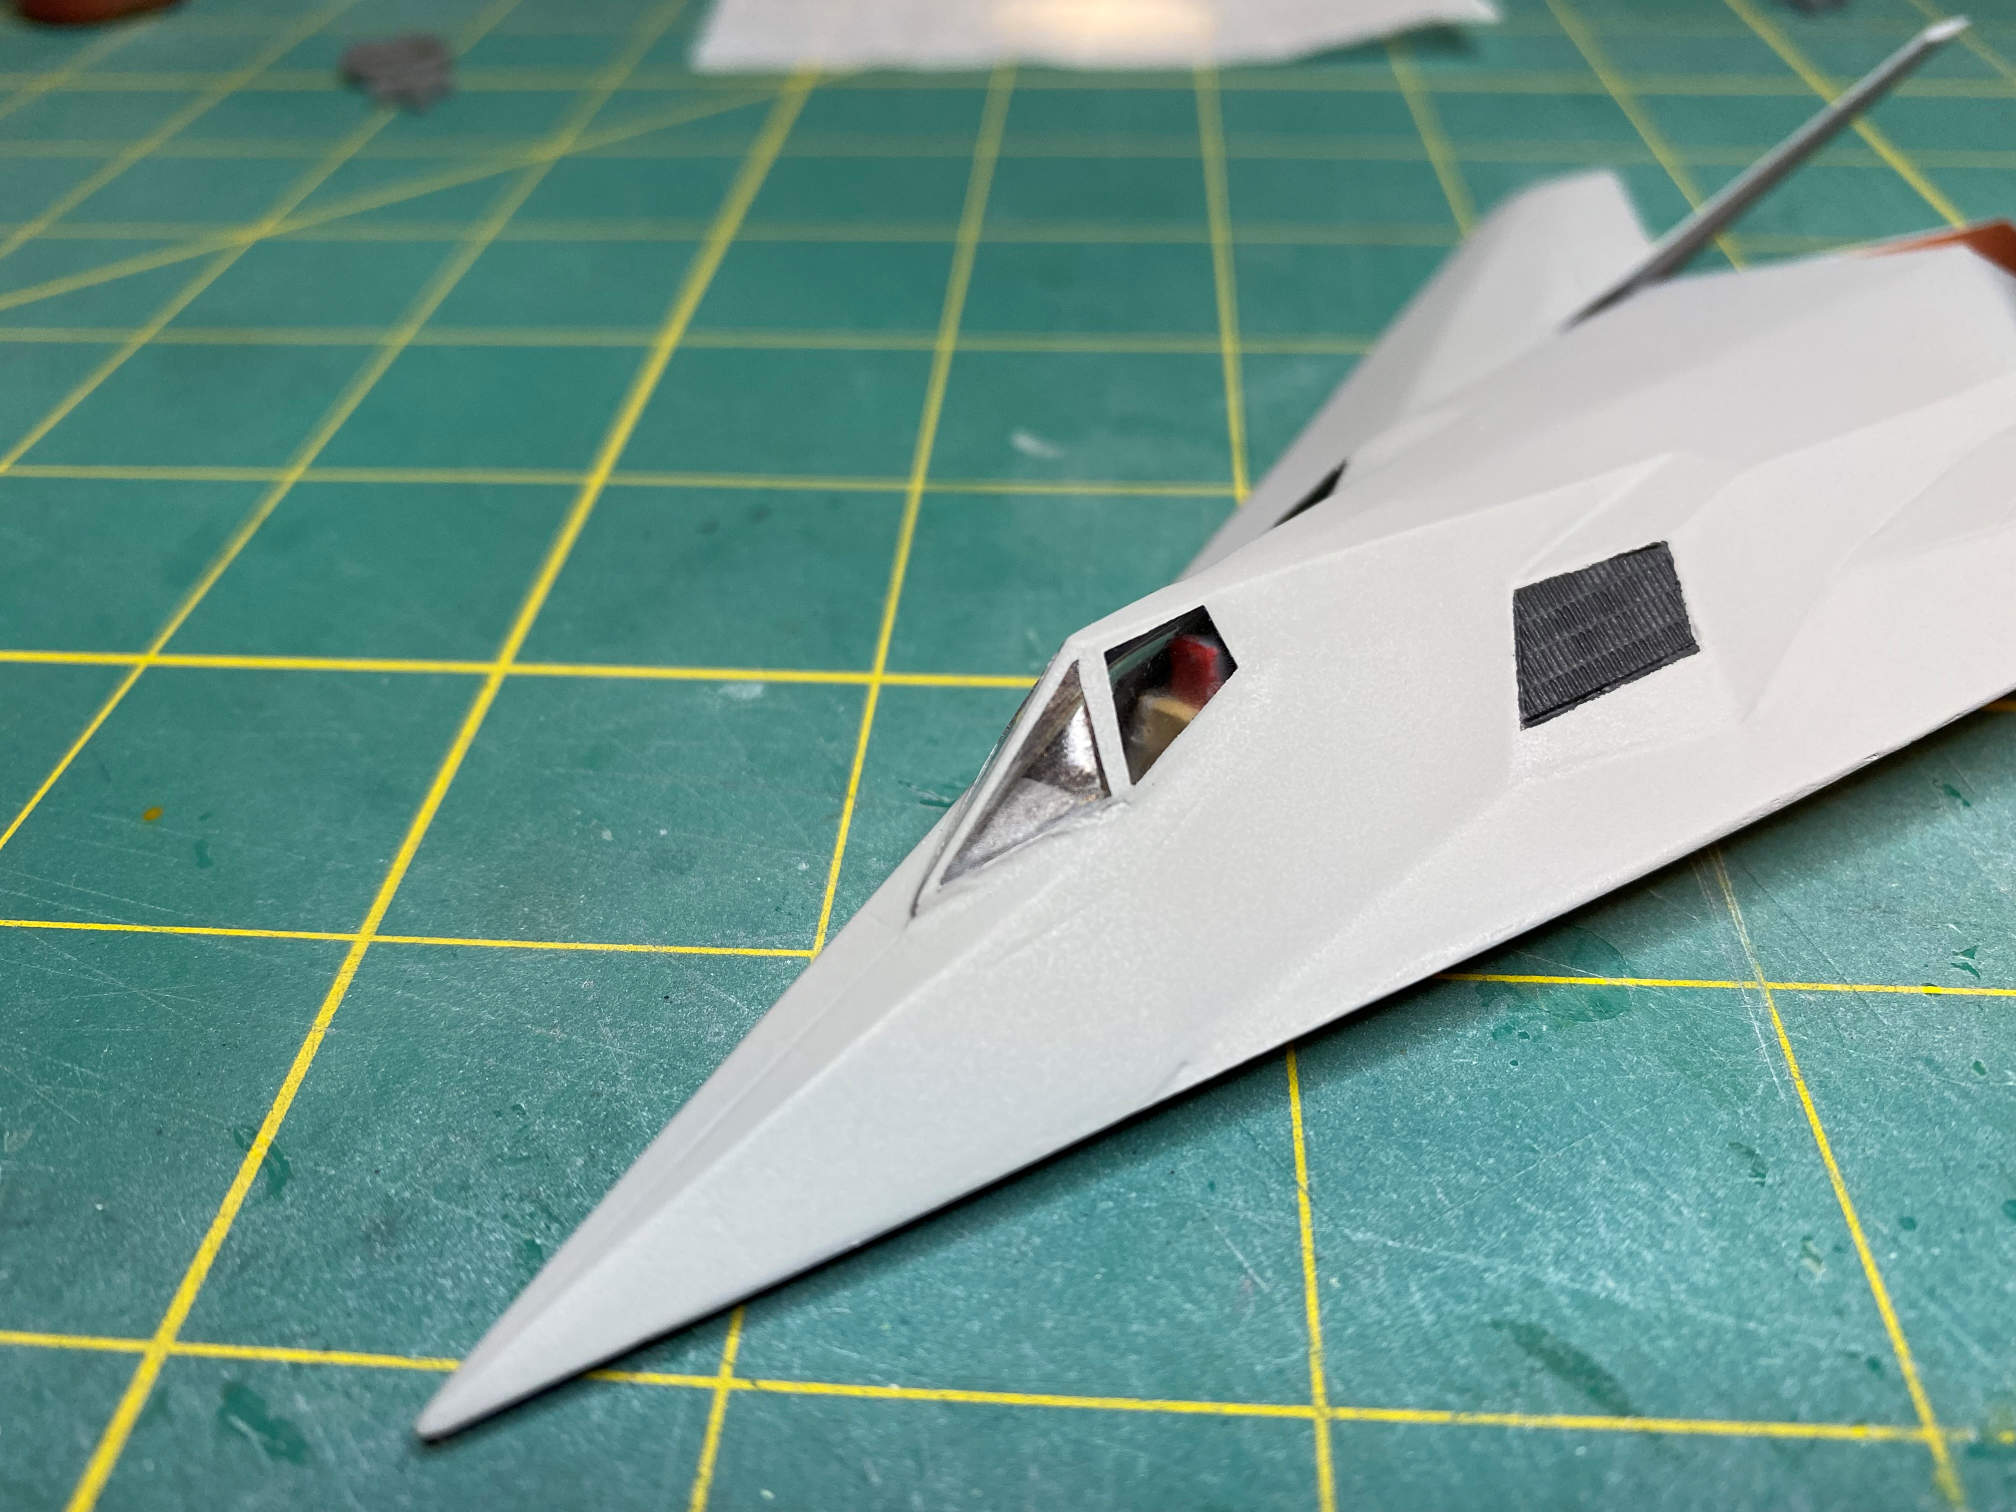
I next removed the masking from the cockpit canopy. Fortunately I didn’t get any areas of leakage under the masking. The plastic is not the clearest plastic I’ve ever had on a model. Even after coating both sides of the clear plastic with Future floor finish, it still shows some distortions, but I can live with it.
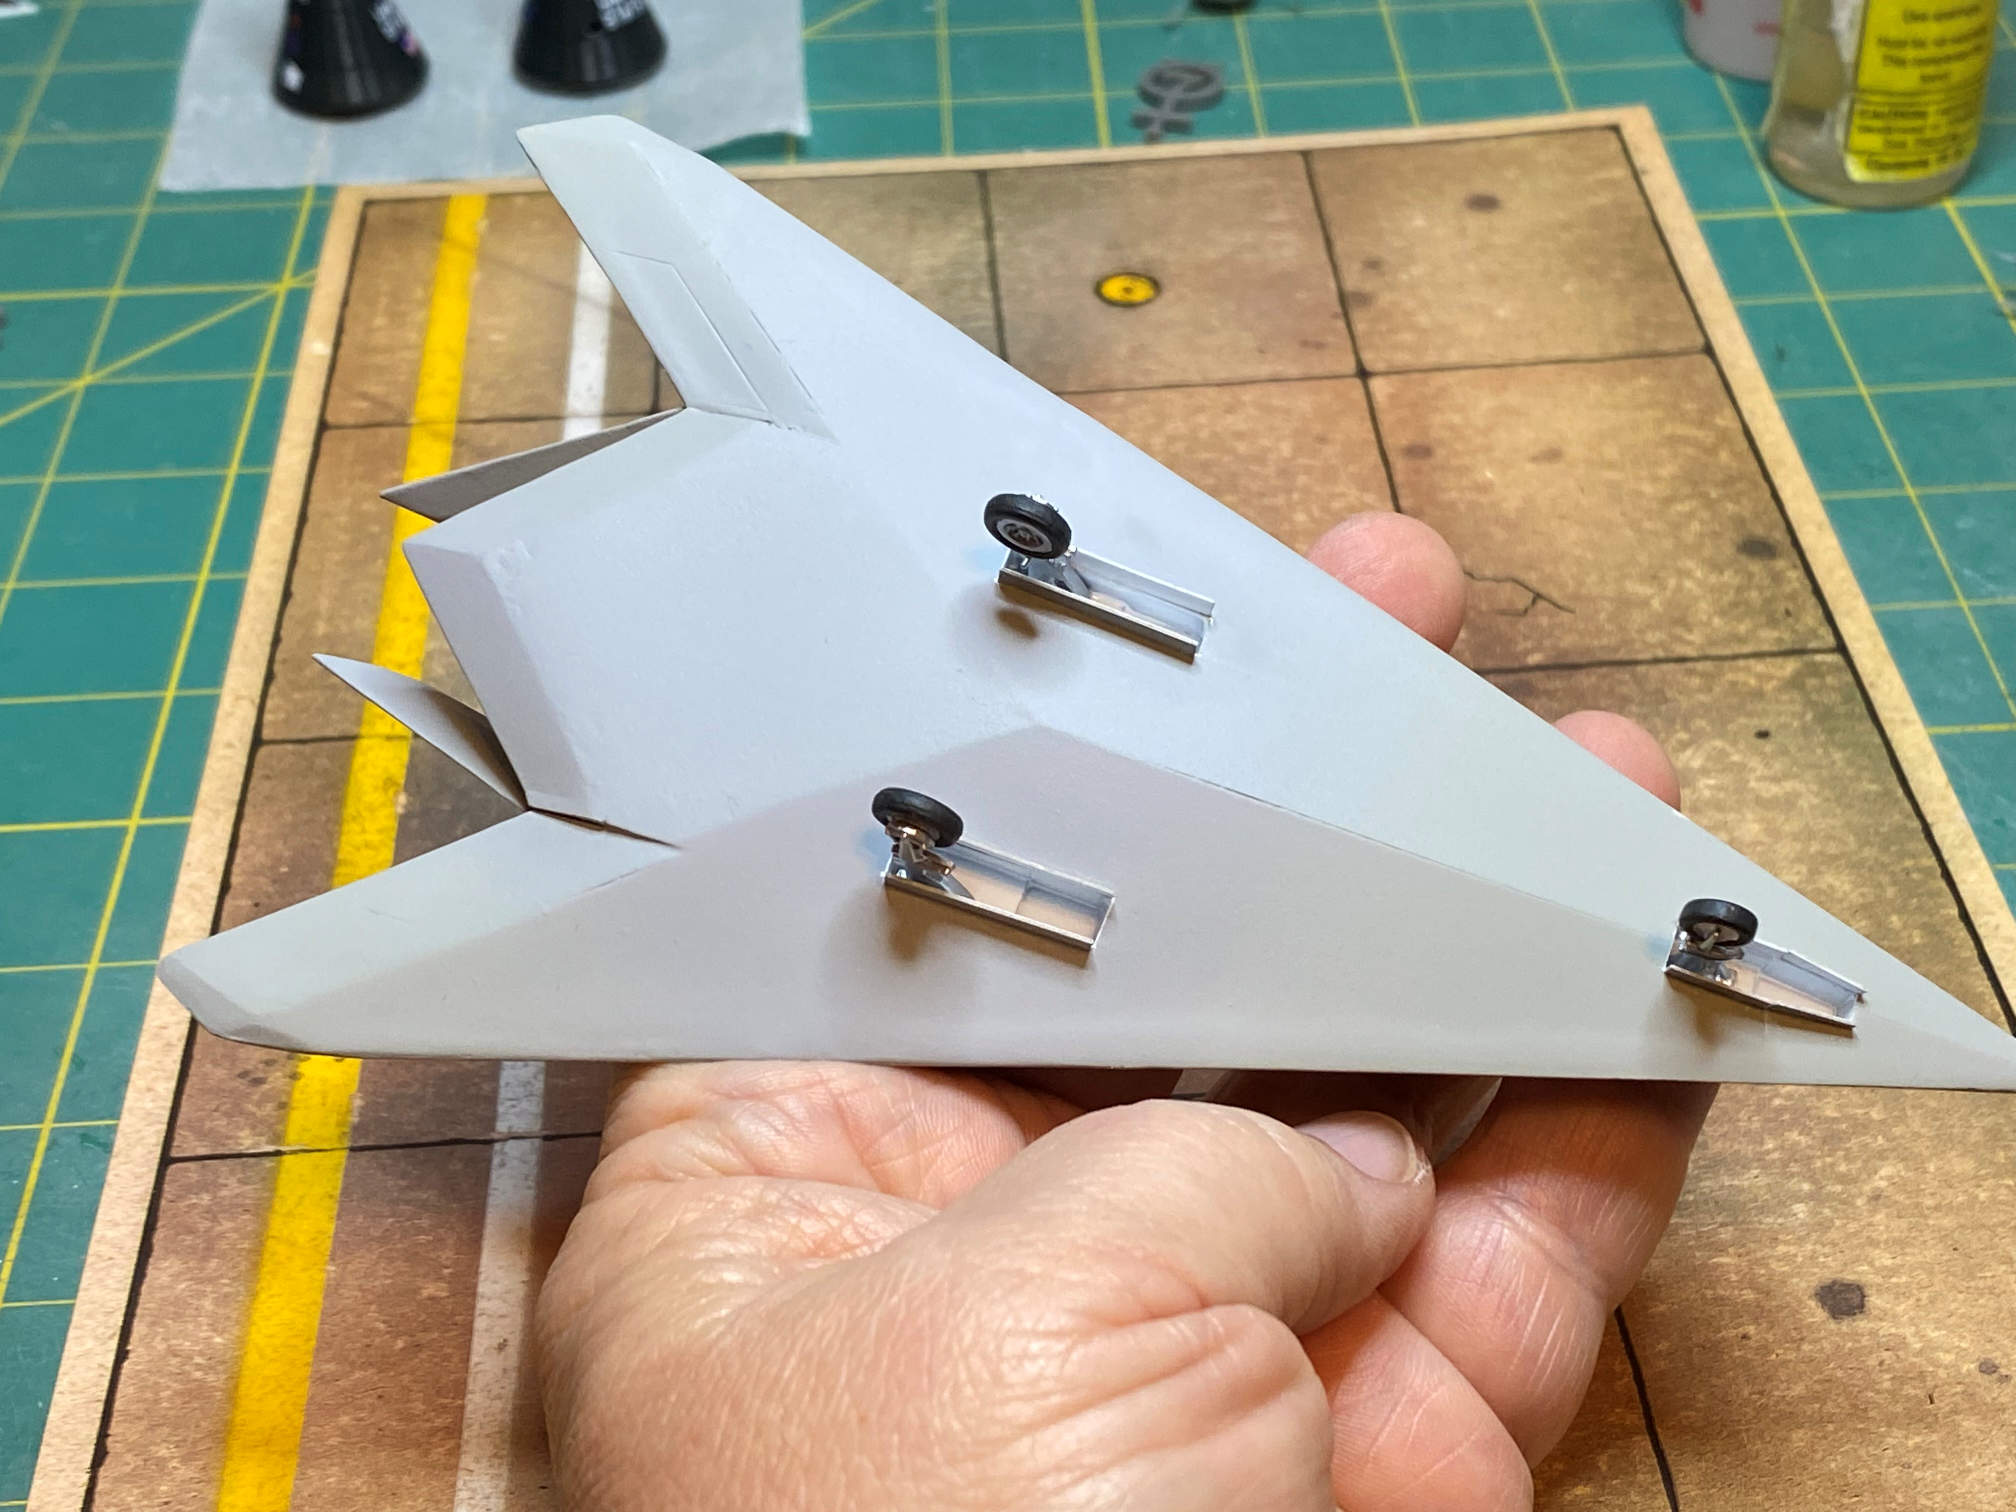
The landing gear came from an F-5 kit that I had. I’m not sure if I’ll ever get around to building it, so swiping the gear from it was no big deal. I decided not to use the Pegasus supplied landing gear since the mains were just too short. The nose gear could have been used but I liked the F-5 nose gear and used it instead. I did use the wheels that came in the kit. I had to drill holes in the hubs of the wheels. I didn’t want just a butt fit. I felt that since the F-5 gear had a peg, I should at least drill a hole for it in the wheels.
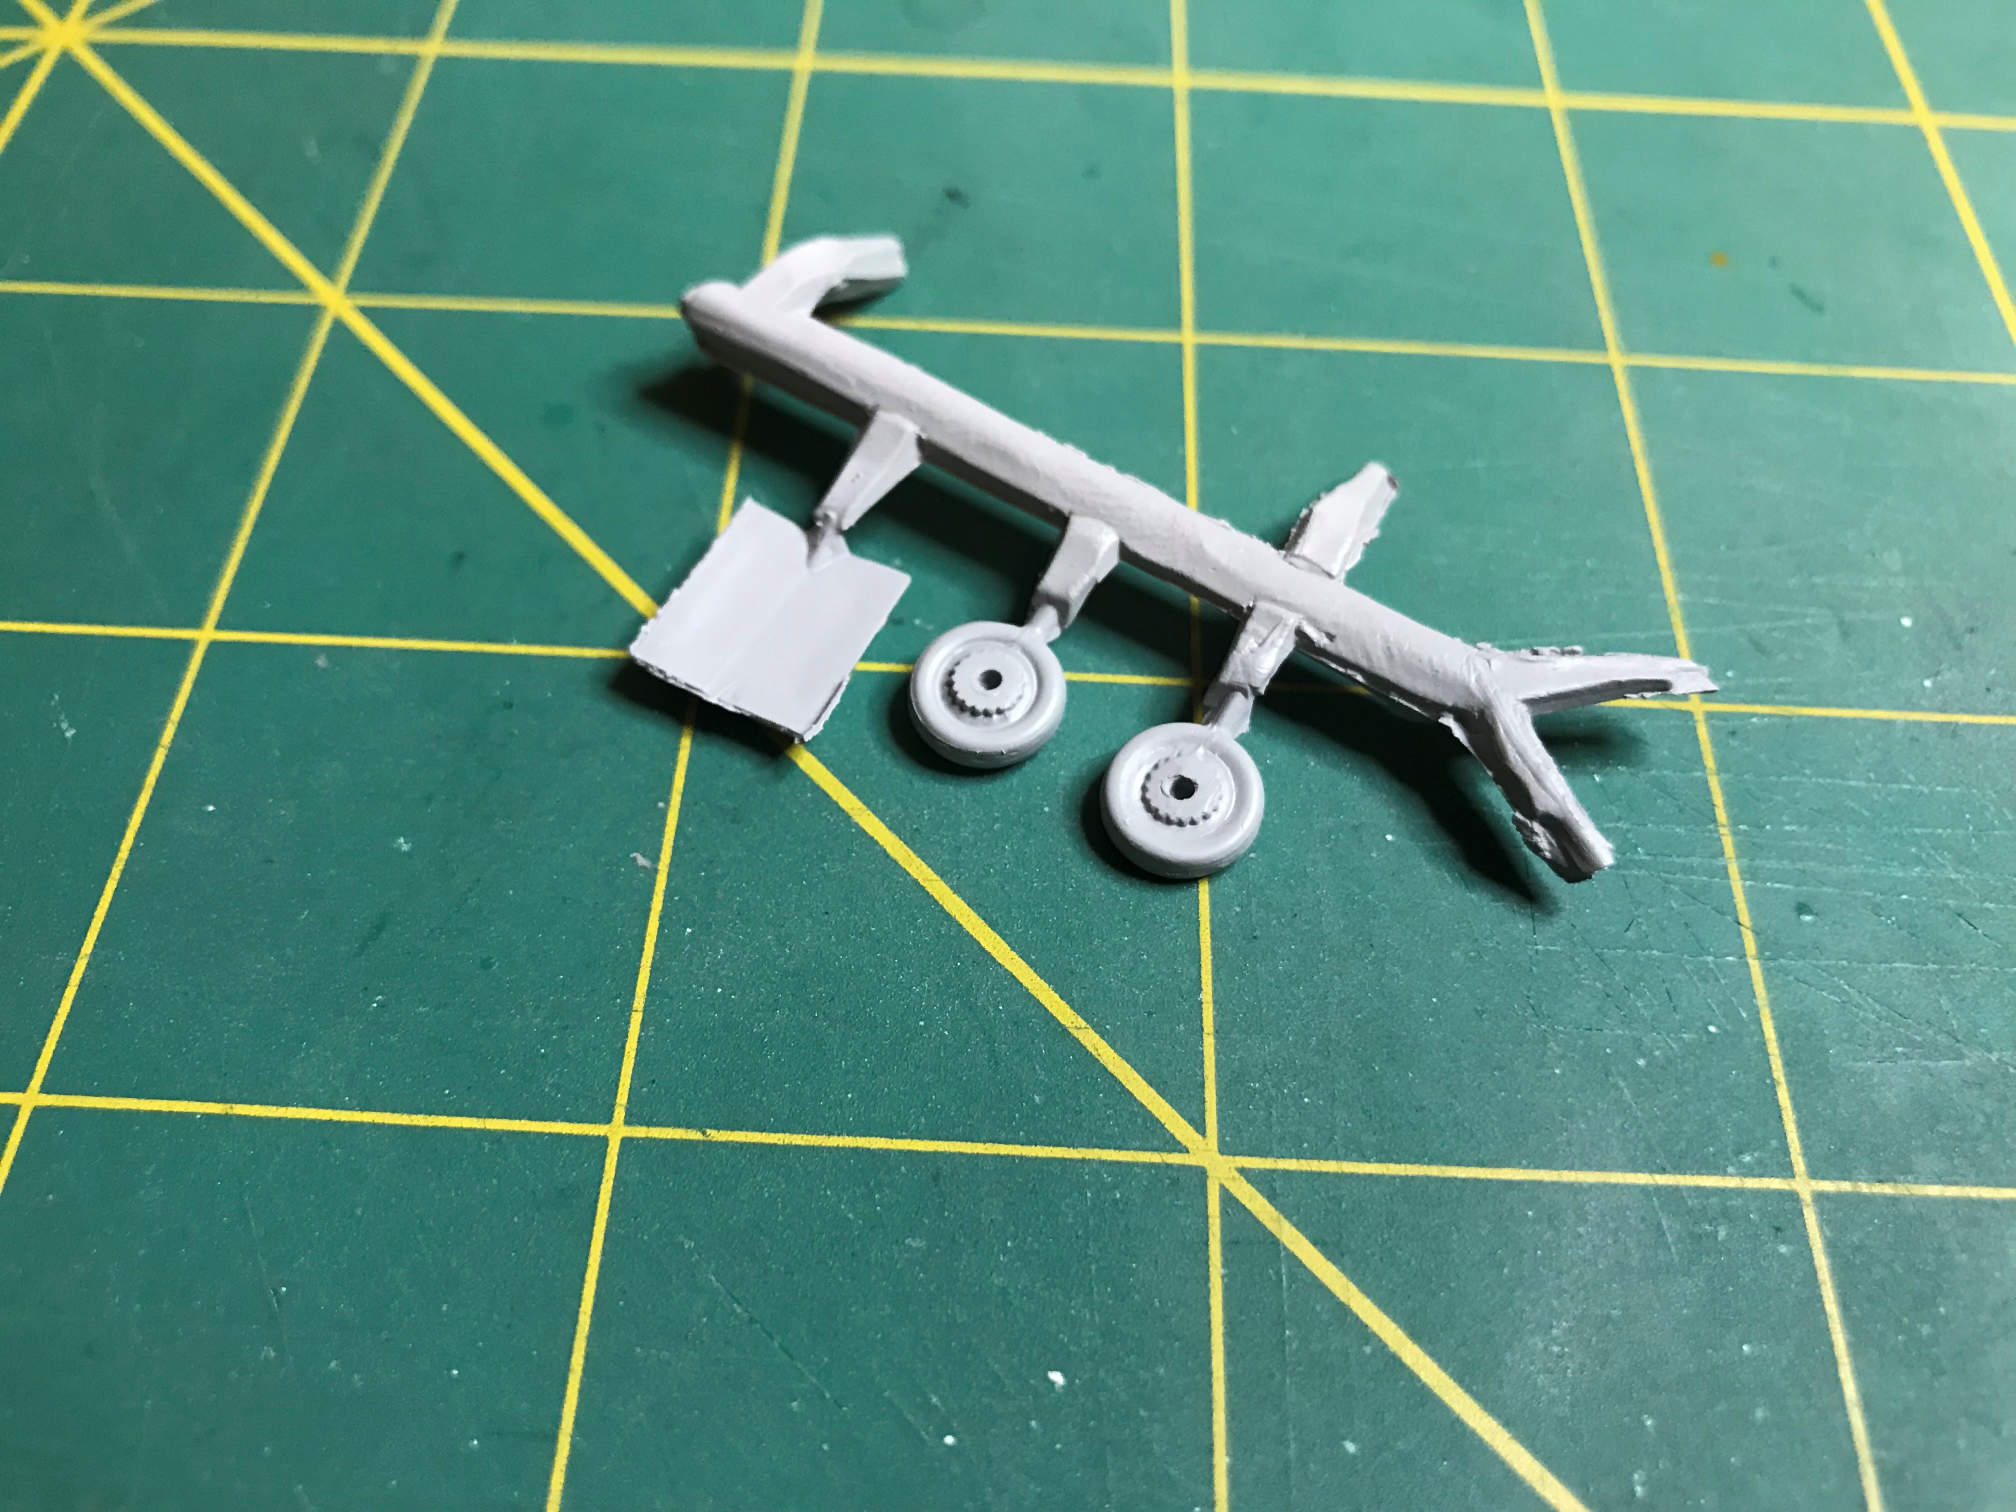
I painted the wheels before gluing them to the struts. The struts had already been painted silver before adding the wheels. In the above picture you can also see the spin recovery ‘chute compartment still attached to the runner. As far as I could tell the serial number HB1002 aircraft, which is the one I’m modeling, did not have it.

I next cut some landing gear doors from .015 sheet stock. I painted the outside the same gray as the plane and the inside white. I gave it a shot of matte clear and when that had cured I used Plasti-Zap CA glue to attach them to the plane.
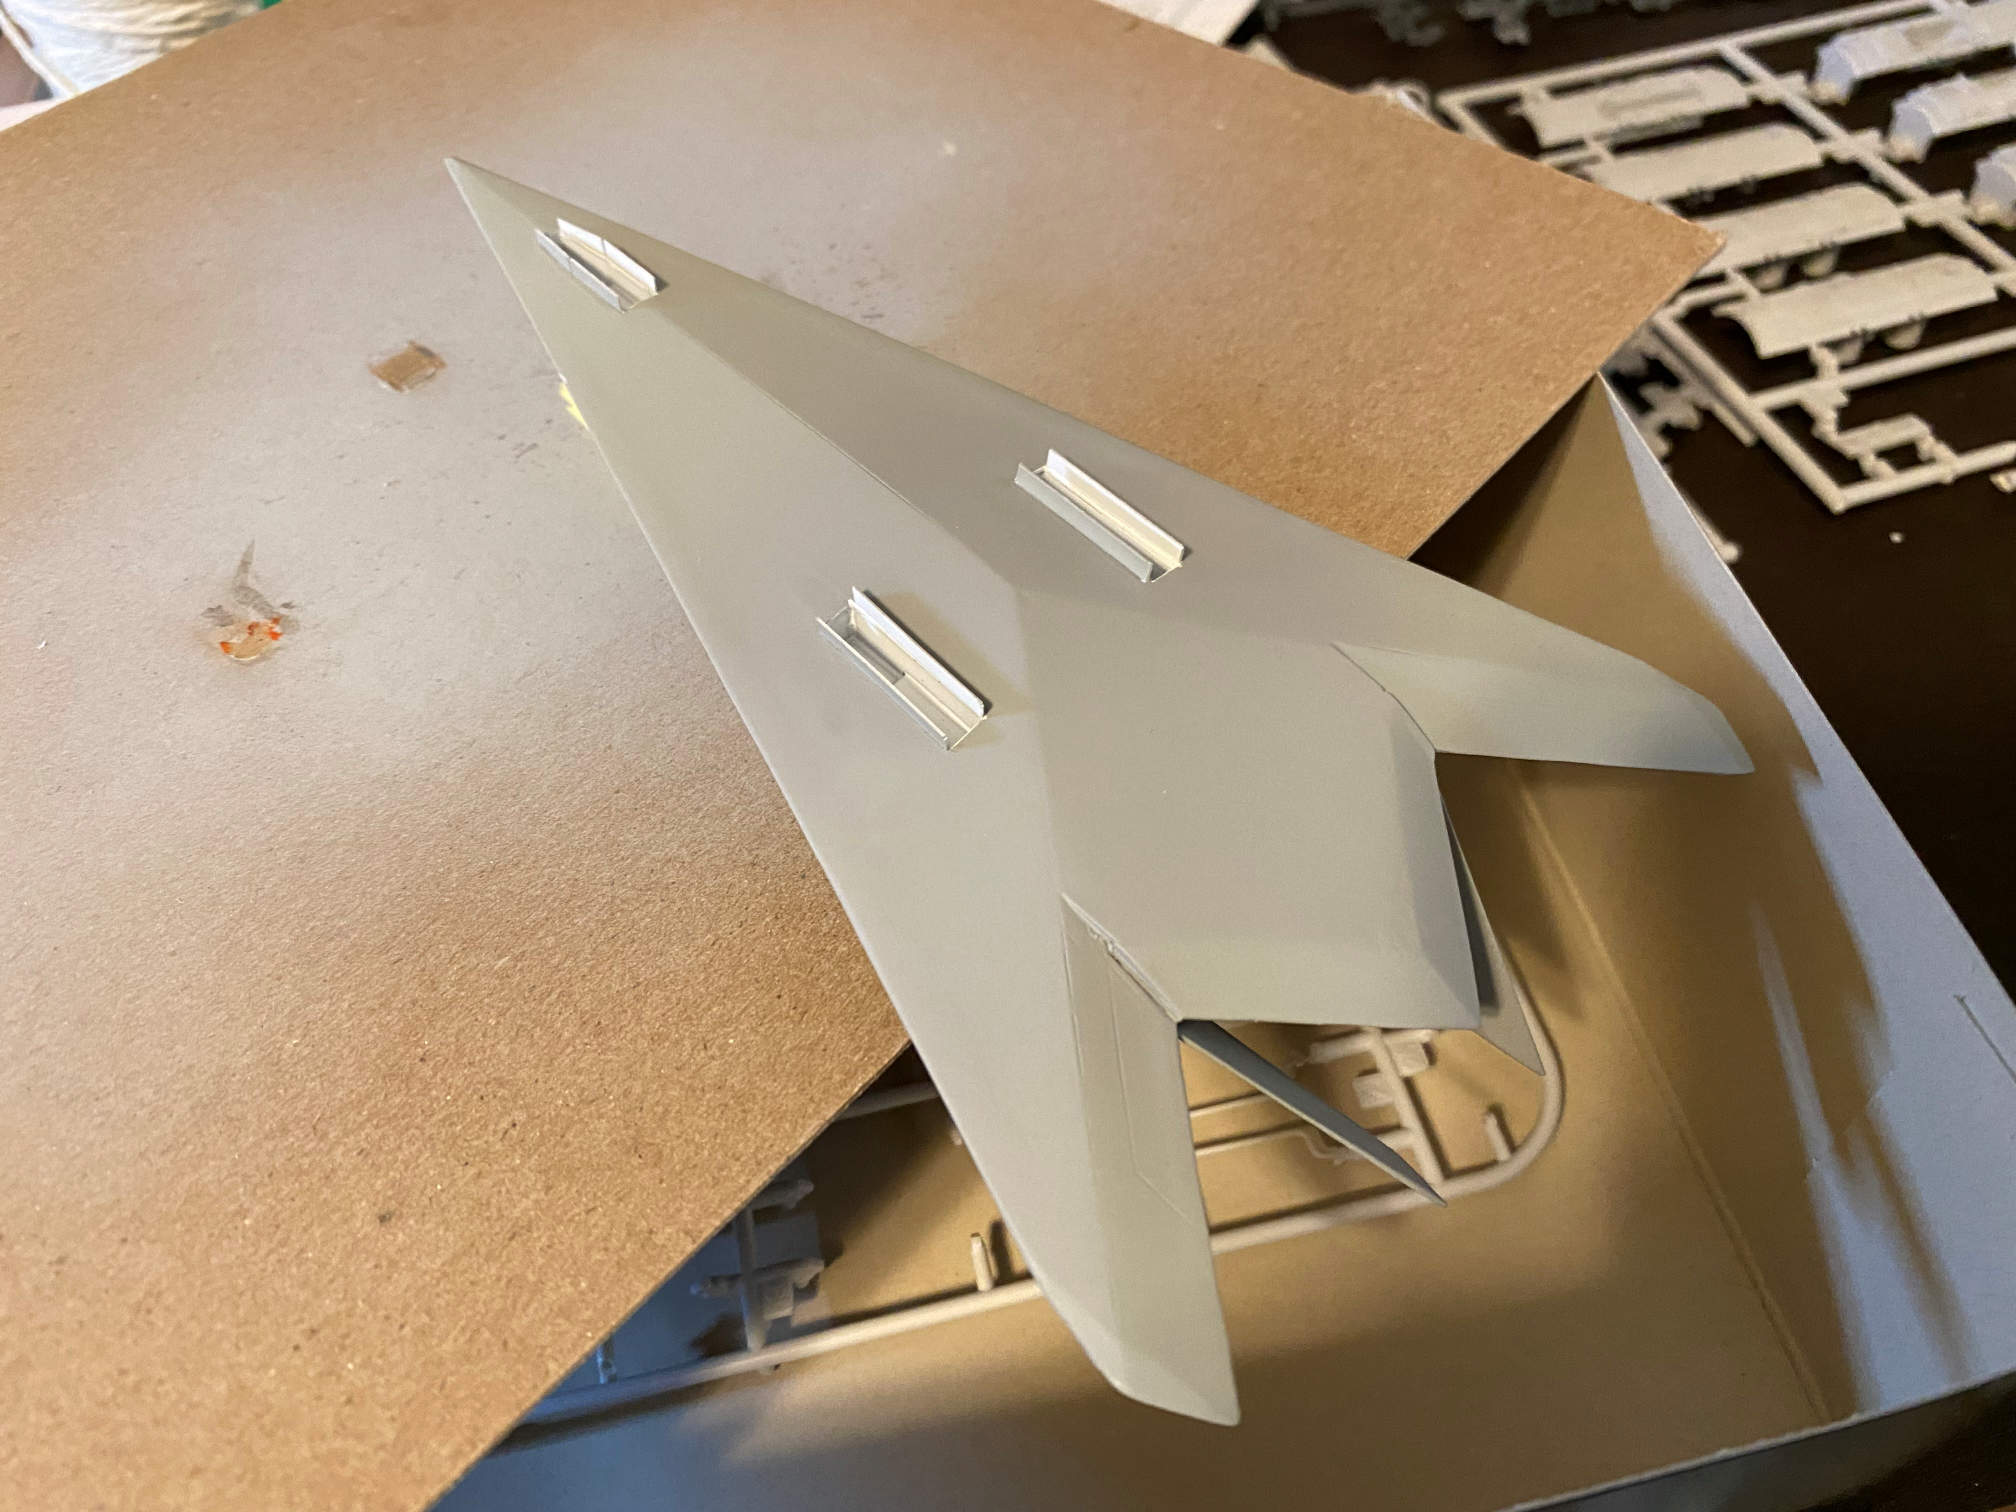
Then the landing gear were glued into the gear bays and the model was complete.
I have an old Verlinden Productions tarmac card that I will display it on. I need to get a wood base large enough for it first. It should be large enough to display both the XST and the F-117 that it paved the way for. Here are a few shots of the completed model.
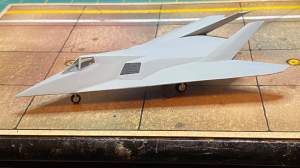


I’m glad that I finally finished this model. I’ve had it in my stash for a very long time. It certainly challenged my skills and in a few places it won. I certainly wouldn’t recommend this kit for anyone but an experienced modeler. It does resemble the full scale aircraft, but any accuracy issues would be hard to argue given the small amount of scale data available for it. Amazingly, I don’t have an F-117 kit in my stash. I guess I’ll have to get one to properly finish the display.
That’s it for this project. I’ll move on now to finish the Mercury spacecraft build. I’ve also started a BanDai 1/72 Y-Wing kit. I’ll start posting about it soon. It will not take anywhere the time that this kit took to complete. I’m hoping I can finish the Mercury and Y-Wing kits before Thanksgiving.
Thanks for looking.
