
I ended up printing a new set of decals with narrower stripes. They may still be a bit too large at this scale but I’m reaching the limit of what I can print with these so they will have to do. Here I’ve started applying the decals to the retro adapter section.
I made a circle about the same diameter as the front of the retro section and then put in 72 radial lines that extend past the diameter circle. This way I can place the part in the circle and then make tiny light pencil marks at the location where the stripe is supposed to go. If I had been smart I’d have not glued the two sections together until after I applied the decals so I could have had marks for both ends of the stripes. Oh well, planning?
I repeated the process for the equipment section making the marks on the opposite end. Not every line is exactly where it needs to be but they are close. I ended up using only 70 of the 72 stripes on the retro section and 87 of the 88 on the equipment section. I’m not sure exactly where I missed them, but I seriously doubt anyone will be able to tell. After the decals had dried I went over the whole thing with MicroSol and let that dry. I then clear coated the decals and finally covered that with a dull coat. Here is a shot of the completed decal work.

Of course after I was 3/4 of the way through the one by one decal process, I realized that I could have printed the decals on an arc and placed them in sections and only needing a minimum of marks. Oh well, the decal job looks good anyway.
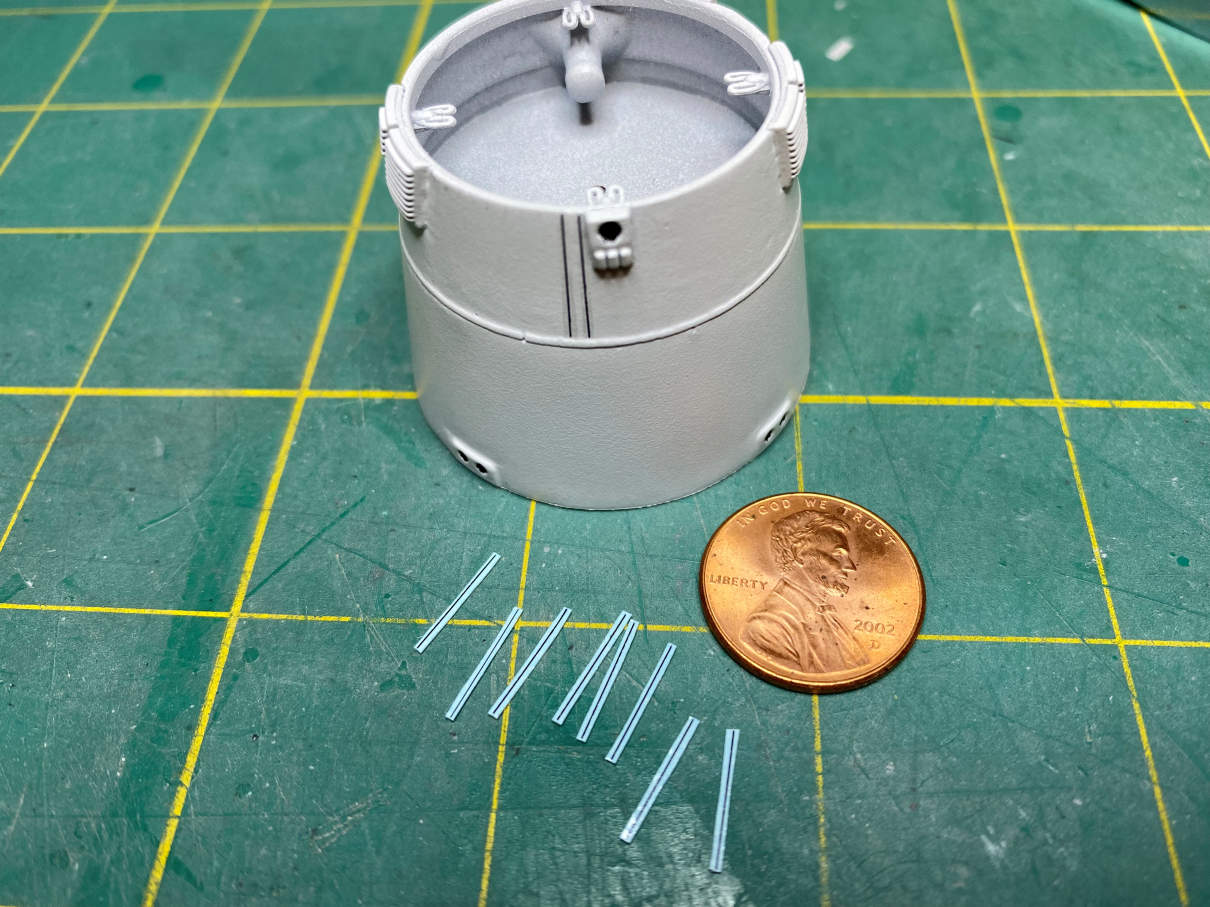
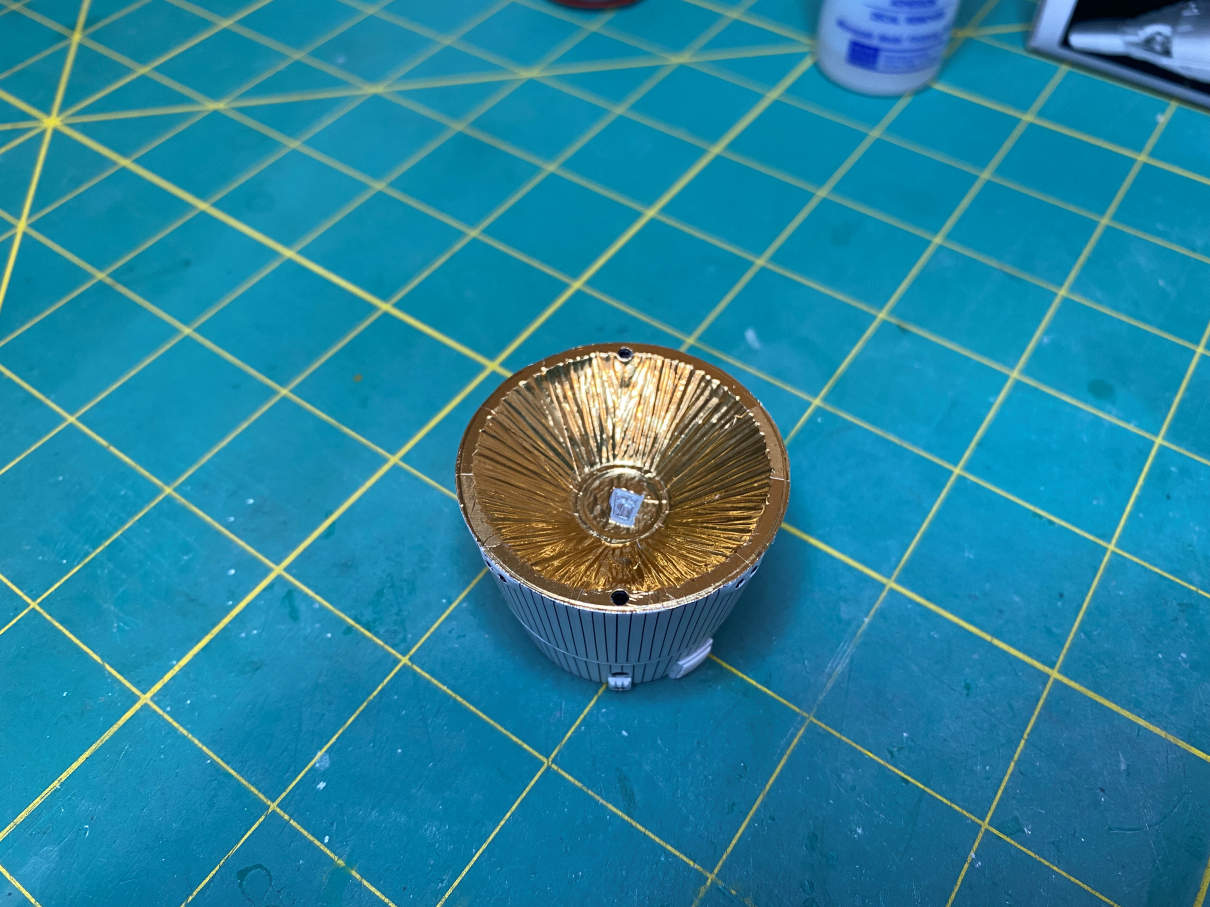
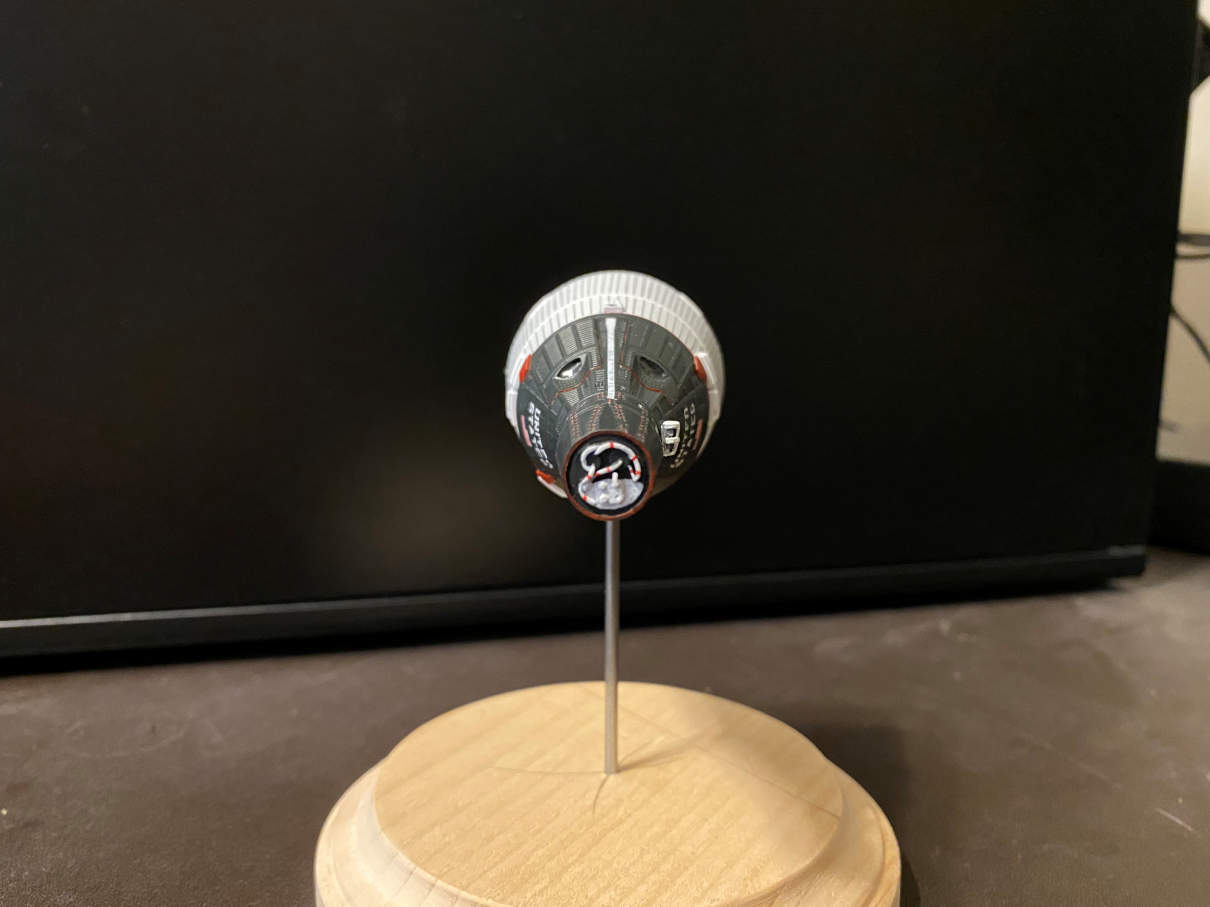
Finally, it was time to foil the back of the equipment adapter section. I started by painting the center detail with Testors MM Chrome Silver. I then cut wedges of Bare Metal Gold Foil and applied them overlapping each one slightly. The last section ended up being just a narrow rectangular piece to fill in the last remaining gap. I cut out for the two forward translation thrusters. Then I cut a small circle of foil to fill in the bottom and cut out for the silver section. Here is a photo of the completed part.
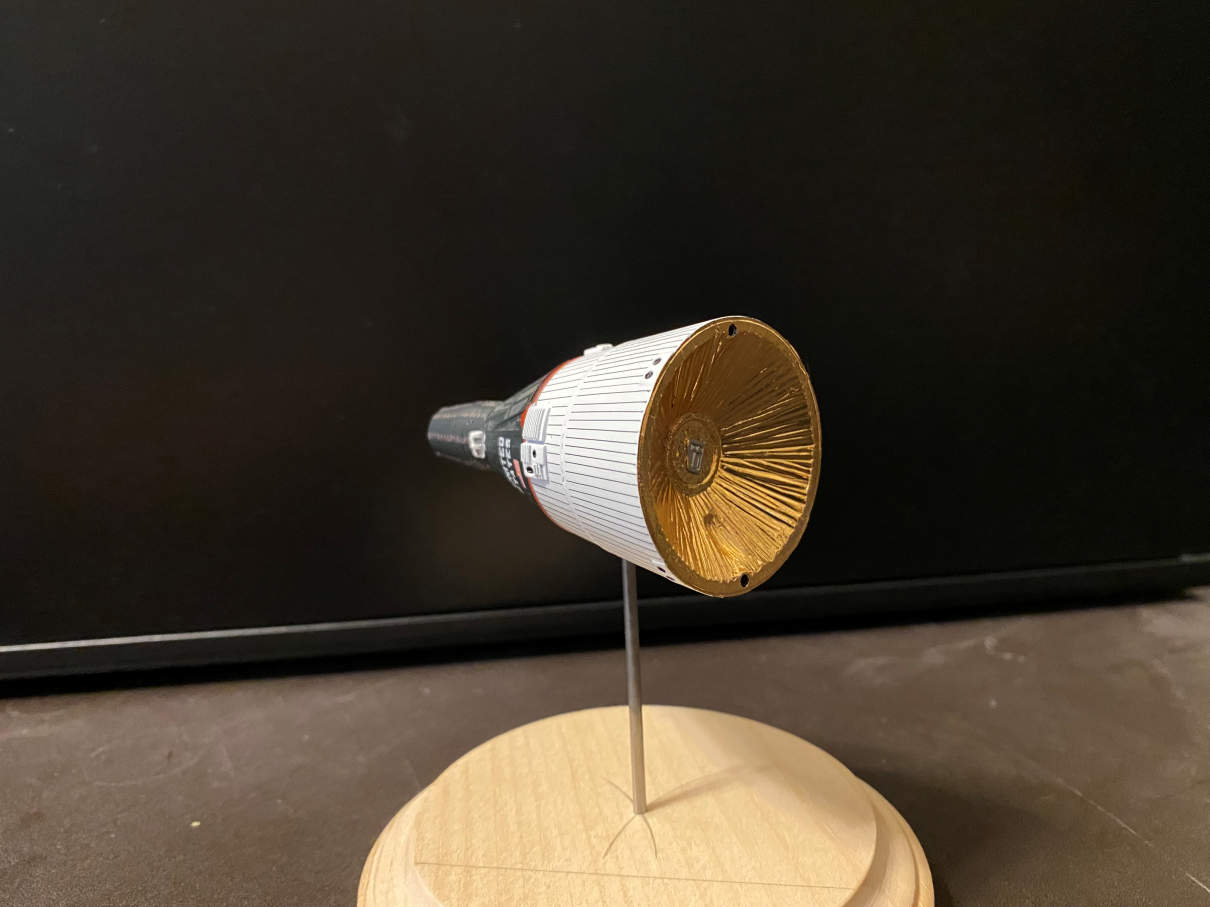
At this point all that remained was to glue the crew section to the adapter section. Here are a couple of close pictures of the completed model.
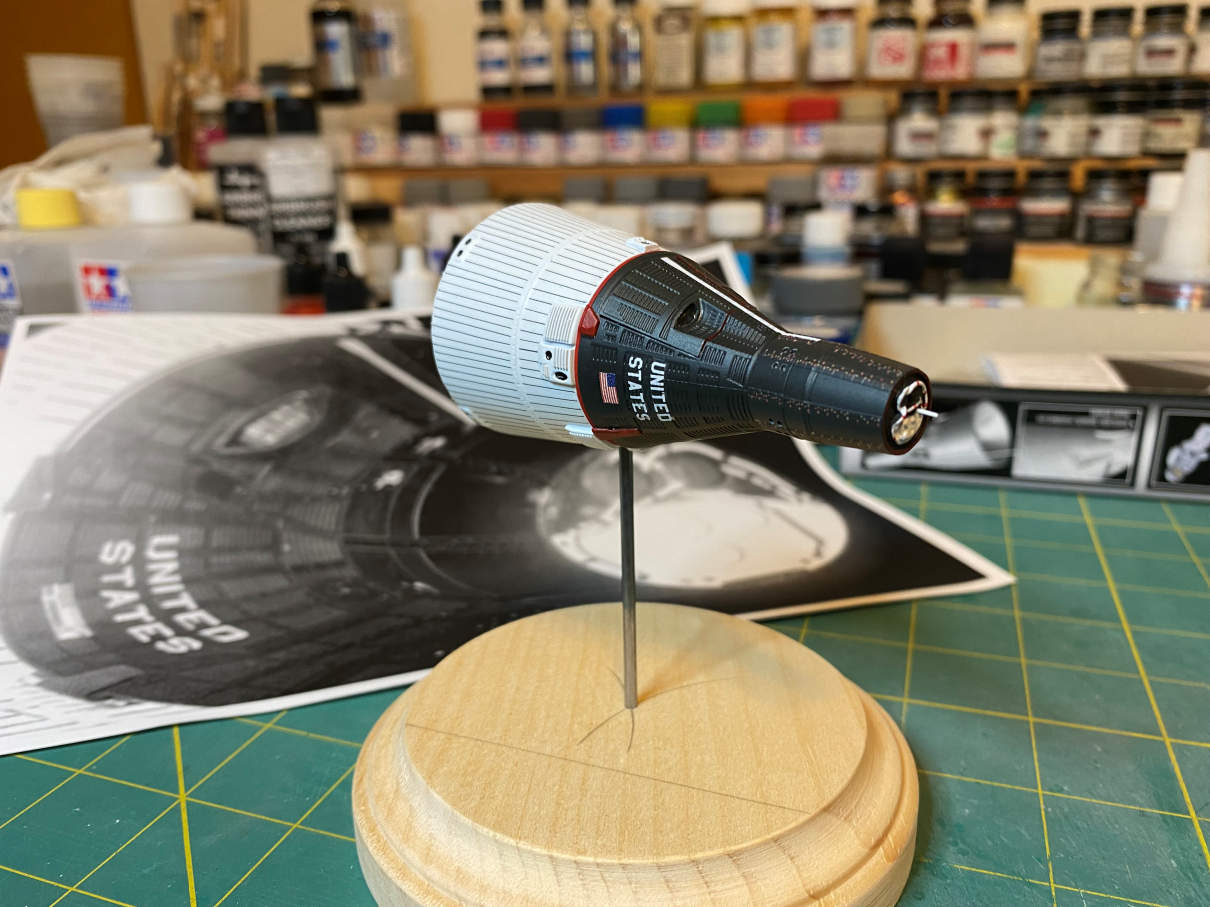

Here are some more from different angles.


Despite the kit flaws it really turned out nice I think. The base will be painted black and I’ll add a couple of decals to indicate that it is a model of Gemini VI.
Now I’ve got Mercury and Gemini in 1/72 scale, I guess I should do the Apollo spacecraft in 1/72 as well. Sounds like good next project.
Thanks for looking.

