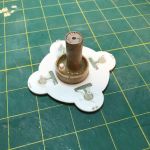
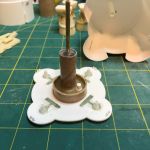
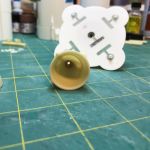
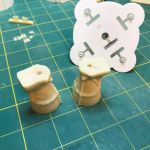
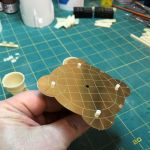
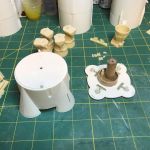
More progress has been made on the Saturn V build. I have removed all the raised detail from the aft skirt heat shield. That all had to go in order to install the brass part from New-Ware. The brass part is very nice and has much better detail that what was on the original piece. After removing the raised detail I got to thinking about how I was going to mount the model on its wooden base. I have used steel rod in the past and that works well. All I have to do is figure out how to accommodate the rod in the base of the model. I am using 1/8 in brass tubing and that will slide over the steel rod that is in the base. I used some paper tubes and epoxy to cover the hole where the center engine will be mounted. After epoxying the tubes in place and filling them with epoxy, I drilled an 1/8 in hole from the center engine through the tube and out the top of the aft skirt part. I then used JB Weld and put the 1/8 in brass in the drilled hole and about 3/16 in out the bottom. The extra out the bottom will aid in mounting the center engine.
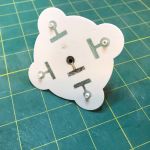
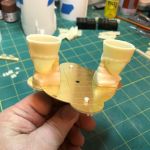
After doing that I decided that having a 1/8 tube projecting from the heat shield would be a great way to mount all the engines. You can see the 1/8 in plastic tubes that I epoxied in place for each engine.
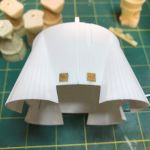
The pictures show the rescribed ribbing where I sanded the hump down. You can also see that I have started adding some of the photo etched (PE) details to the aft skirt.