
Back to work on the SA-5 model a bit. Work continues on the S-I first stage. I got the puttying and trimming on the tanks done and they should be pretty smooth. I scratch built the gaseous hydrogen vent pipes that go down the first stage at three points. There was plastic rod included in the conversion kit but they did not include the bend at the top that was required to make the pipes meet their counterparts from the S-IV second stage. I had some Evergreen plastic tubes that were a close match to the diameter supplied in the conversion kit. I cut them to length and then cut a small section from the top at around a 30 degree angle. Then I rotated it and glued it back on the tubing. Then I needed to trim the back side of the angled section since the Airfix kit does not provide enough room. I then taped them to the side of the S-I to see how they looked. I think they will be fine.
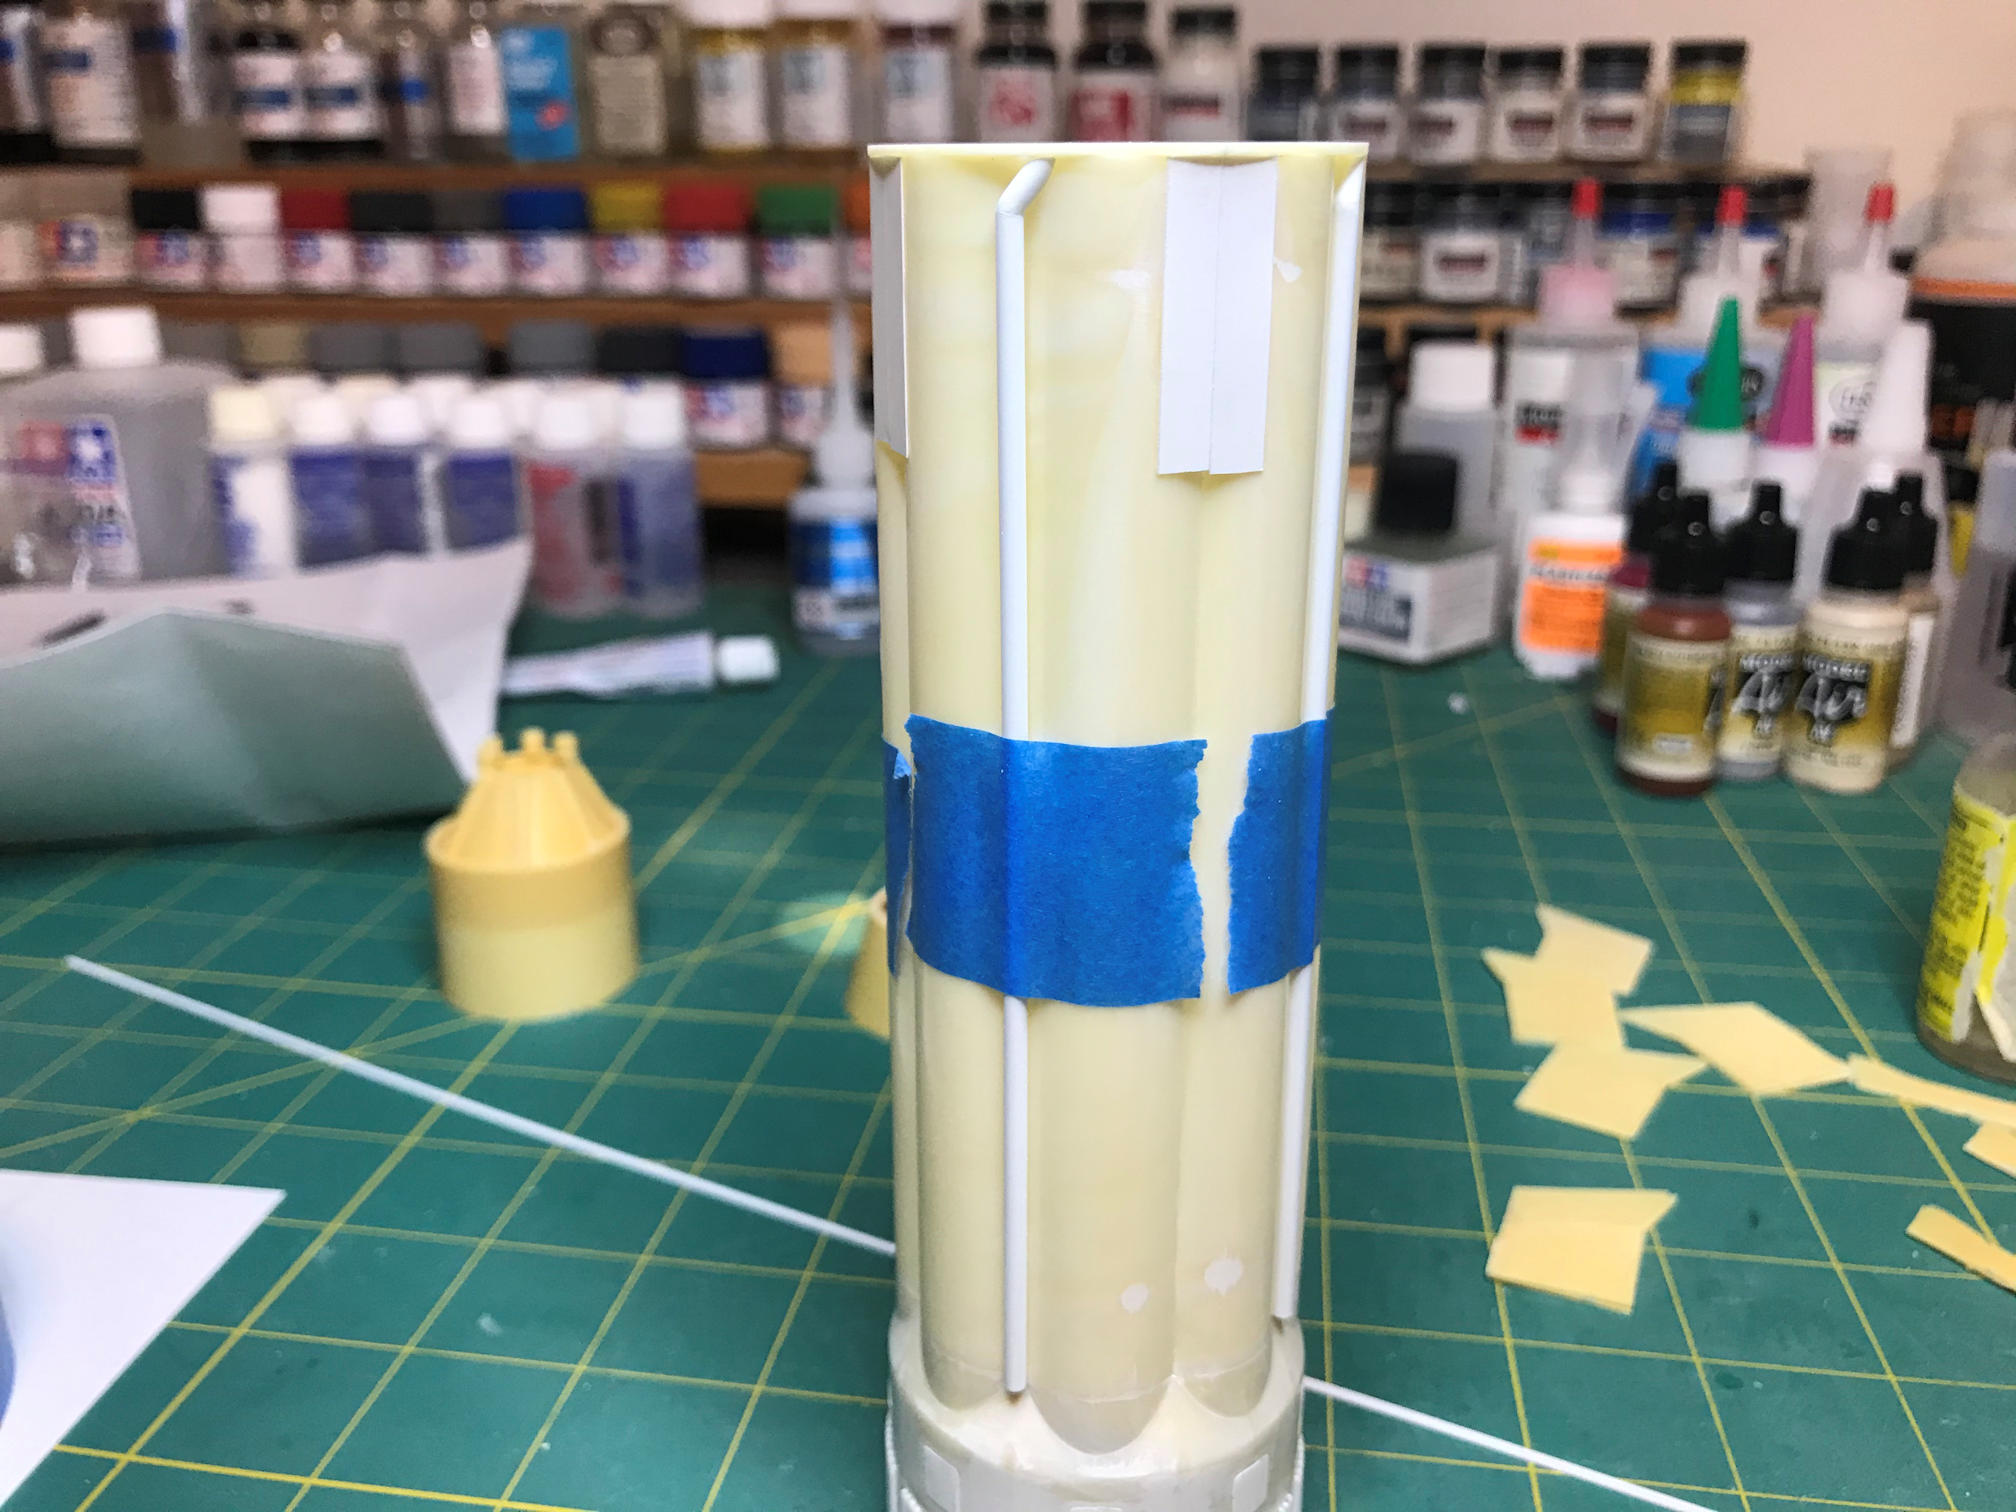
Before I glue the hydrogen vent pipes in place I needed to add more details to the S-I. I cut some narrow rectangles of 0.005 inch sheet stock to represent the antenna mount points and glued them in place at each quadrant position. I also added the electrical conduits that run down the side of each RP-1 tank from the antenna mount to near the bottom of the tank at the boat tail. I still need to add the antennas, the LOX and RP-1 fill and drain ports at two places, and also the LOX and RP-1 vent holes at the top of the tanks.

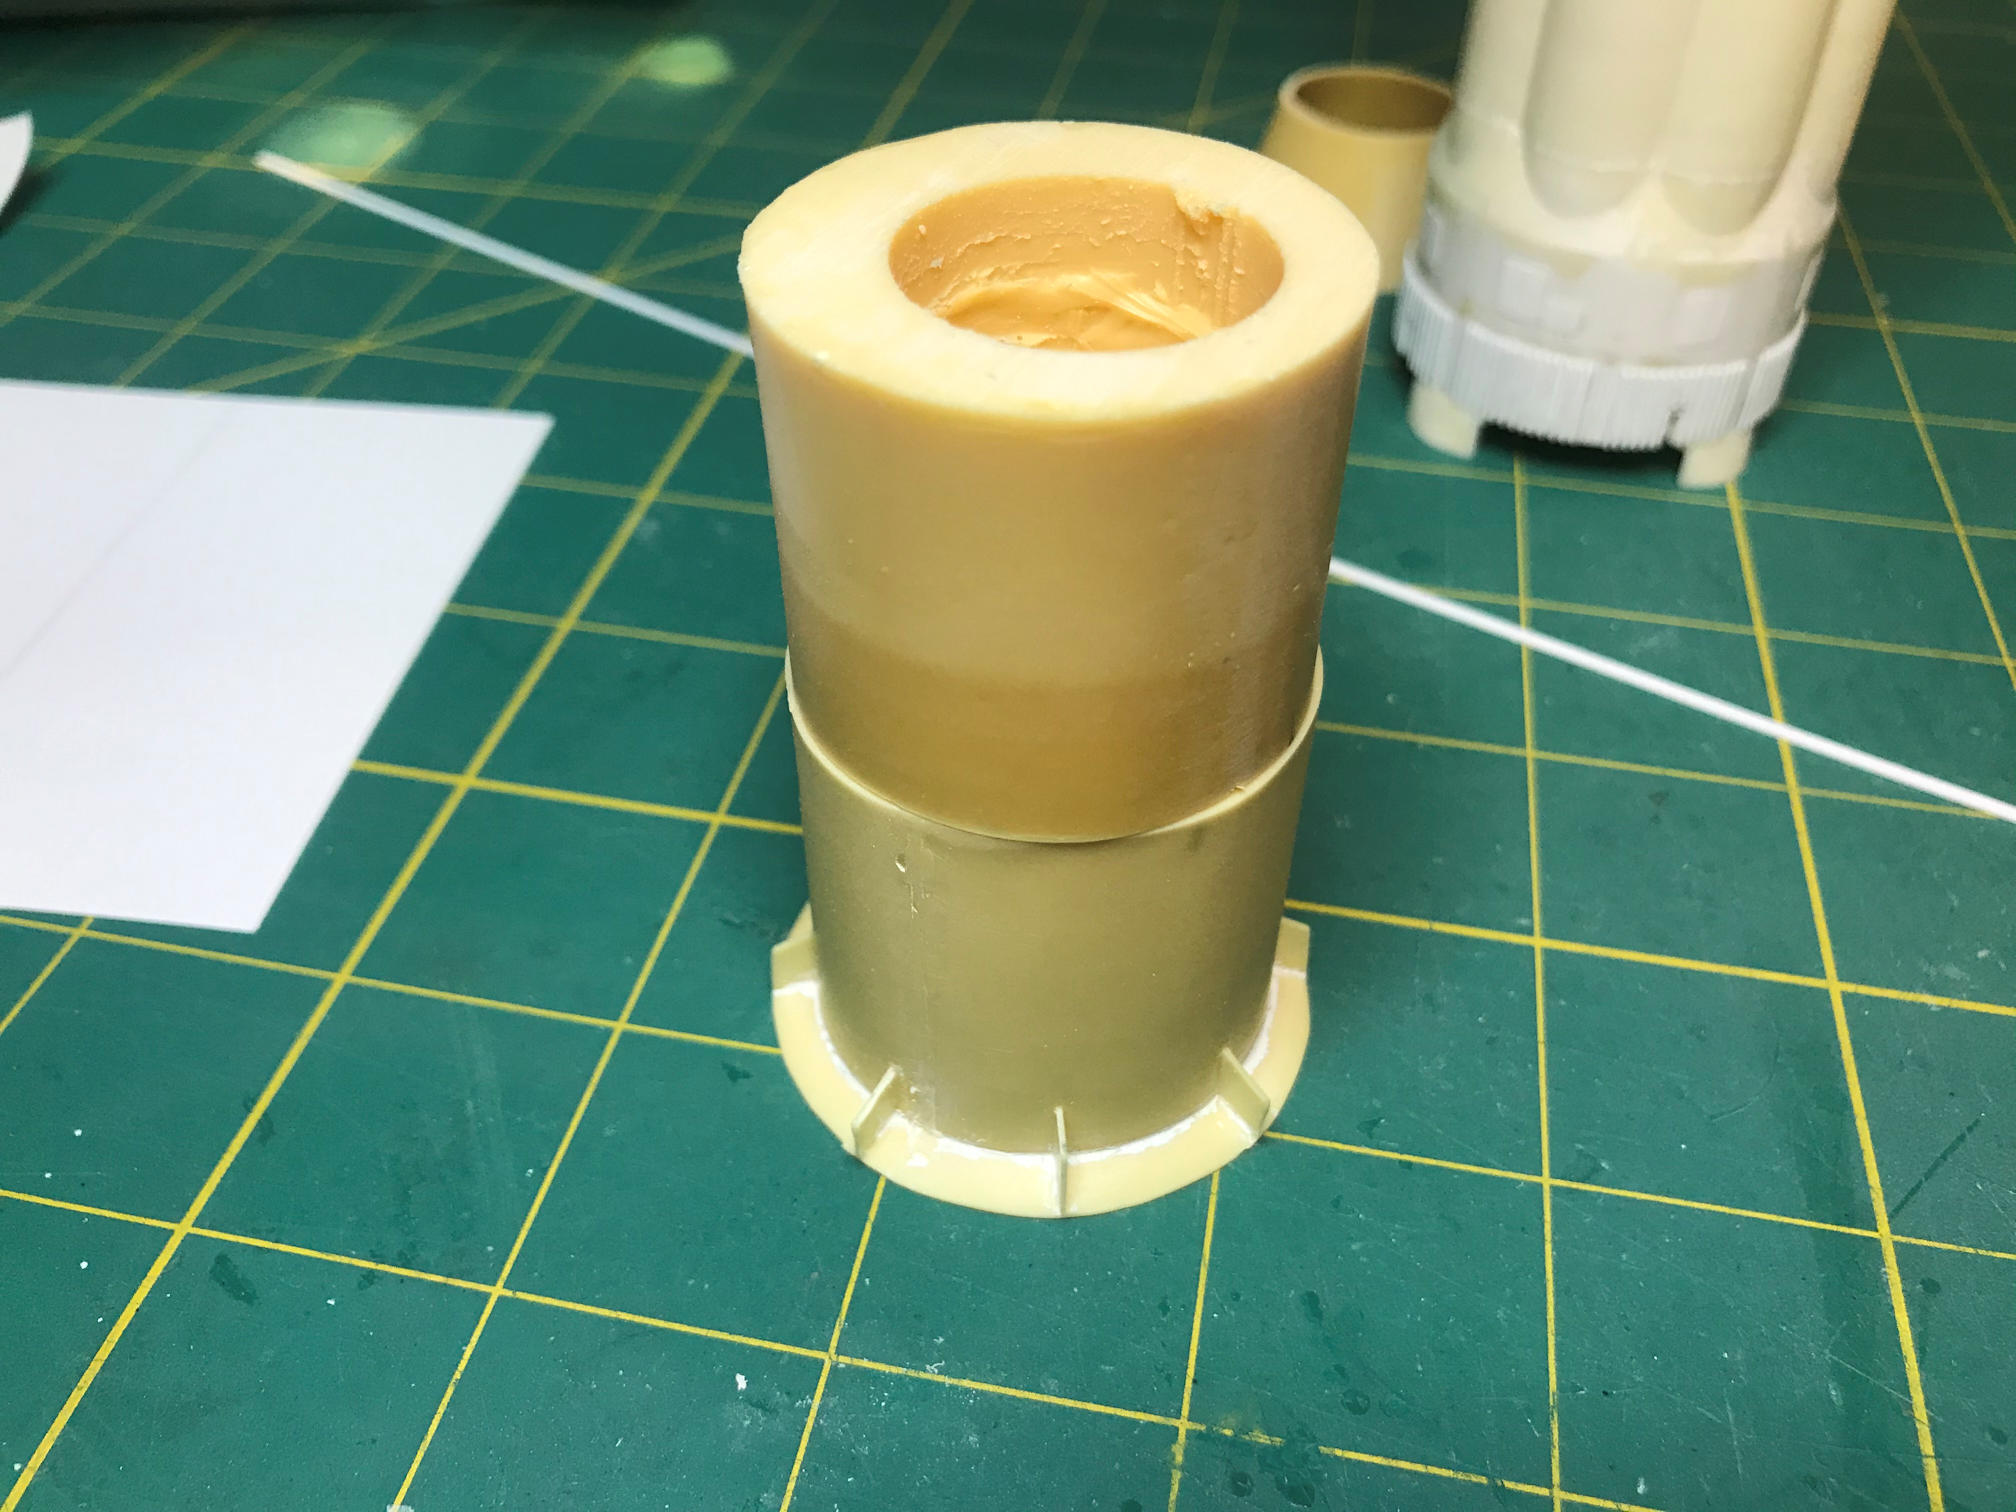
In concert with the S-I hydrogen vent pipes I also removed the vent pipes from the interstage. They are mounted too close to the sides of the interstage and would end up not lining up well with the pipes on the S-I. I debated with myself about doing this since it will require more scratch building, but I just couldn’t let that one go.

Speaking of not letting things go, I also removed the fairings from the base of the S-I stage. They were just too clunky with the blocky attachment points. So I removed them and will glue them back on after trimming all the excess plastic off. This also allows me to move the heat shield down to the bottom of the S-I instead of being slightly recessed.

After removing the hydrogen vent pipes from the interstage I stacked the S-IV on it to see how they fit. I knew that the S-IV was out of round but I didn’t know it was quite so far off. I’ll have to do a good amount of work to get them to fit like they should.
Finally, I cleaned up all the fins and then adjusted them to fit on the base of the vehicle. Each one was different in some minor way and the Airfix base was not quite as symmetrical as it looks. Some of them also needed some putty to fill some irregularities. They are now properly aligned and I labeled each one so I would know where each one fits. They will go on after all the other details are complete.

That is it for now. Thanks for looking.
