
Here is a quick post of a build I finished a couple of weeks ago. It started out as a ANA Boeing 767 in Pokemon livery that they did in the late 1990’s. Here is the box art for the kit.
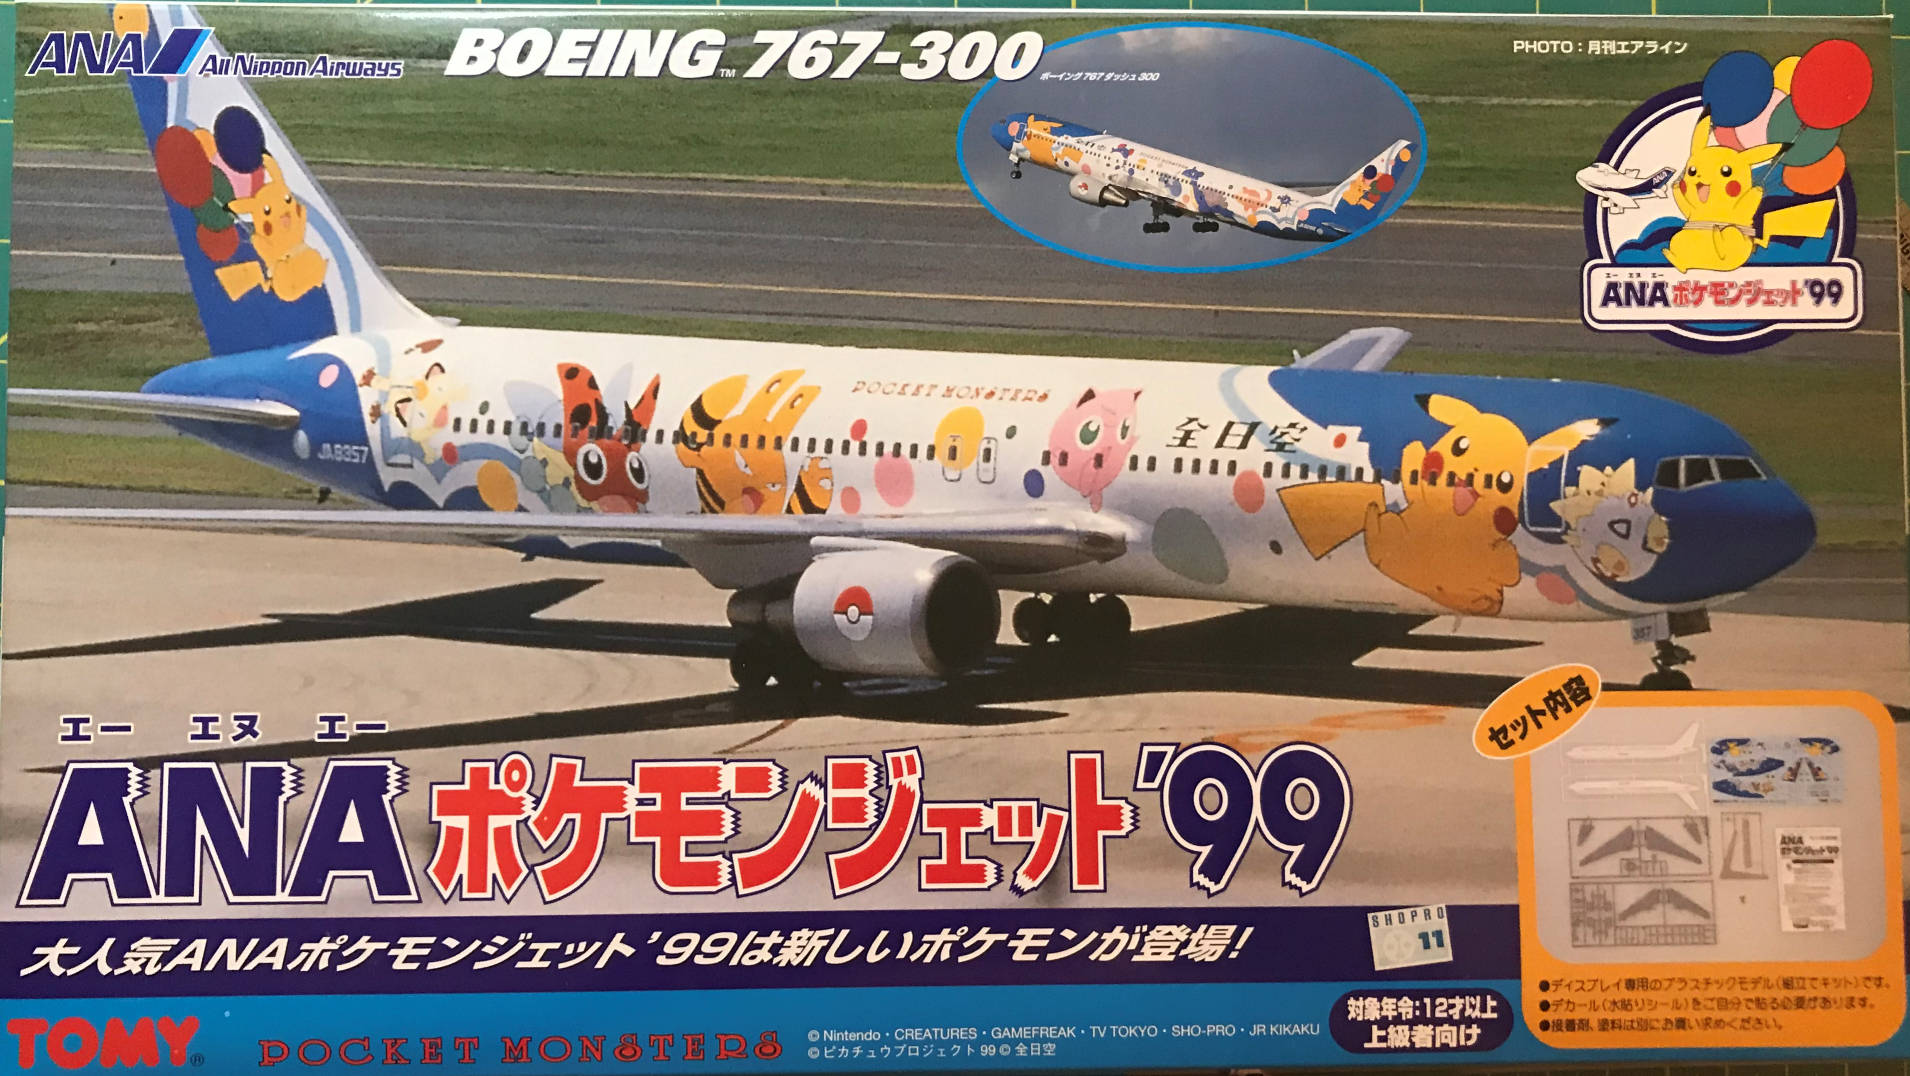
It is a gift for a nephew. He has played Pokemon Go for a while and likes aviation and aircraft. So I thought it might be nice to give him a unique build with both interests represented.
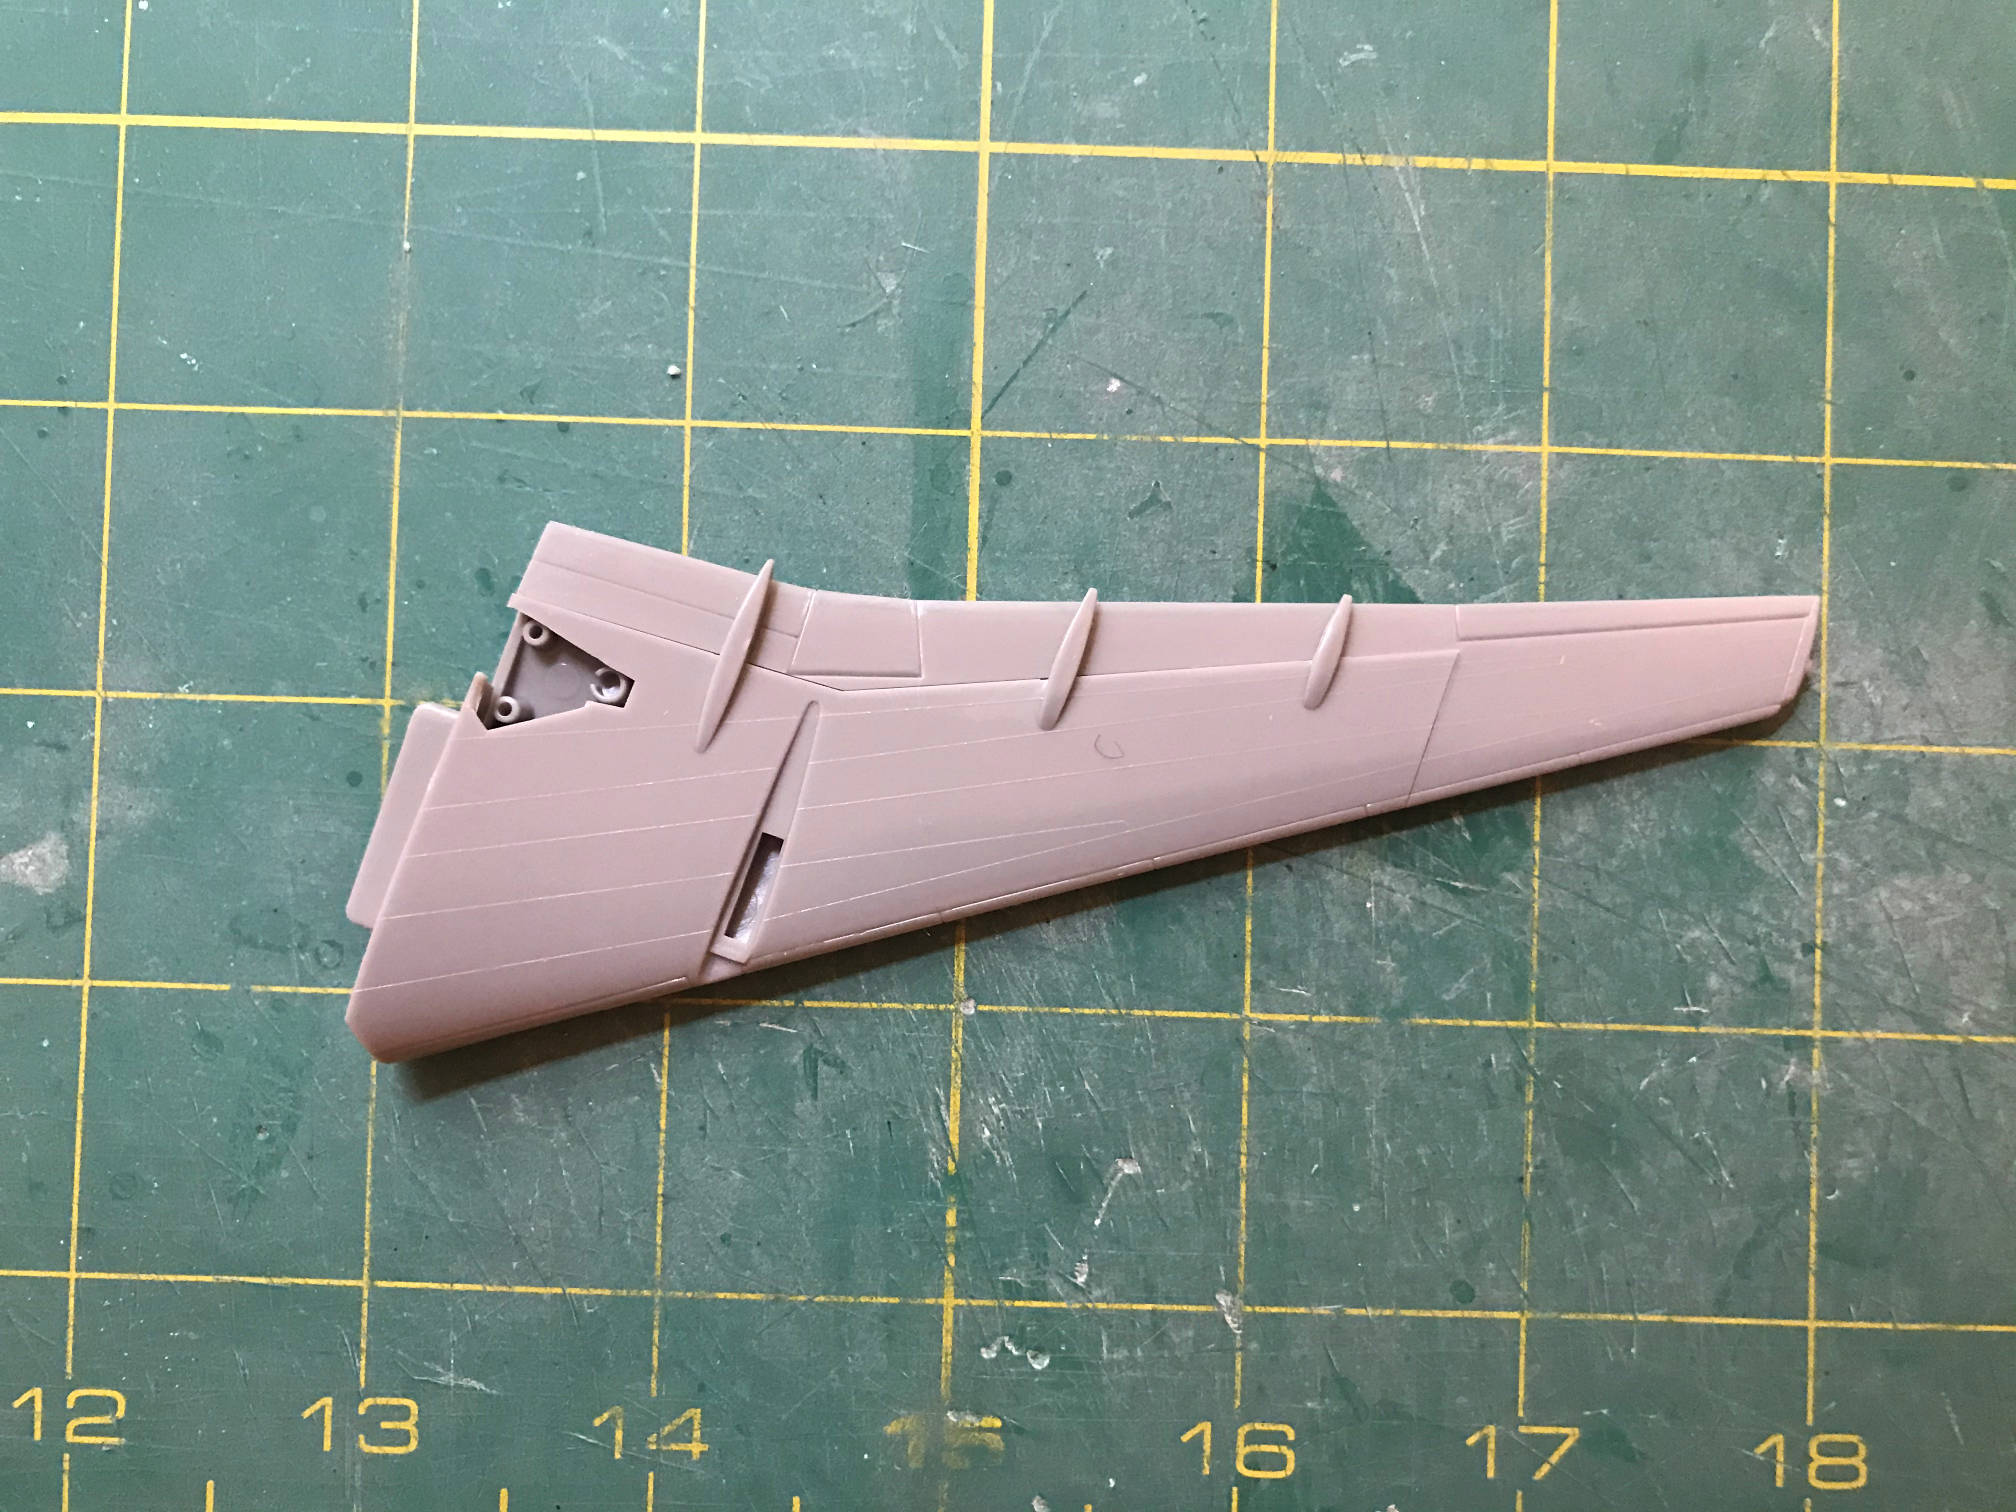
The kit is by Tomy but in actuality it is the Hasegawa molds. Overall the fit of the parts is not too bad considering the age of the kit. I started with the wings. They fit together pretty well and are made to fit such that most of the seams run along panel lines of the plane.

I then painted the interior of the fuselage black so that the windows will show black when the halves were glued together. Leaving it white would leave the interior looking much too light through the windows. I also painted the forward bulkhead black, since it would be very visible through the cockpit windows. The kit supplies a bolt that needs to be threaded into the bulkhead so that the plane will not be a tail dragger if it is placed on its landing gear.

I then glued the fuselage halves together. The seam required a bit of cleanup. The halves seemed to have a bit of a step between the two halves. There weren’t really gaps, just a step that needed some work. I used my #11 blade and some sanding sticks to smooth the seam.

I then gathered up the other parts of the plane to get them ready for primer. I left the landing gear on its sprue for now.

I also put some trimmed paper towels into the cockpit window area so that the primer would not get onto the black painted bulkhead. The fuselage was primed with white and the other parts were primed with gray.
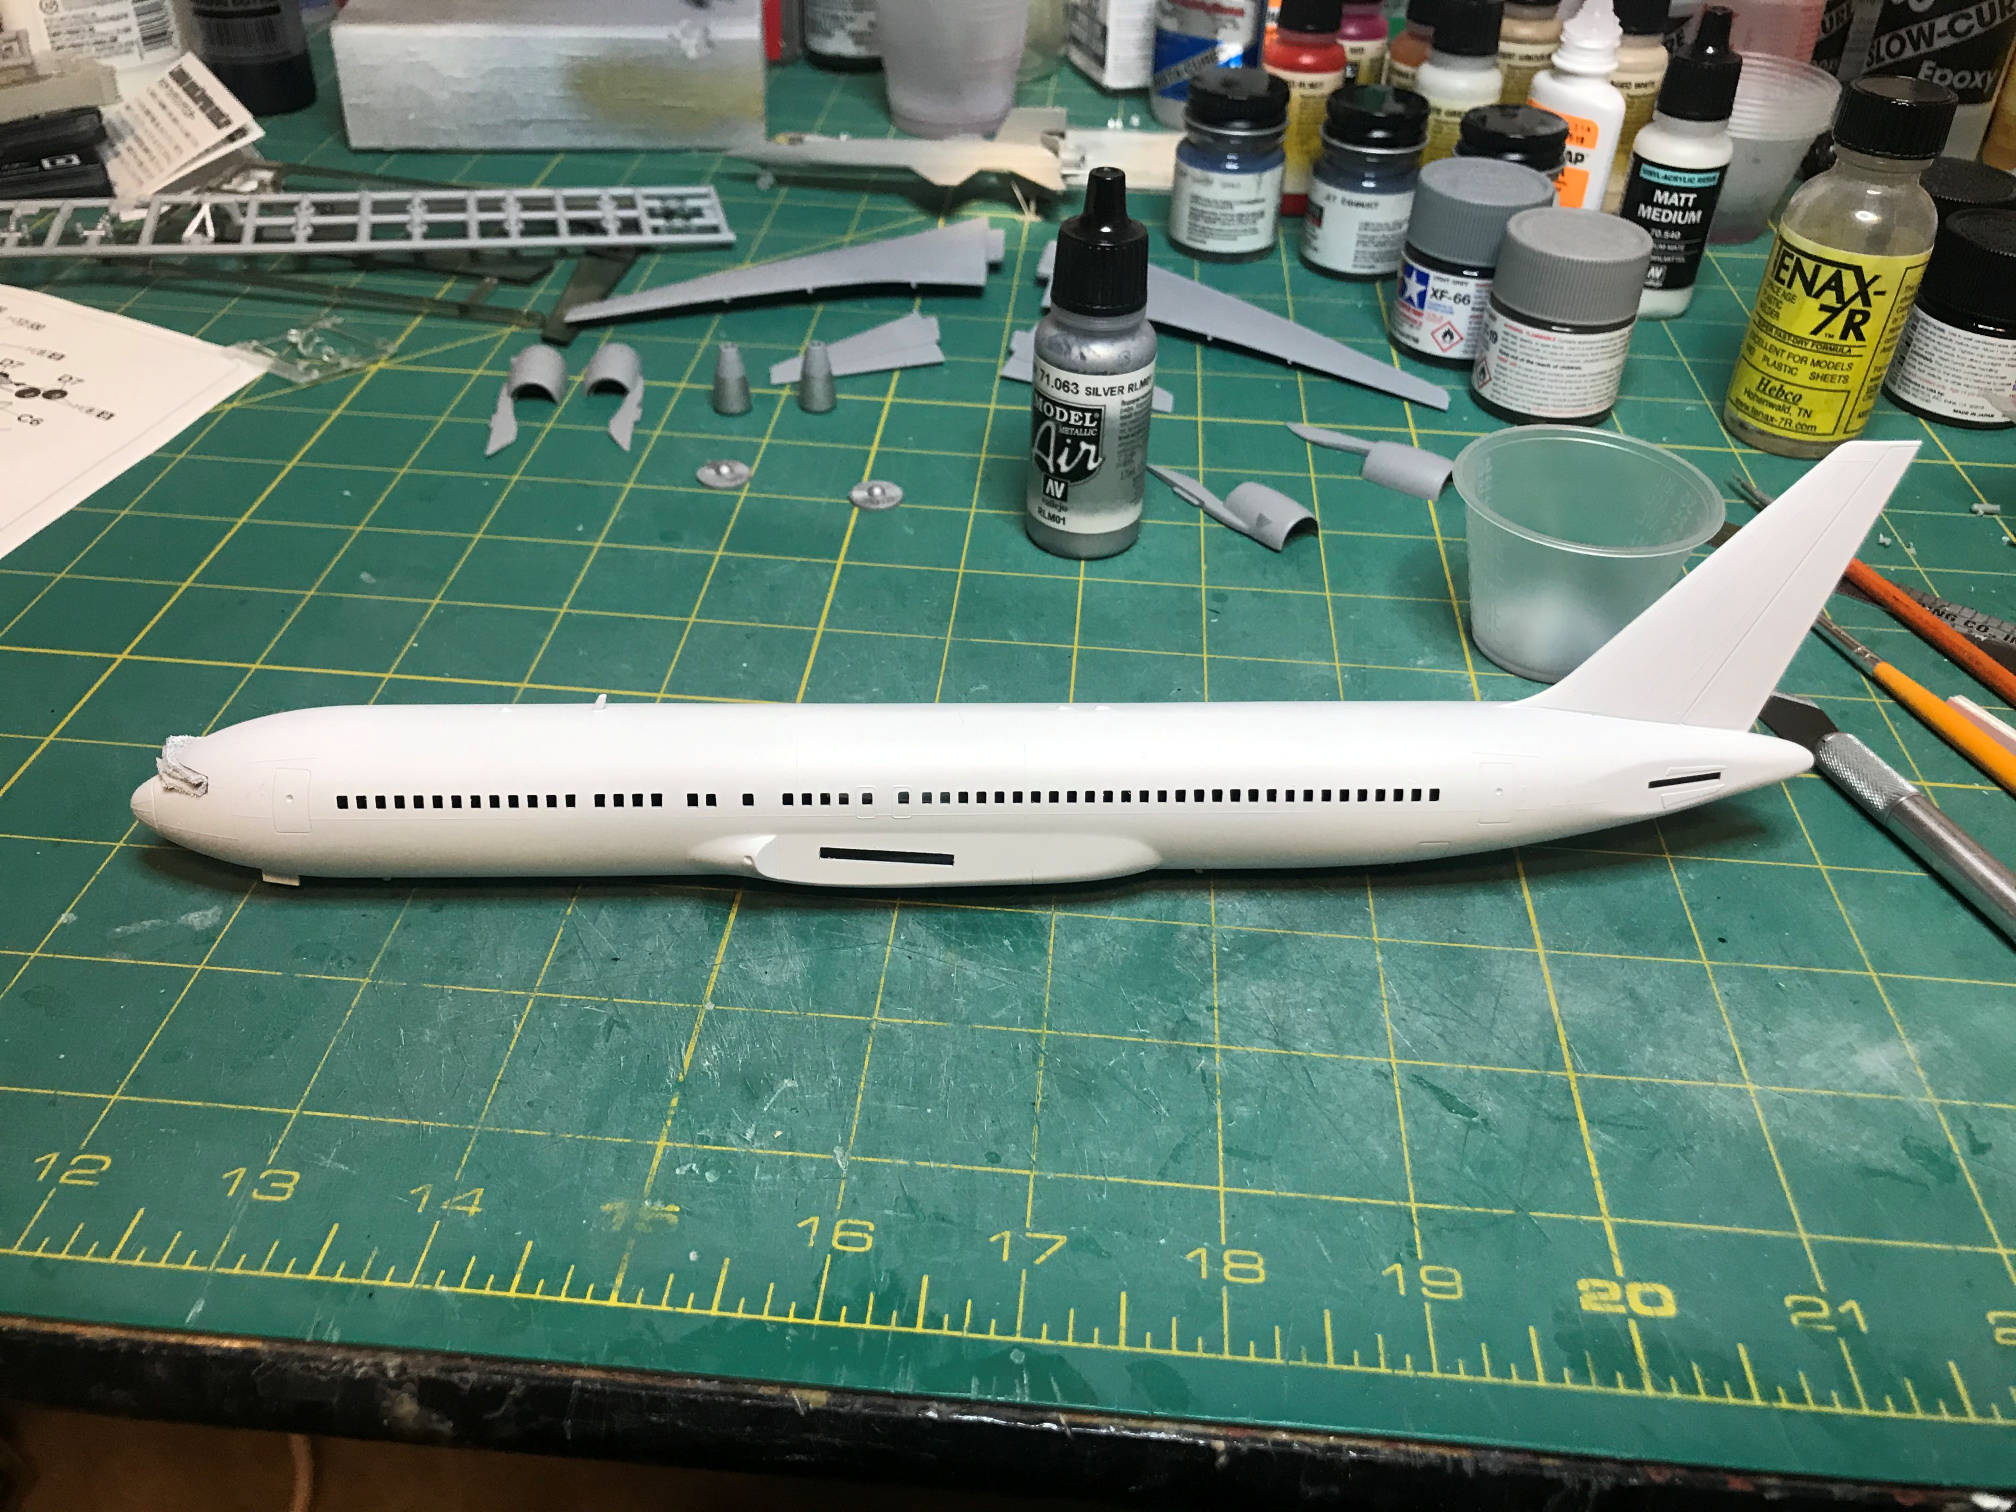
Here is the fuselage with a couple of coats of white primer. Note how the cabin windows show as black due to the black that was painted on the inside.
I started assembly of the engines before I primed them. The fit here is not the best, as can be seen in the below photos.
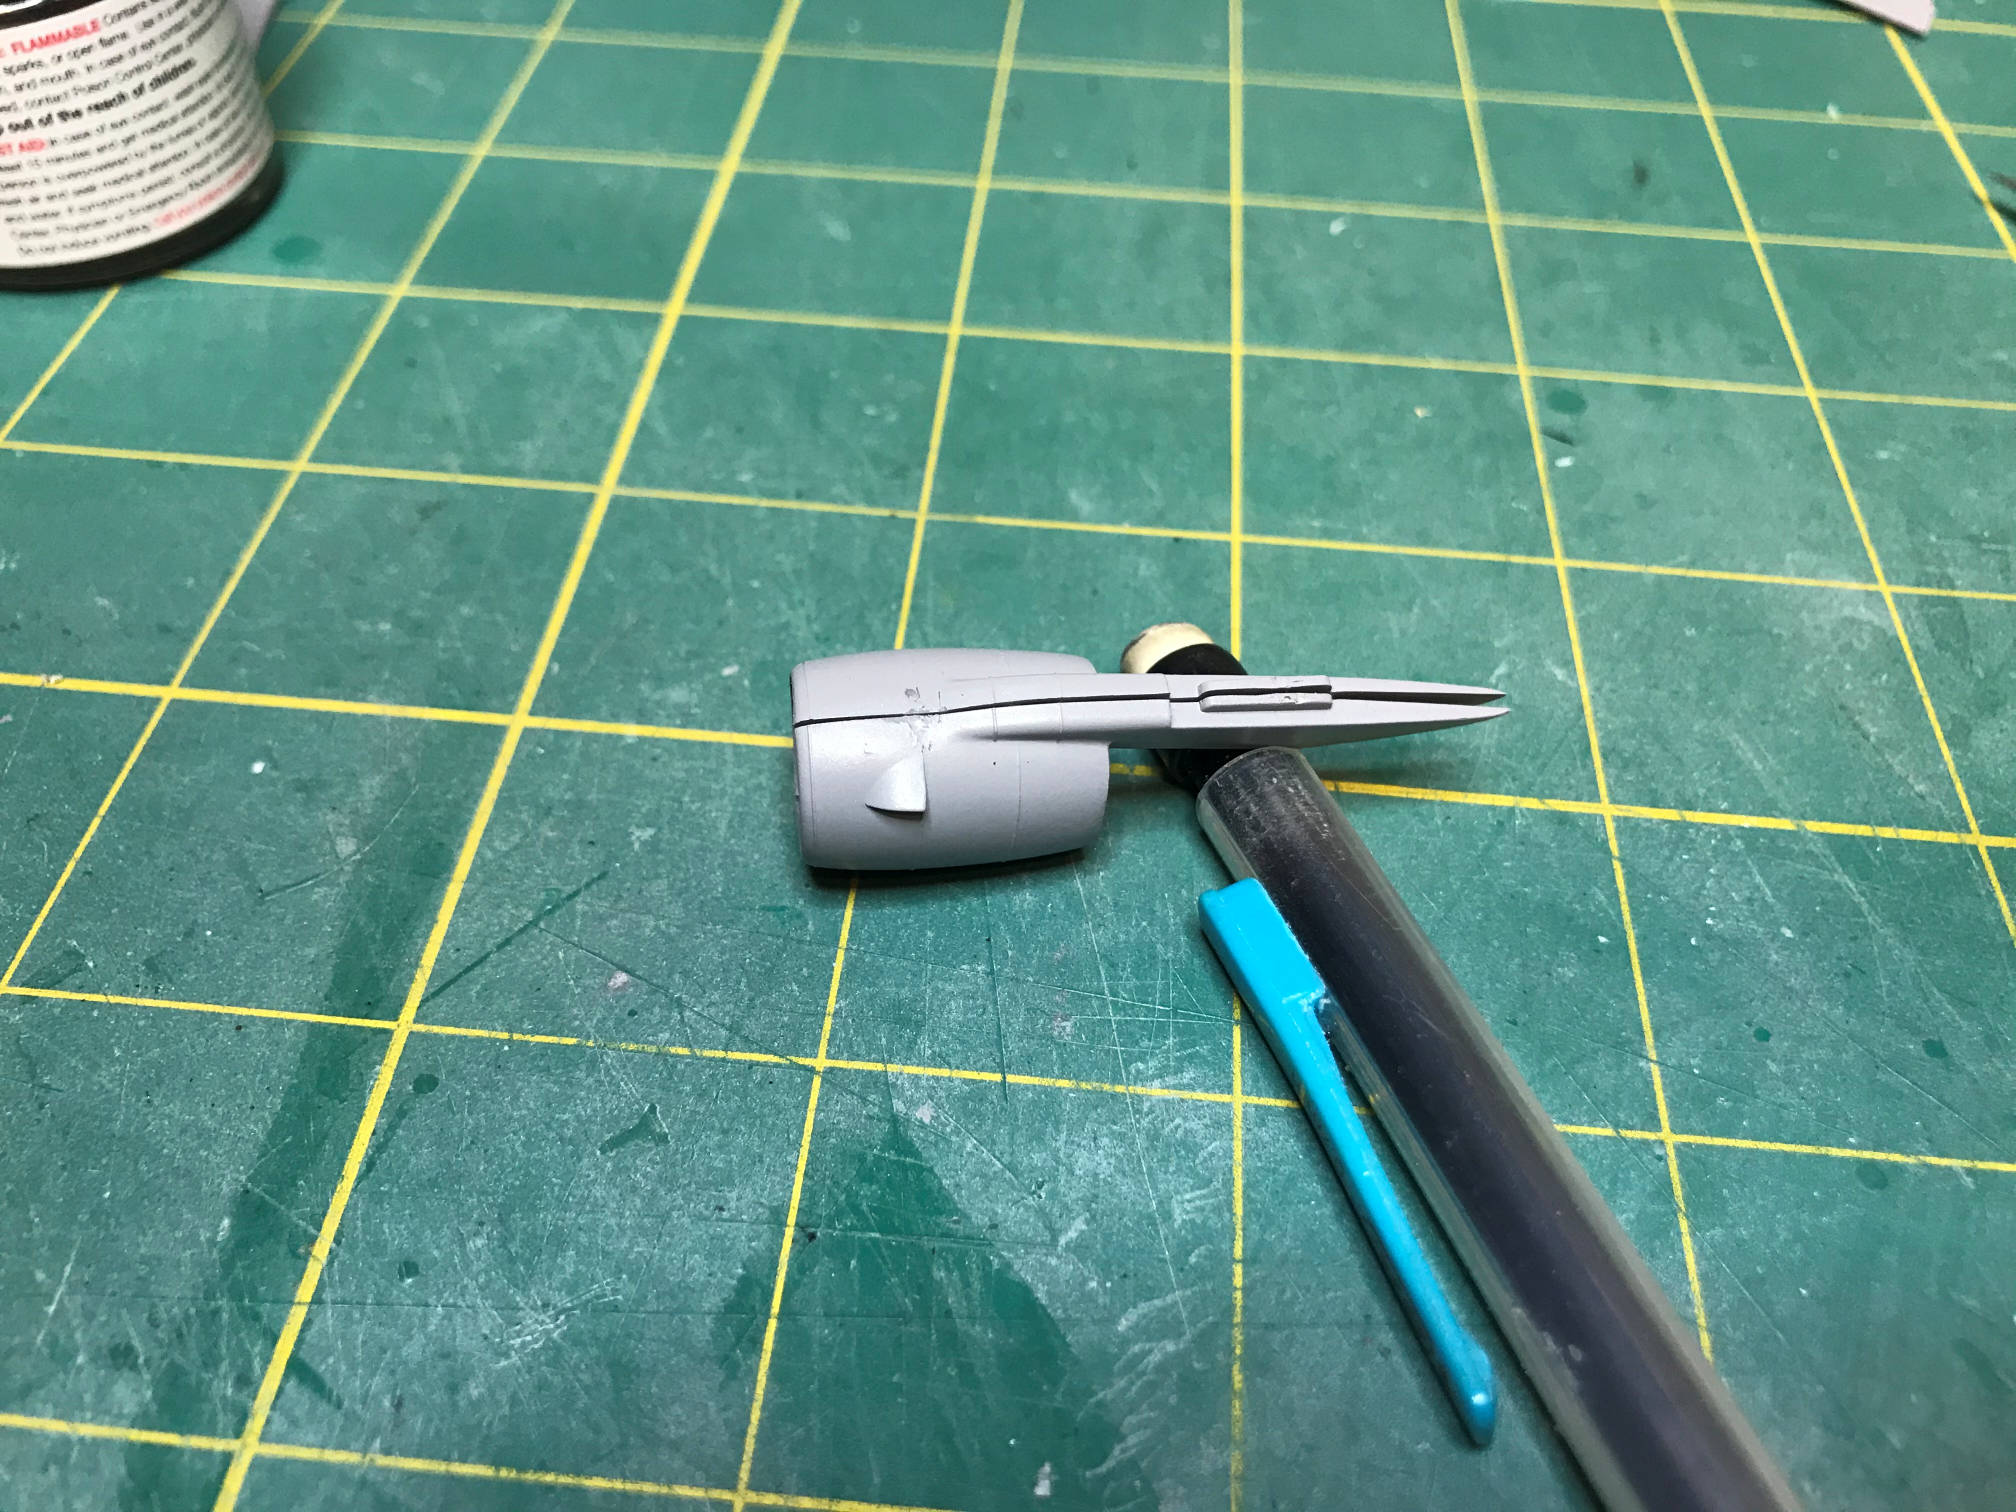

I started by sanding around the turbine blades to try and get the halves to close. I took a while but it did get better. I still needed a bit of filler to finish it off. The pylon required some Tenax 7R solvent cement and some clamps to close the seam. Finally they looked decent. I primed the wings, stabilizers, and engines with Tamiya gray primer.
I masked off all the wings and stabilizers except for the center section which needed a slightly darker gray. I used Tamiya Sky Gray, and after it had dried I removed the masking and glued the wings to the fuselage. I painted the navigation lights on the wingtips and the top and bottom of the fuselage with silver. Then covered that with green and red transparent paint. The effect isn’t perfect but it does make them look more like a light than just painting with the opaque color. The leading edges of the wings and stabilizers were painted silver and the two antennas on top of the fuselage and the one on the bottom were painted black. When the paint had cured the assembly was sprayed with a gloss clear coat in preparation for the decals. I also painted the silver frames on the windshield and glued that into the fuselage with some Future Floor Finish.
The Pokemon decals were quite large and had large blue areas that covered the nose and tail of the plane. You can see the pattern in the box photo at the top of this post. I knew the kit was old. I had purchased it back around 2000. I should have known that the decals may have gotten a bit brittle by now, but I was trying to get the kit finished before Christmas. Dumb move. First the decals required a LONG soak to come off the backing. I finally got them to slide and placed them on the model. I used quite a bit of water, to allow the decals to be moved around on the model, but even so it required a lot of moving to get them in the right position. The windows on the decal were clear so I had to try and match the decal to exactly where the windows were, which again required more handling. The decals couldn’t take it and started tearing. I tried to get them back in place so the cracks would not show. It worked fairly well with the rear half decal. Not so much with the front half decal.
In addition to all that, the decals did not want to conform to the contours of the plane. I used MicroSol several times with little effect. I then used the much stronger Walther’s Solvaset which worked a bit better. Unfortunately, in the large blue areas some folds developed which left darker places at the folds. The front half decal around the nose just started completely ripping apart. What a disaster!
Replacement decals were not to be found. How could I save this build? I stripped the two decals that I had applied off the model and started a rethink. The Pokemon tie in was now out. I started searching online for alternative liveries that were unusual and fit a Hasegawa 767 model. After a few hours I had found several, but the interesting ones were in 1/144 scale not 1/200 scale. I continued searching and finally after another day found a set of decals for a 1/200 767 that JAL used for the 90th anniversary of Mickey Mouse. My nephew and his family enjoy Disney things so this might just work. I ordered the decals and in a few days they arrived.
In the meantime I was searching online for photos of the JAL plane so I could try and get the paint scheme right. The only thing I needed to change were the engine nacelles. JAL painted the engine cowling white while ANA used gray. The pylons on both liveries were gray. I masked off the gray areas of the engines and painted the cowlings white. I had to repaint the leading edge of the cowlings silver since I really couldn’t mask them very well.
After studying the new decals I noticed that the cabin window pattern would not match the Hasegawa windows. This meant that I now needed to fill the model’s windows and repaint the fuselage so that the gray windows on the decal would not have to match anything. It also required that I mask off the cockpit windows so I could repaint the fuselage.

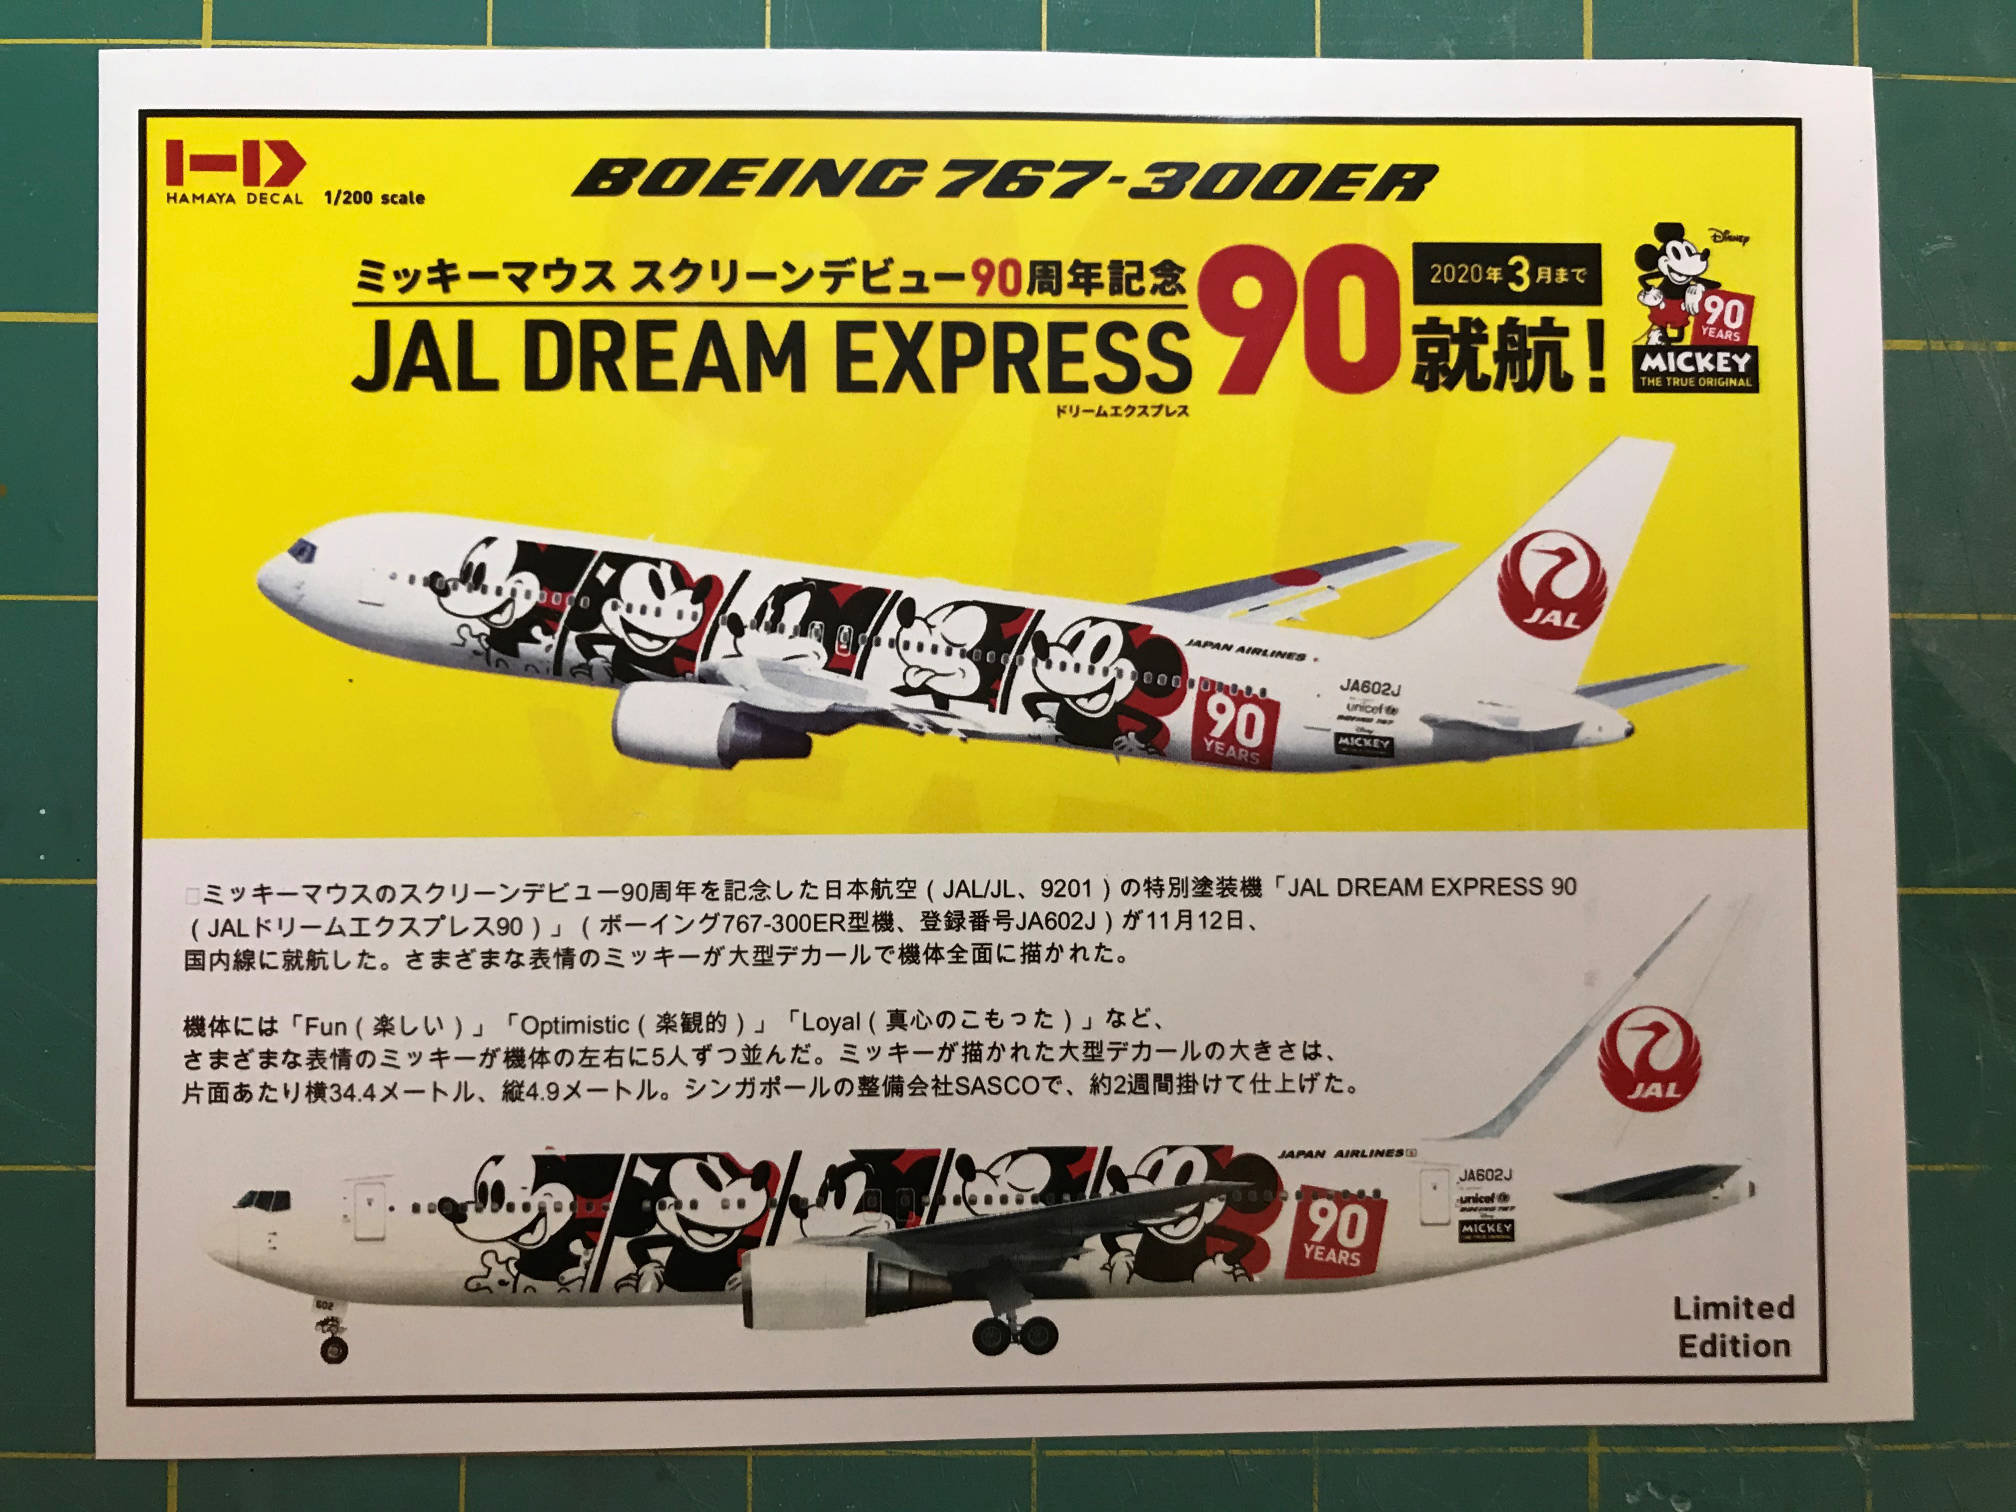
Here is the packaging of the replacement decals.
I also noticed that the new decals did not include markings for the emergency exit walkways on the wings. I could steal these from the Tomy kit decals.
I started applying decals with the main fuselage and the several poses of Mickey. I cut these into three parts along natural breaks in the decal. This made it much easier to apply them and to get the MicroSol and later Solvaset to make the decal conform to the curves around the wings.

The new decals also contain markings for the front and back cabin doors and the markings on and around them. They also include a gray outline of the door itself. That gray outline would not work with this kit since the doors sides are not straight, but slightly curved. I decided that I could cut the marking parts from the door decals and use them separately and then I used a pencil to lightly draw into the grooved doors on the model to highlight them as the decal would have done.
The registration numbers that go on the wings are a bit too small, but not really that big a deal. The large JAL decal on the vertical stabilizer was a bit of a pain. I had to apply Solvaset several times to get the decal to conform to the details of the fin. I also needed to make a few small cuts here and there to get the air out of the decal and let the Solvaset do its job. After the all the decals were on and dry I glued on the engine nacelles. They could have had a better fit, and if I was doing it again, I might try gluing them on before painting so I could apply filler as needed. Finally, I applied a clear coat over the model to protect the decals from handling.
Then the landing gear was assembled and painted. The struts were painted silver. The gear doors were painted gray on the outside and silver on the inside. I have no idea if that is correct, I couldn’t get any good photos of that area. The wheels were painted silver with NATO Black for the tires.
Just as a test, I dry fitted the gear to the model and checked that the nose did rest on the ground. Oops! It didn’t tail drag, but you could see that the nose wheels were not touching and the whole model was sitting on just the mains. I removed the gear and cut a hole in the spot where the nose wheel went. I needed to get a couple of BB’s in there to add a bit more weight. Unfortunately, the BB’s were too big to fit the hole and even if they did, the bolt from the kit was too close to the hole to allow a BB to get inside. I decided that maybe if I could just get some epoxy into the cockpit then maybe that would be enough weight. After all it didn’t need much since it was not sitting on its tail. I mixed up a bit of two part epoxy and started dropping it into the hole. I then placed the model on its back in a nose up position so the epoxy would not flow out the hole and also not migrate forward to get on the cockpit windows. After it cured, I once again dry fitted the landing gear. This time it did just barely rest on the nose wheels. It could have used a bit more for safety, but the hole was mostly plugged by now, so this would have to do.
In the end the model doesn’t look bad.


That’s it for this build. Time to get back on the X-15’s and finish them.
Thanks for looking.
