
While I have been working on the stealth XST and the Mercury spacecraft models I have also been working on this BanDai Y-Wing kit. It has been on the bottom of the priority list until the last couple of weeks. It is another amazing BanDai Star Wars kit.

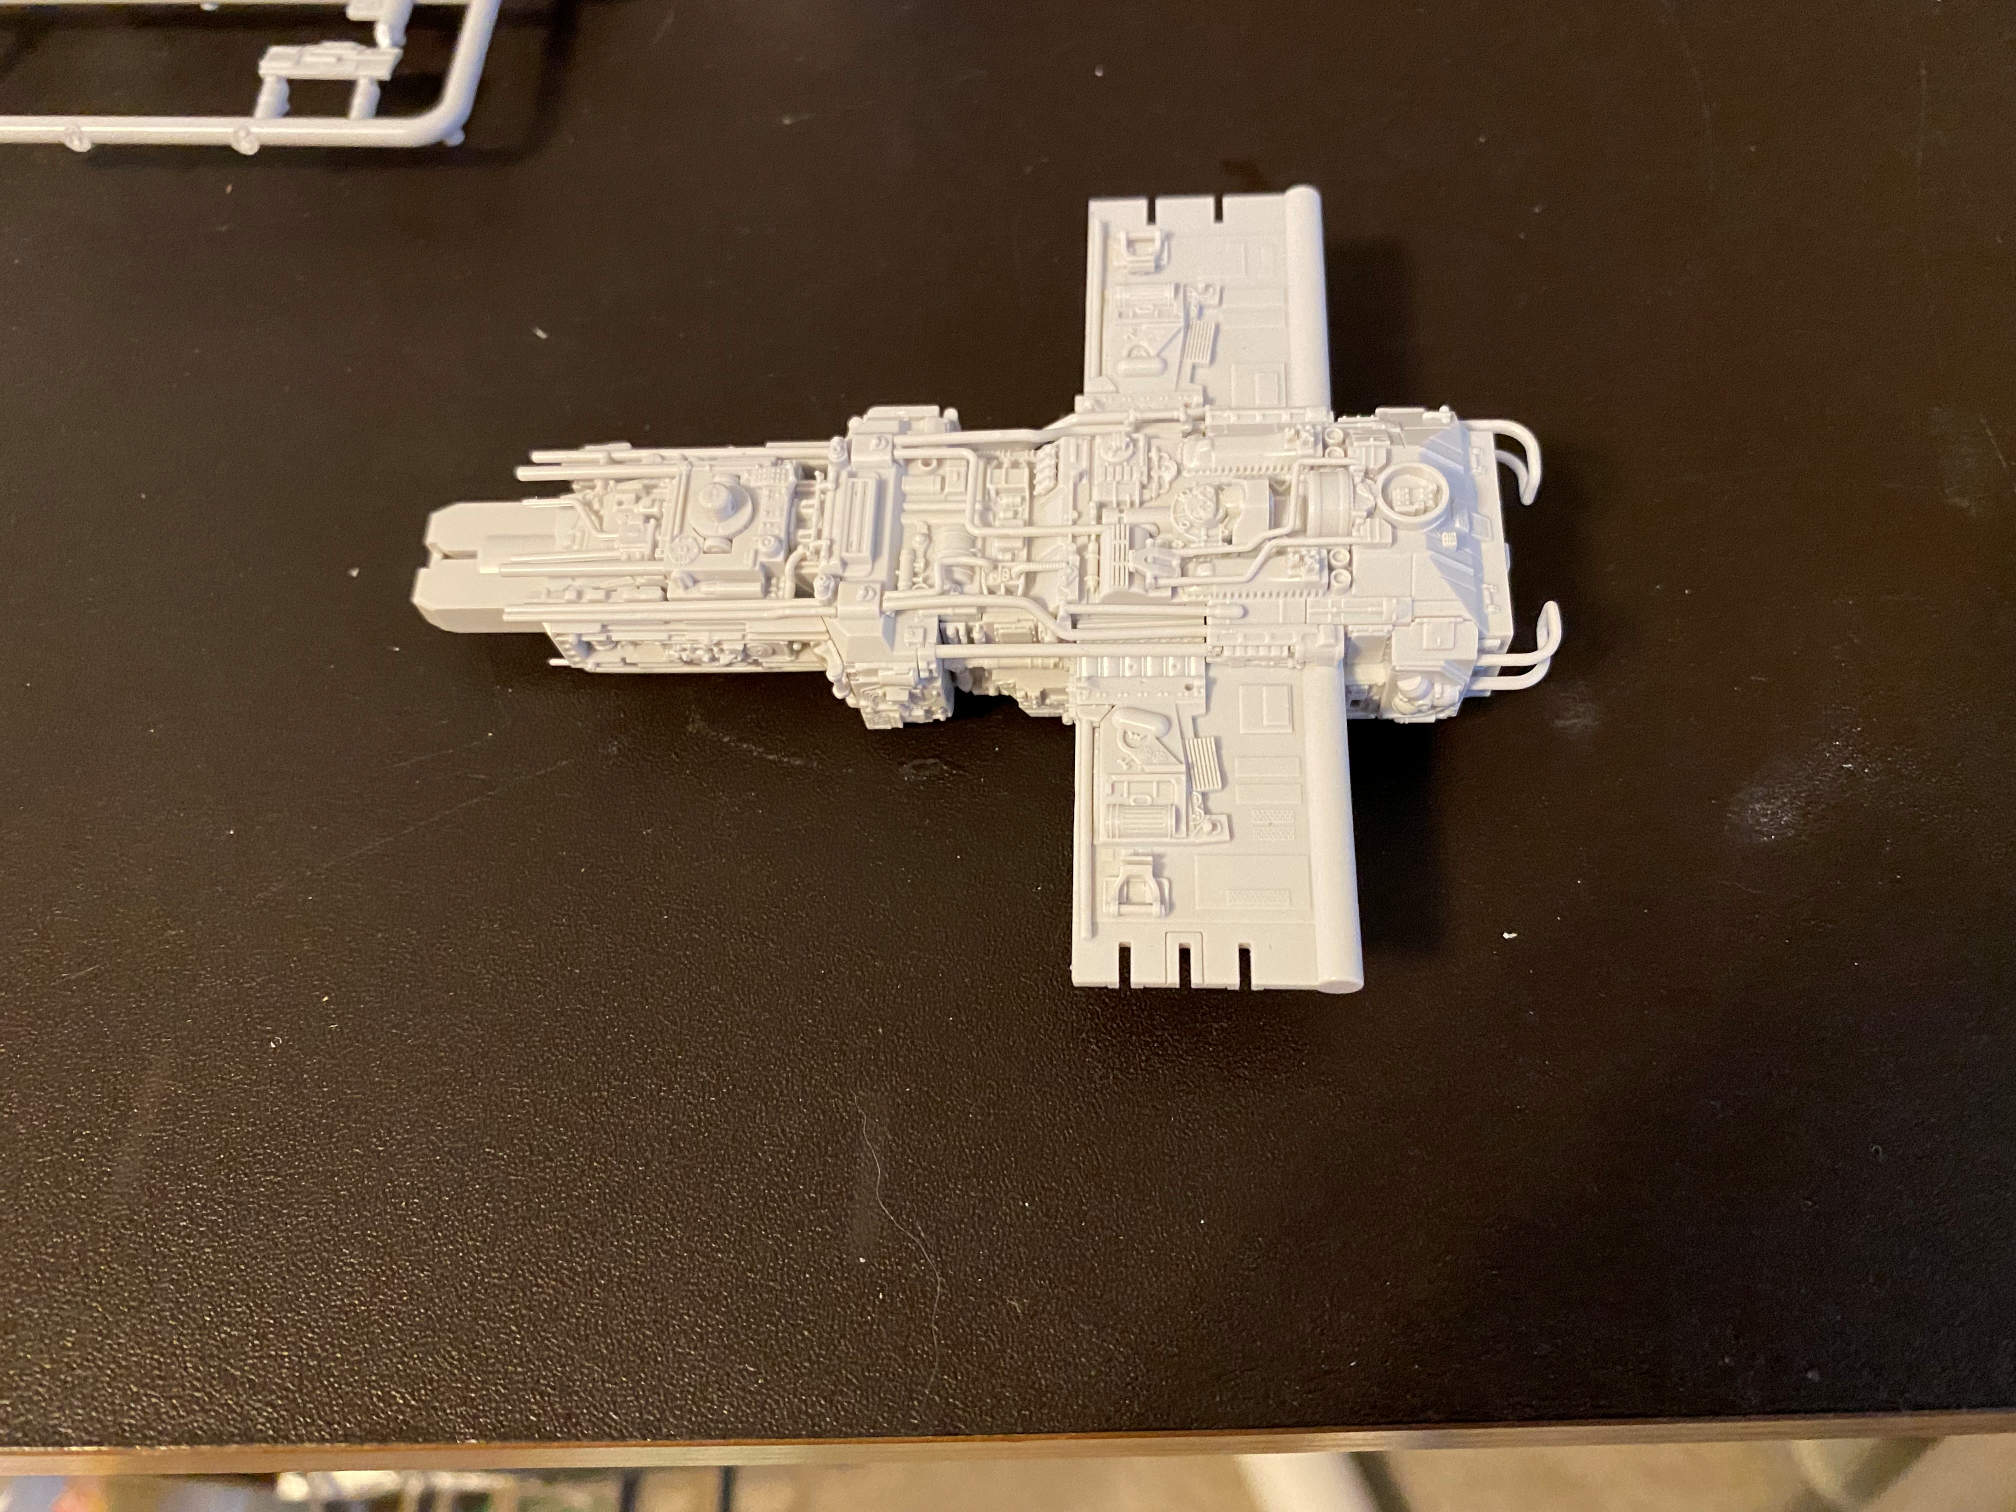
It has piping details that don’t seem to quit. It is probably the most detailed Star Wars kit I’ve worked on since the Millennium Falcon. I didn’t strictly follow the order of the instructions. The instructions are broken down into four sub-assemblies. I began with the main fuselage. It takes quite a bit of time locating and placing all the pipes. Here is a photo of the completed fuselage.
After that I moved on to the pilot figures. I painted them about the same as I had done with the X-Wing pilot figures that I did a few months ago. After the paint, I sprayed them with a gloss coat and applied the decals to the helmets. They then got a shot of matte clear. I finished by putting clear over the visors.
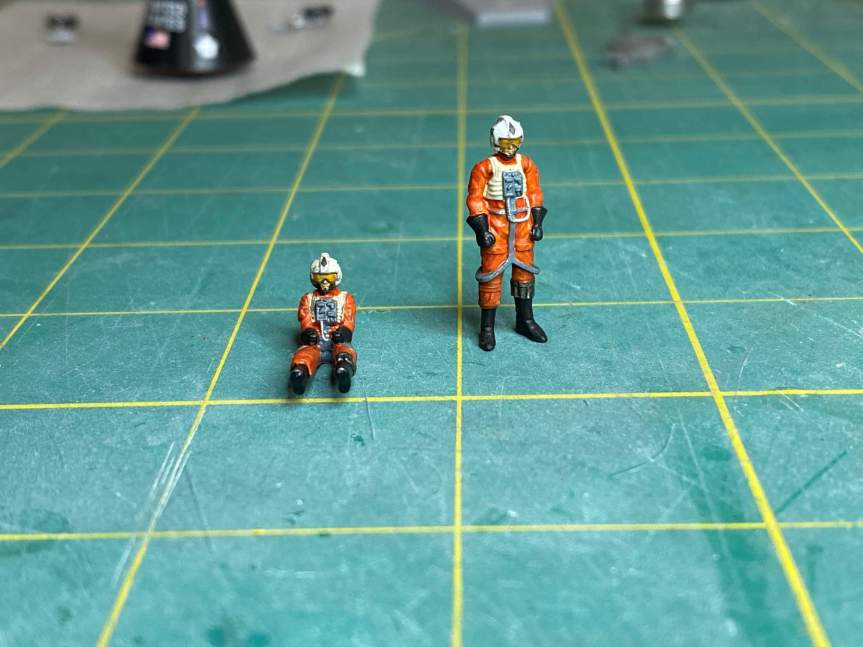
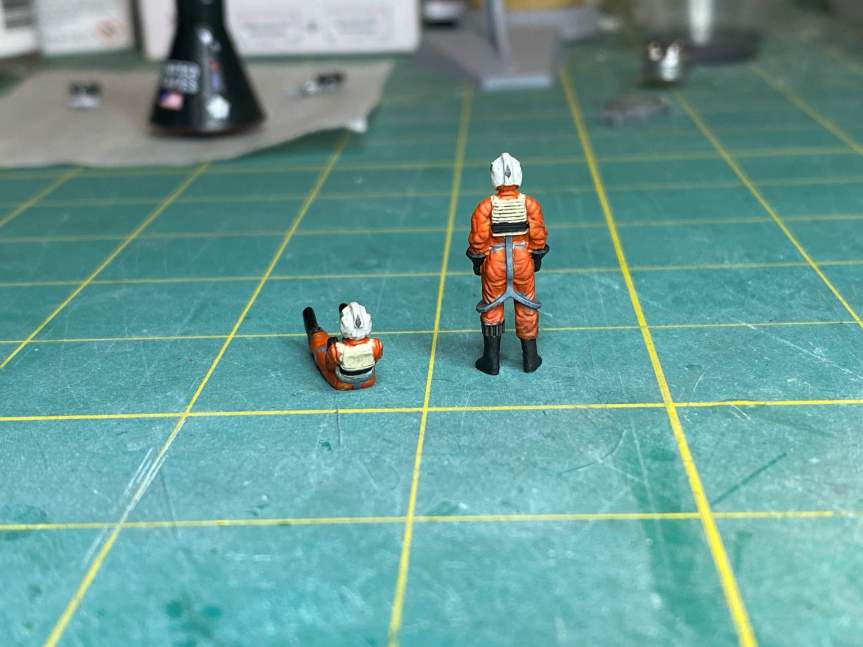
Before they go into the model I’ll apply a black wash to help highlight some of the details.
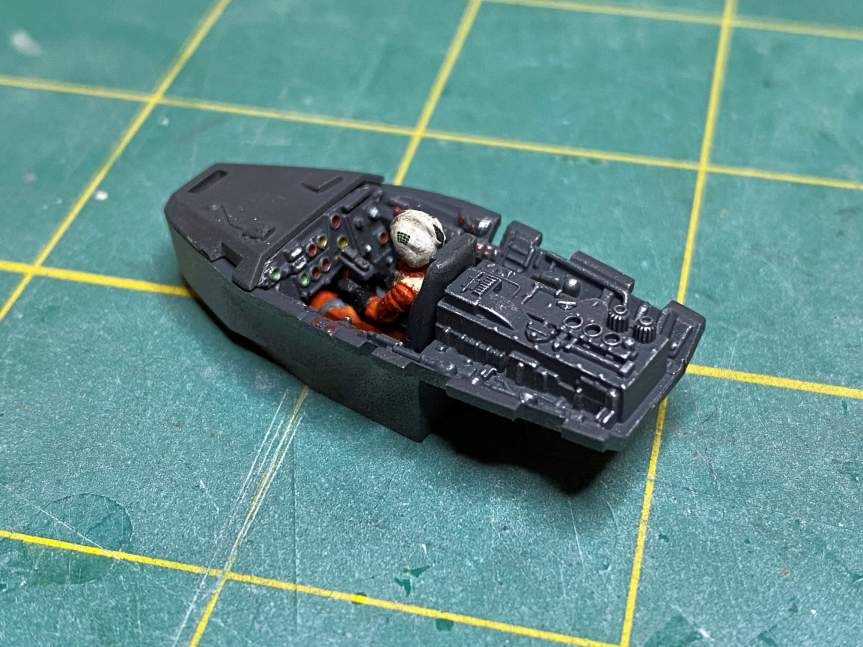
Next came the cockpit. There are decals included to go over the instrument panels. However, just like the Millennium Falcon, there are just too many raised details to allow the decals to conform properly. Instead, I sprayed them with NATO Black and then did some dry-brushing with silver to highlight the edges. Then I painted the controls various colors of red, green, yellow and white.

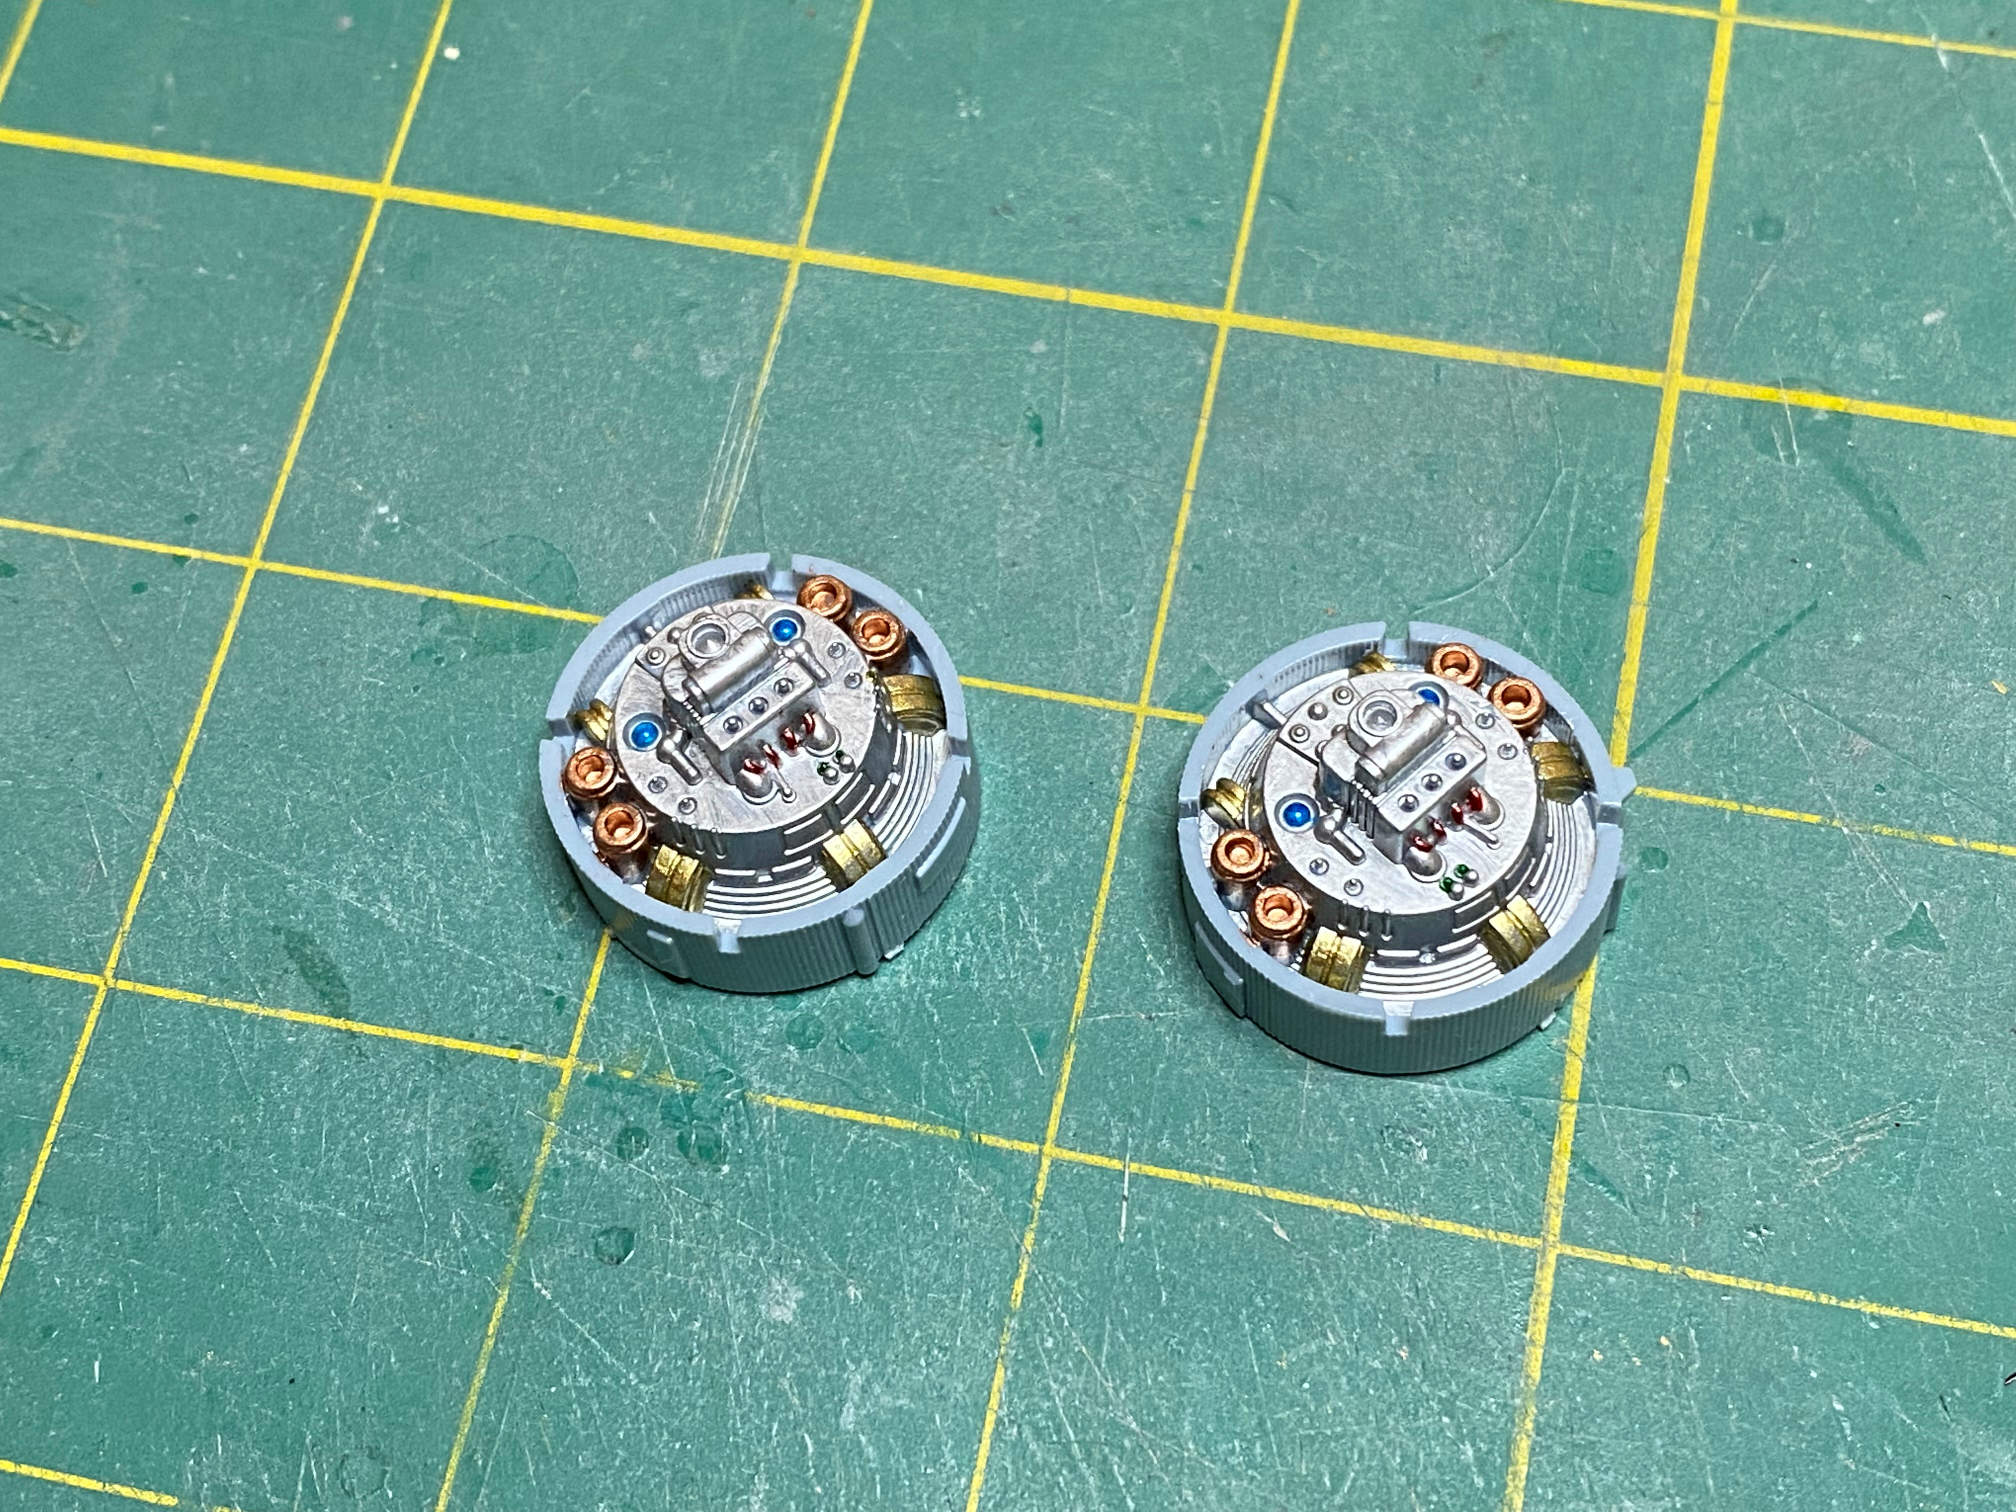
The front of each engine nacelle has details that deserve some attention. I painted them with Chrome Silver, copper, and brass. I also applied some transparent blue, red and green in some places. It is a shame that these details will be hidden by the nacelle covers.
I also took the time to paint the R2 droid dome with silver and then used transparent green for some of the raised details and then black for the various lenses. His head won’t go on the kit until after all the weathering is complete.

I then assembled the cockpit.

Which then allowed me to assemble the forward nose area.


Next up will be assembling the engine nacelles and applying decals.
Thanks for looking, more to come.
