
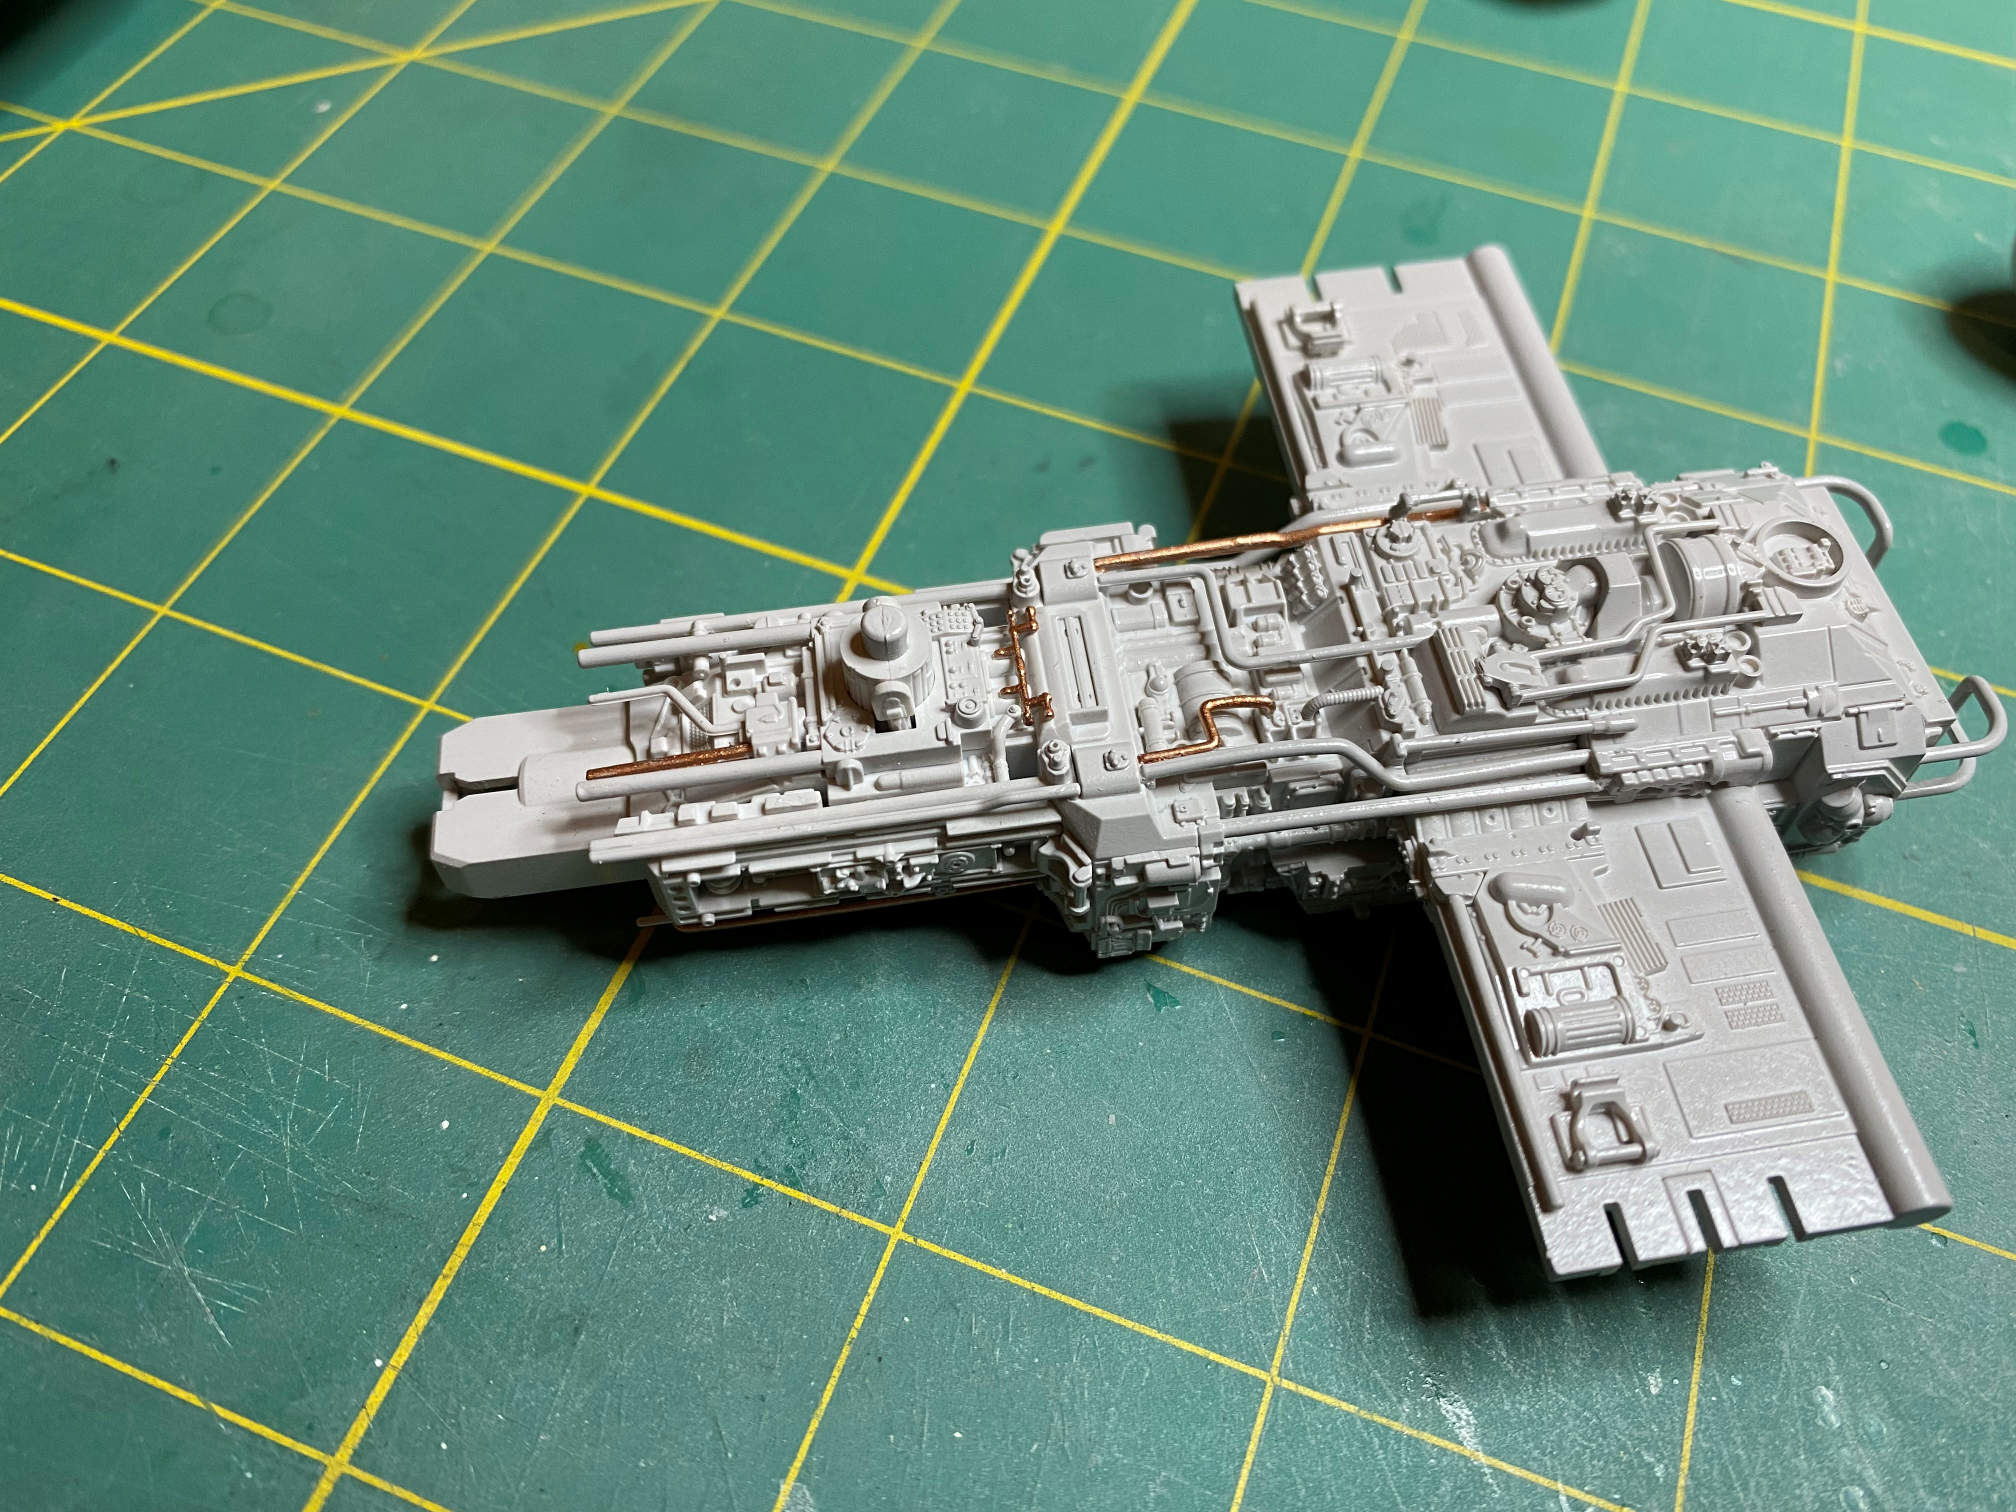
I went back to the main fuselage and painted a few pipes with copper. I think it helps to bring attention to the amount of piping that is on this section of the kit.
The next thing to do on the Y-Wing was to build the engine nacelles. Once that was done I started applying decals. The trickiest decal was the one that went on the right nacelle. It had a couple of raised details as well as being over a ribbed area.
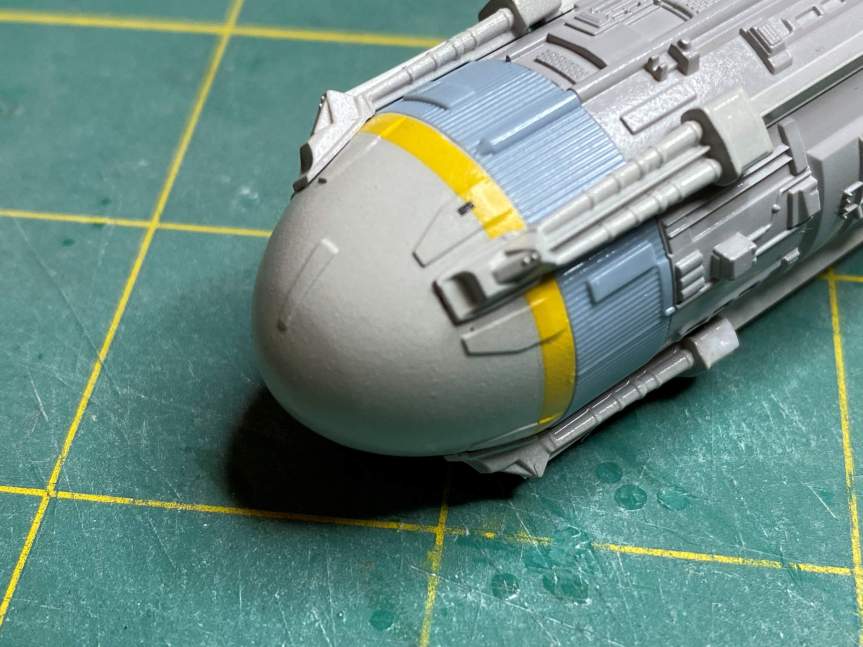
The yellow stripes took a minimum amount of work to conform. 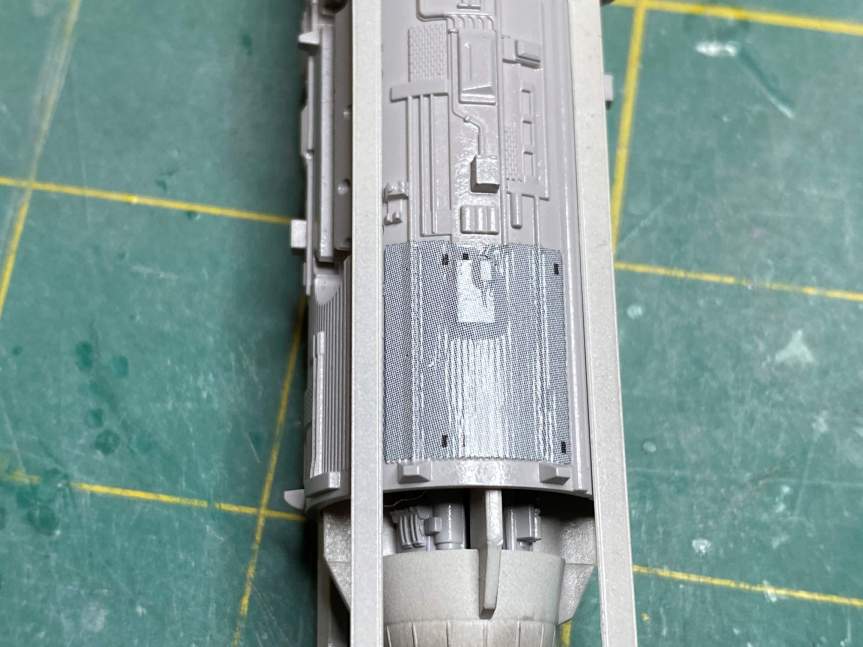
This decal was the worst. It required nearly a dozen applications of Solavaset. 
It is now conforming to the pipe details, the rectangles in the center still need work. 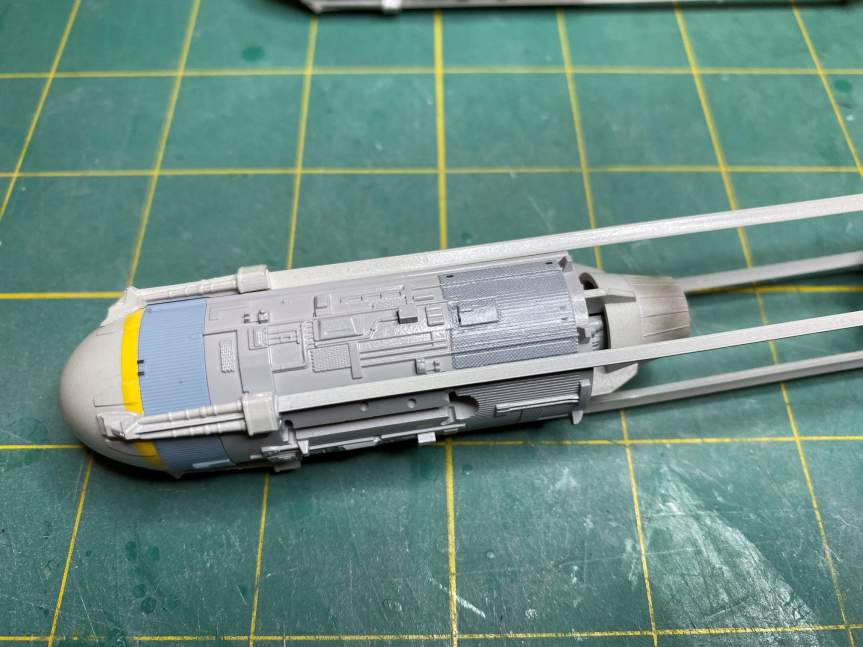
Finally, it is has conformed to the details.
It took a lot of Solavaset and some careful pin pricks to get the decals to yield. MicroSol just wasn’t strong enough. Eventually they laid down well.
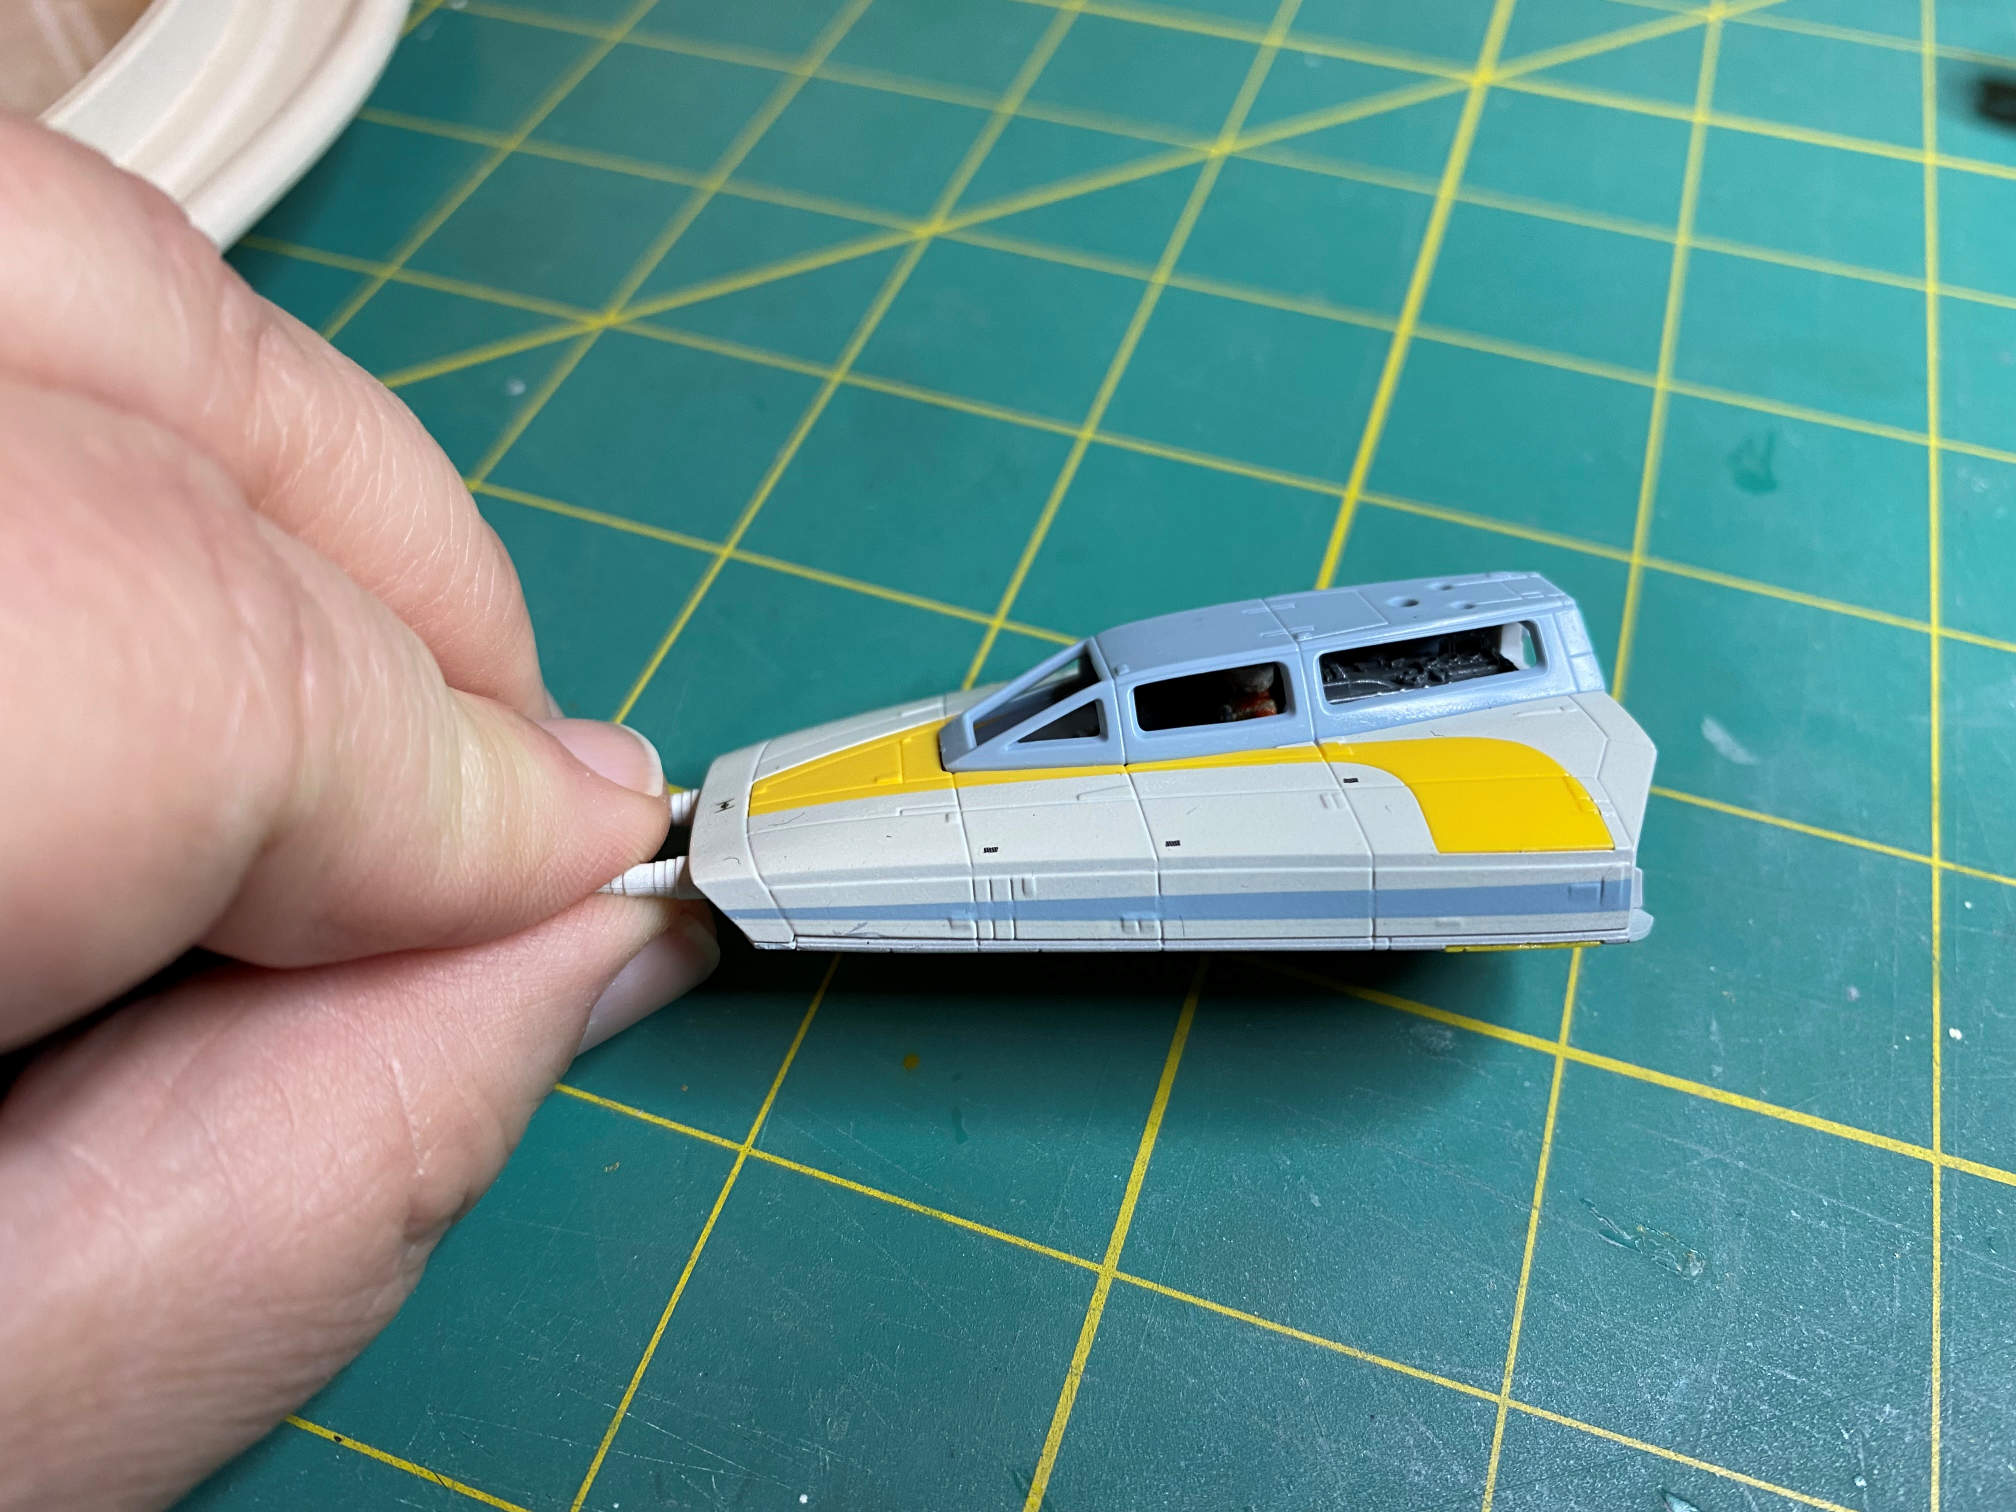
I was then able to apply the decals to the nose section.
I assembled the main sub-assemblies and then applied the remaining decals to the fuselage.
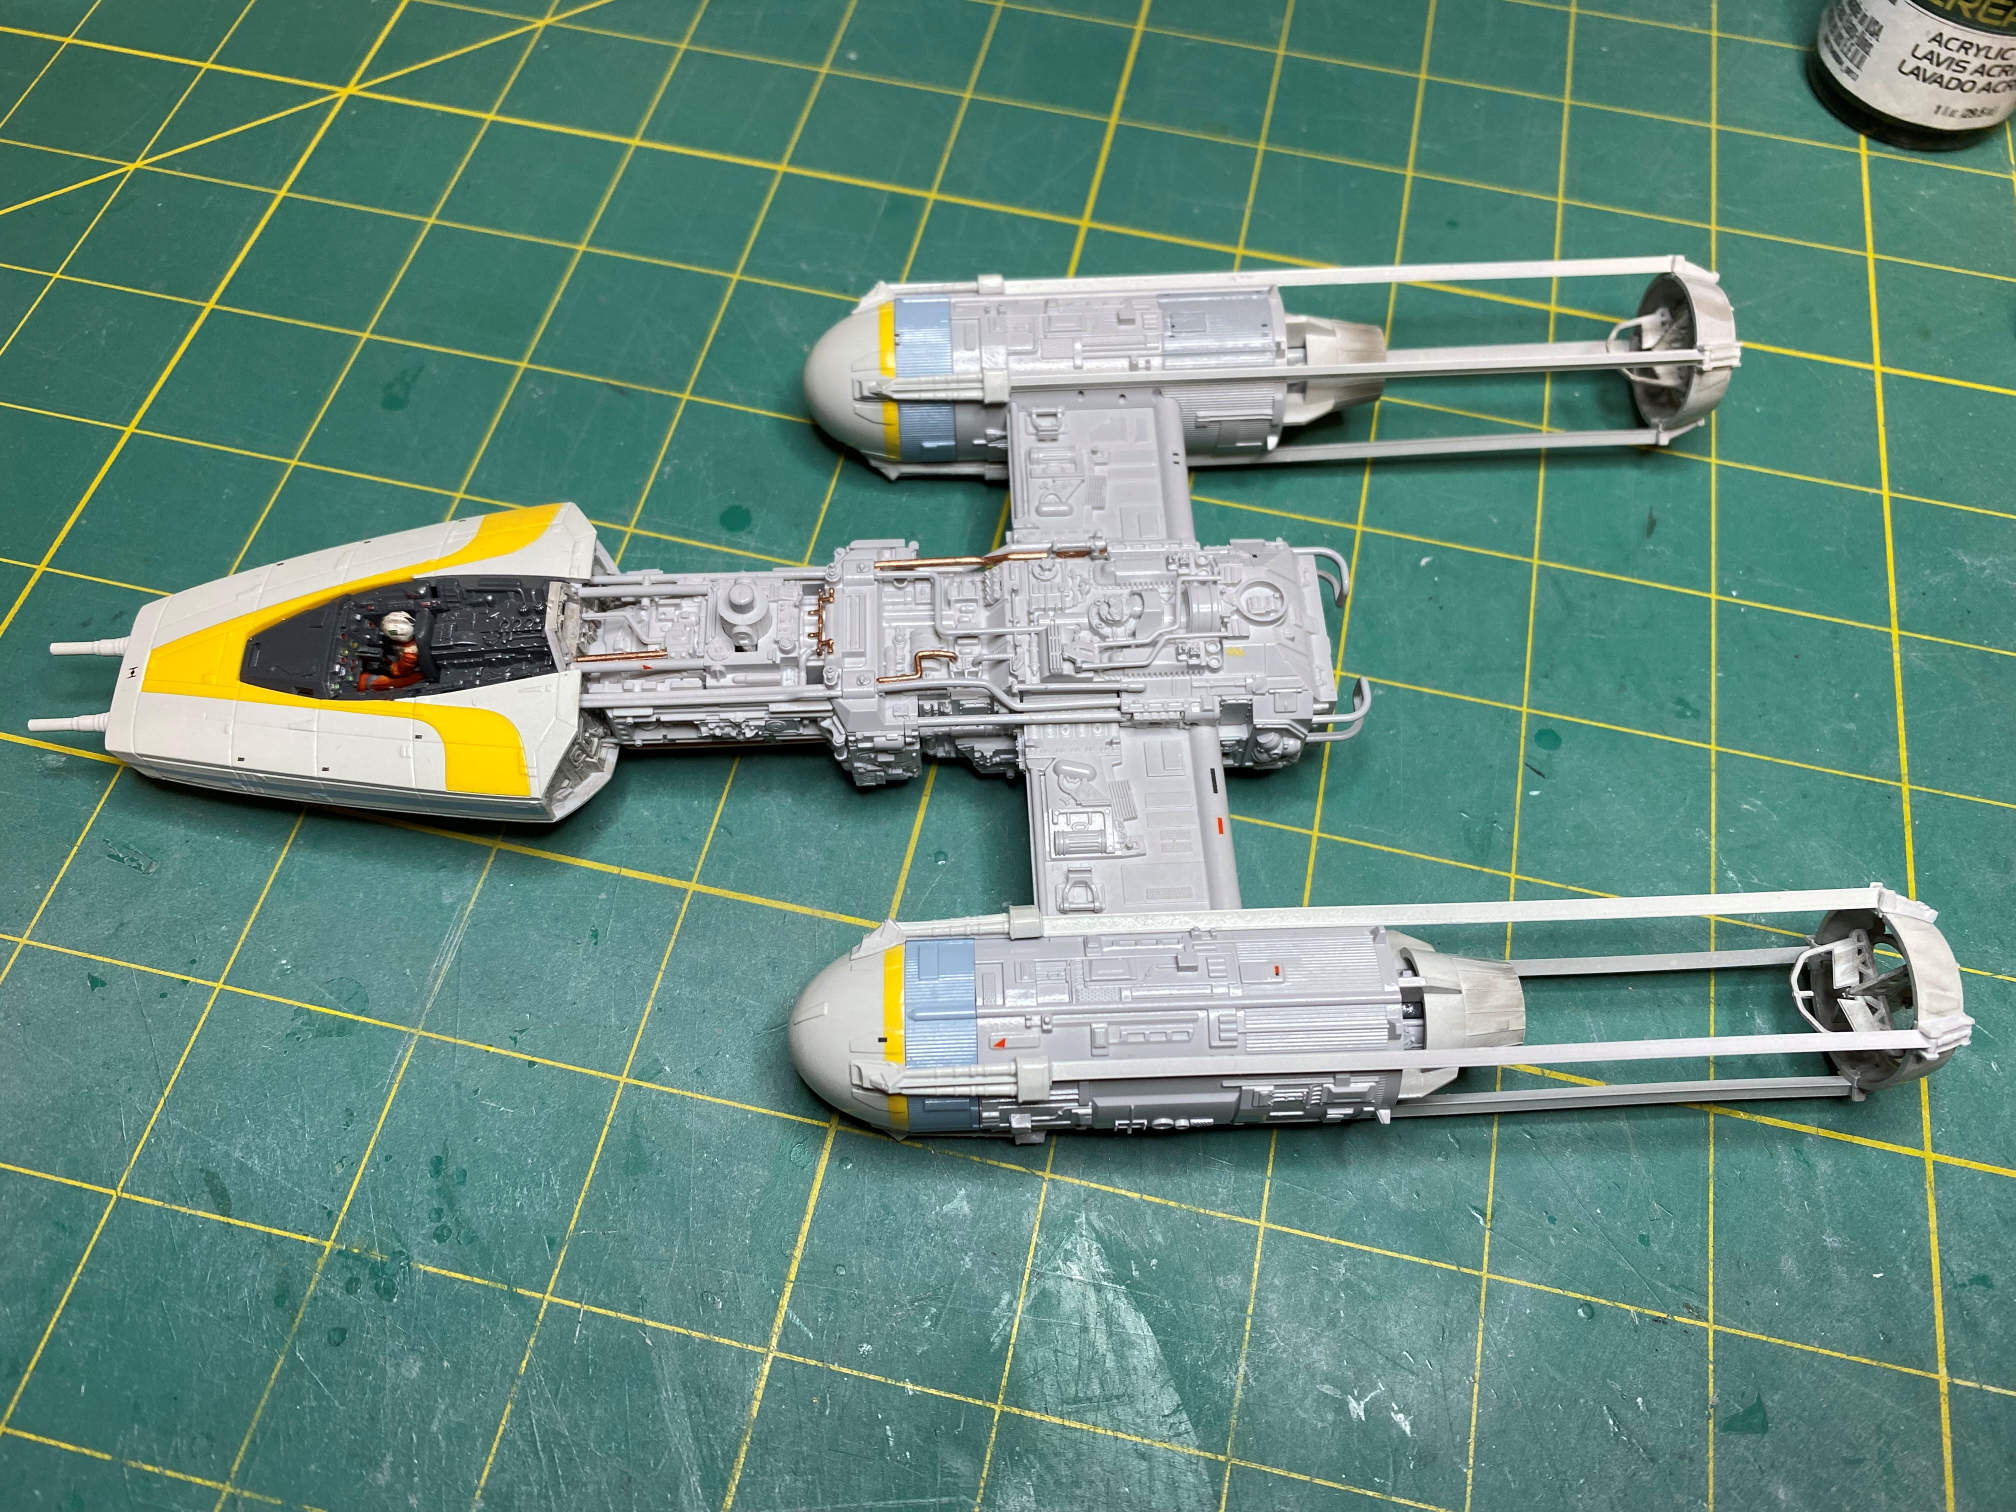
Then is was time to fit the final pipes.


Then the weathering could begin in earnest. I had already weathered the engine exhausts and the guide vanes. I applied a black wash to the whole fuselage and most of the engines. Then I added the panel lines and I blackened the torpedo ports. I also did some sponge work to simulate paint chipping in a few areas.
Here are some photos of the completed model.


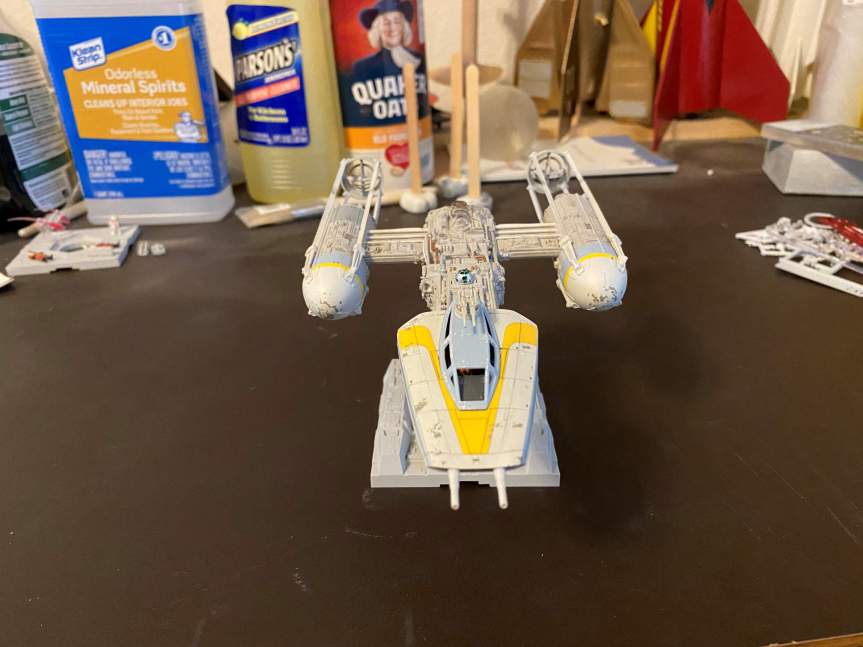
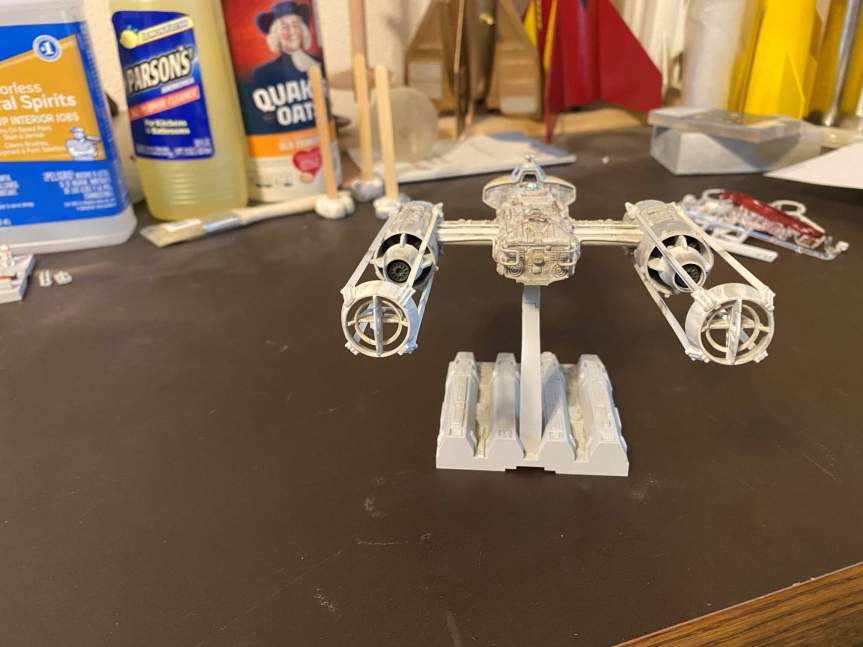
This was a fun build. It didn’t take a long time and also didn’t need any additional details. The finished product looks nice and will take it’s place alongside the Millennium Falcon and X-Wing.
Thanks for looking. I have a couple of new project planned. I’ll probably be starting them after the Thanksgiving holiday.
