

I hit a bit of a snag on the Soyuz build so I thought I’d take a break and do a quick build of another BanDai Star Wars model. This time it will be the A-Wing Starfighter which first appeared in the Return of the Jedi movie. They also feature in an earlier timeline in the Star Wars Rebels animated series on Disney+.
Once again BanDai has done a wonderful job with the parts fit and details. This is quite an easy kit to assemble and anyone looking to start building plastic kits can’t go wrong choosing this kit. Unfortunately it appears to be out of production at the moment and is fetching rather high prices as a result. Hopefully BanDai will re-issue it before too long.
I started the build with the pilot and cockpit. This kit came out after BanDai found out that they could not continue providing standing figures with their Star Wars kits. Apparently that interfered with the company that held the action figure license. All that is included is a standing silhouette.
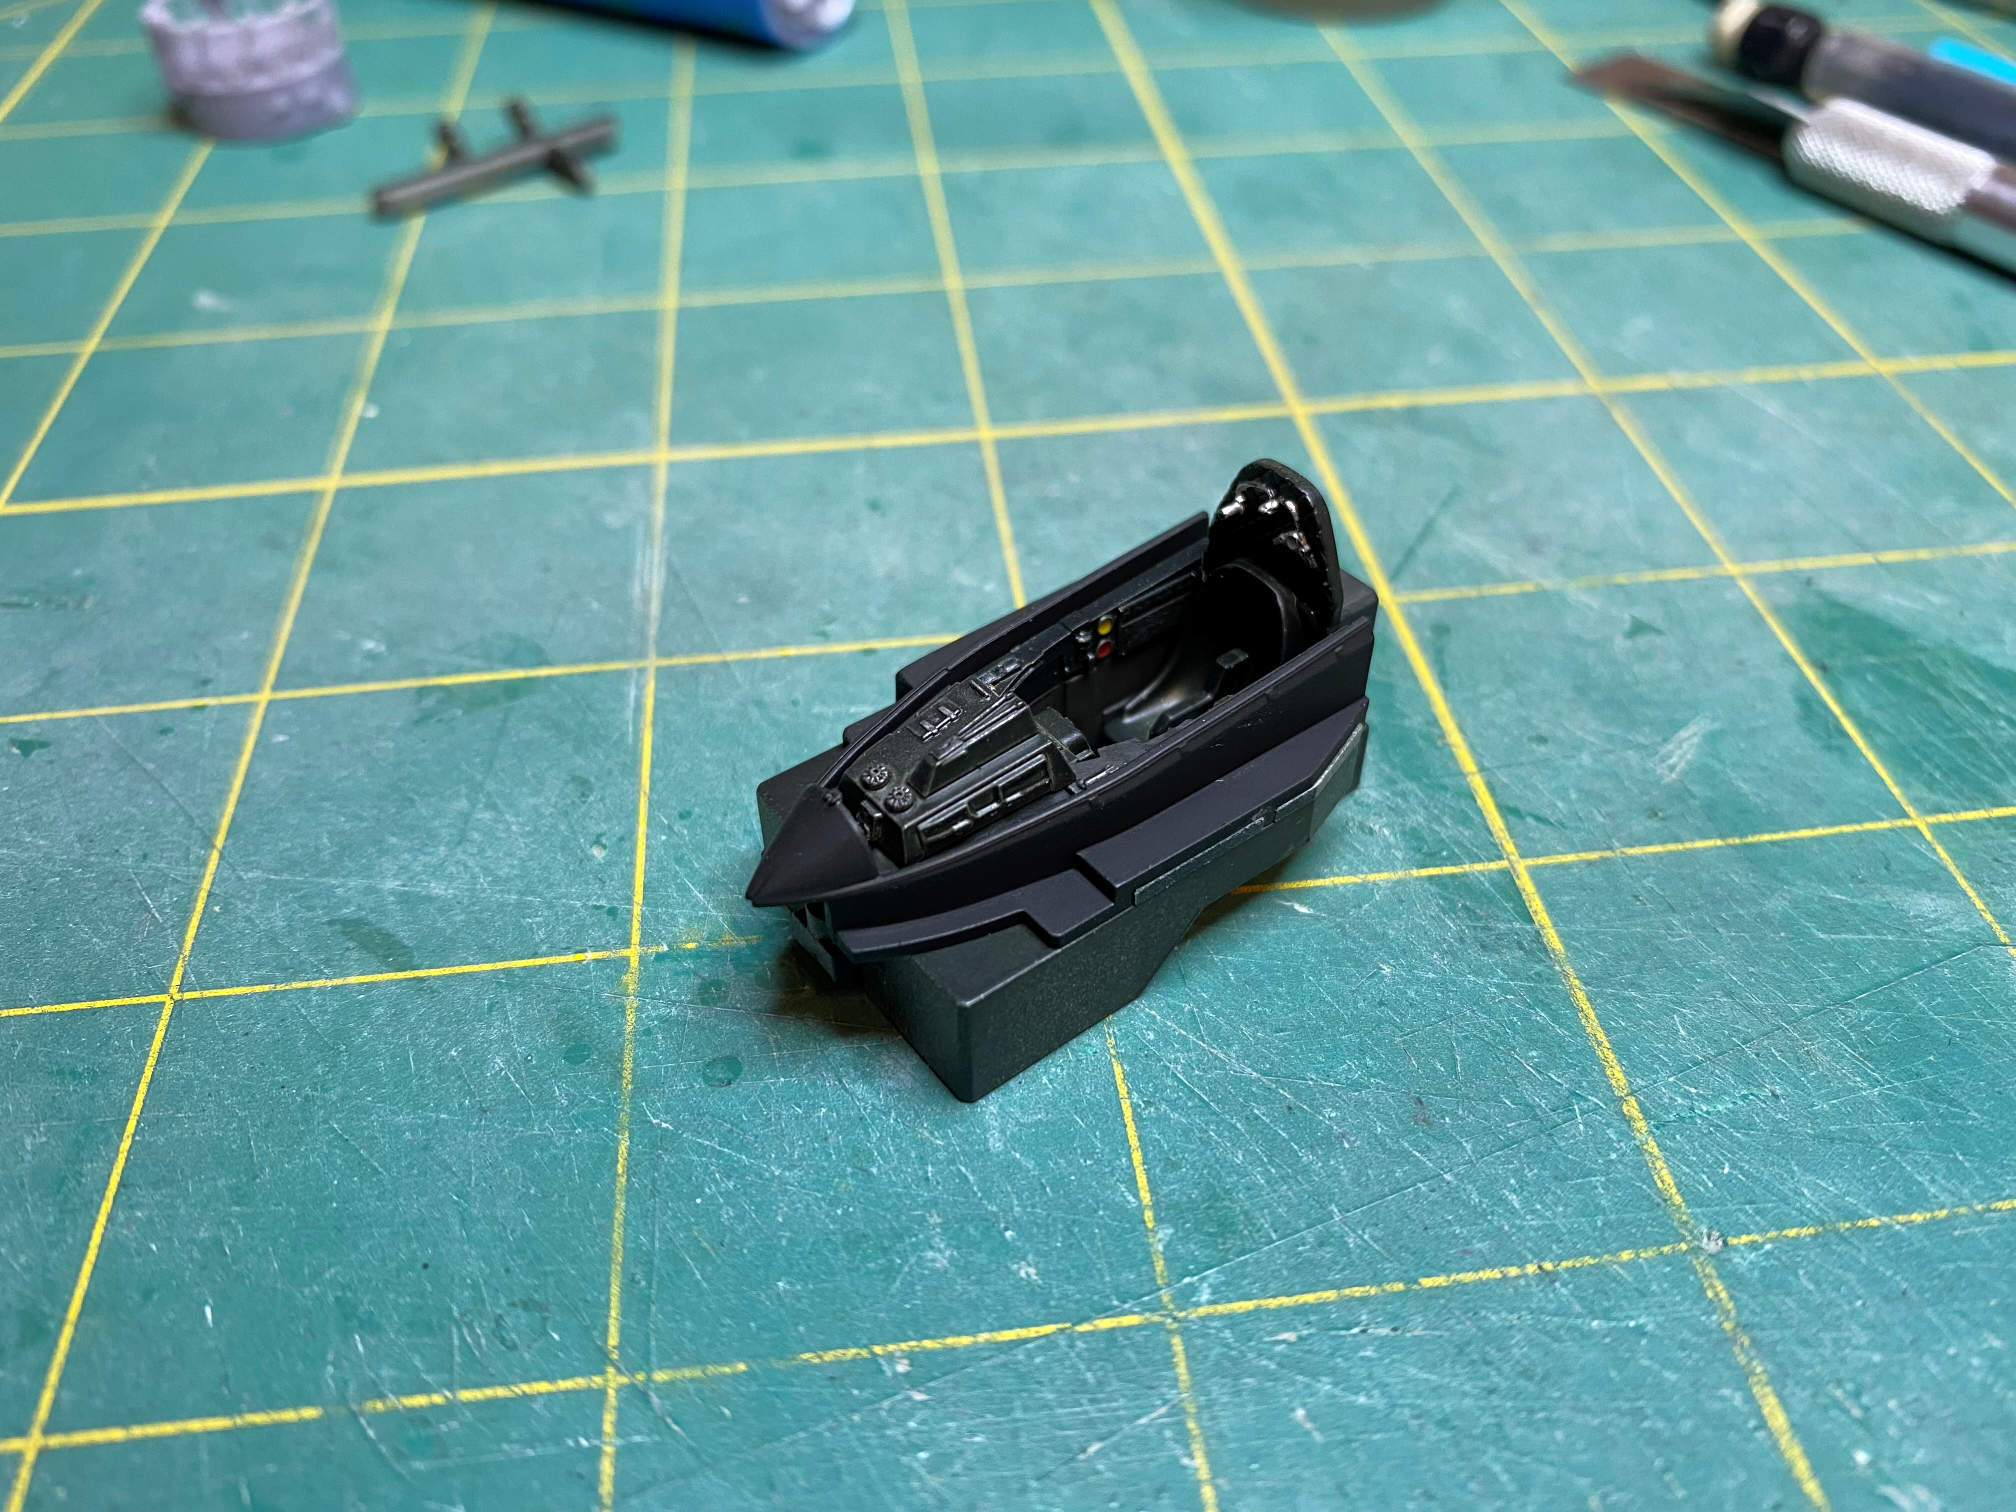
Here is the seated pilot figure all painted and ready for action.

I painted the cockpit Tamiya NATO Black with some Vallejo Silver dry brushing to highlight the details. I then painted some of the cockpit instrument lights with Vallejo Yellow and Red. The kit includes a decal for the main control panel, but the decals are a bit stiff and very hard to get to lay down over raised details without considerable effort, so I did not use the decal. I did use the decal for the main screen above control panel since it was just a flat surface.
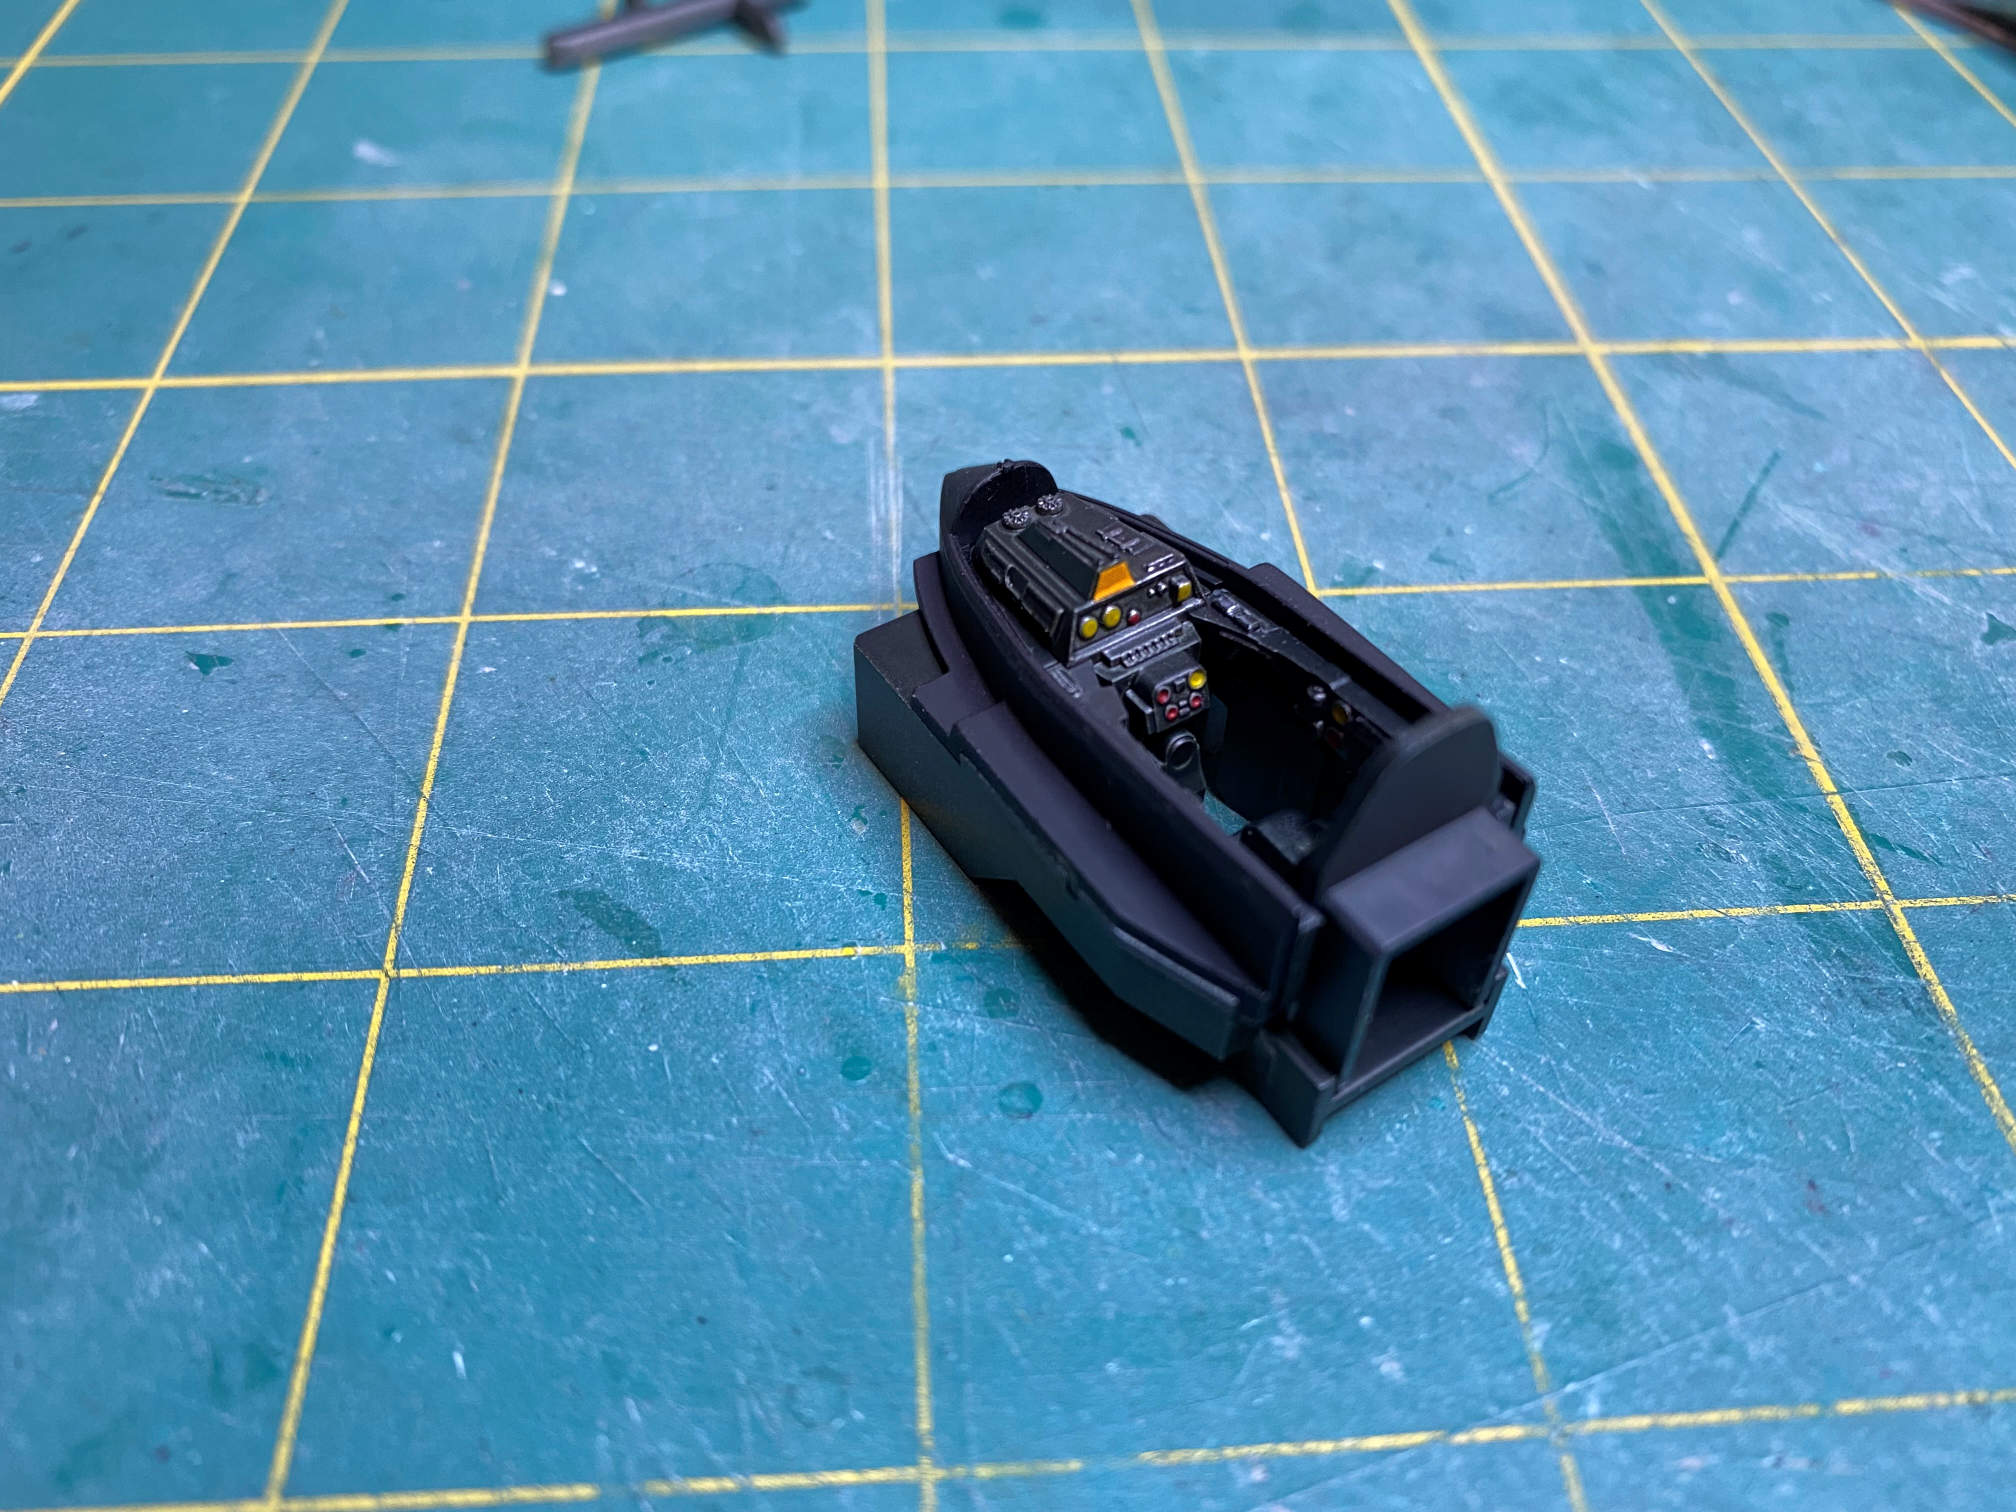
I then moved on to the side gun ports. At least that is what I think they are. They really aren’t identified and I haven’t done any real research to find out. The photo references I’ve found show them to be black.

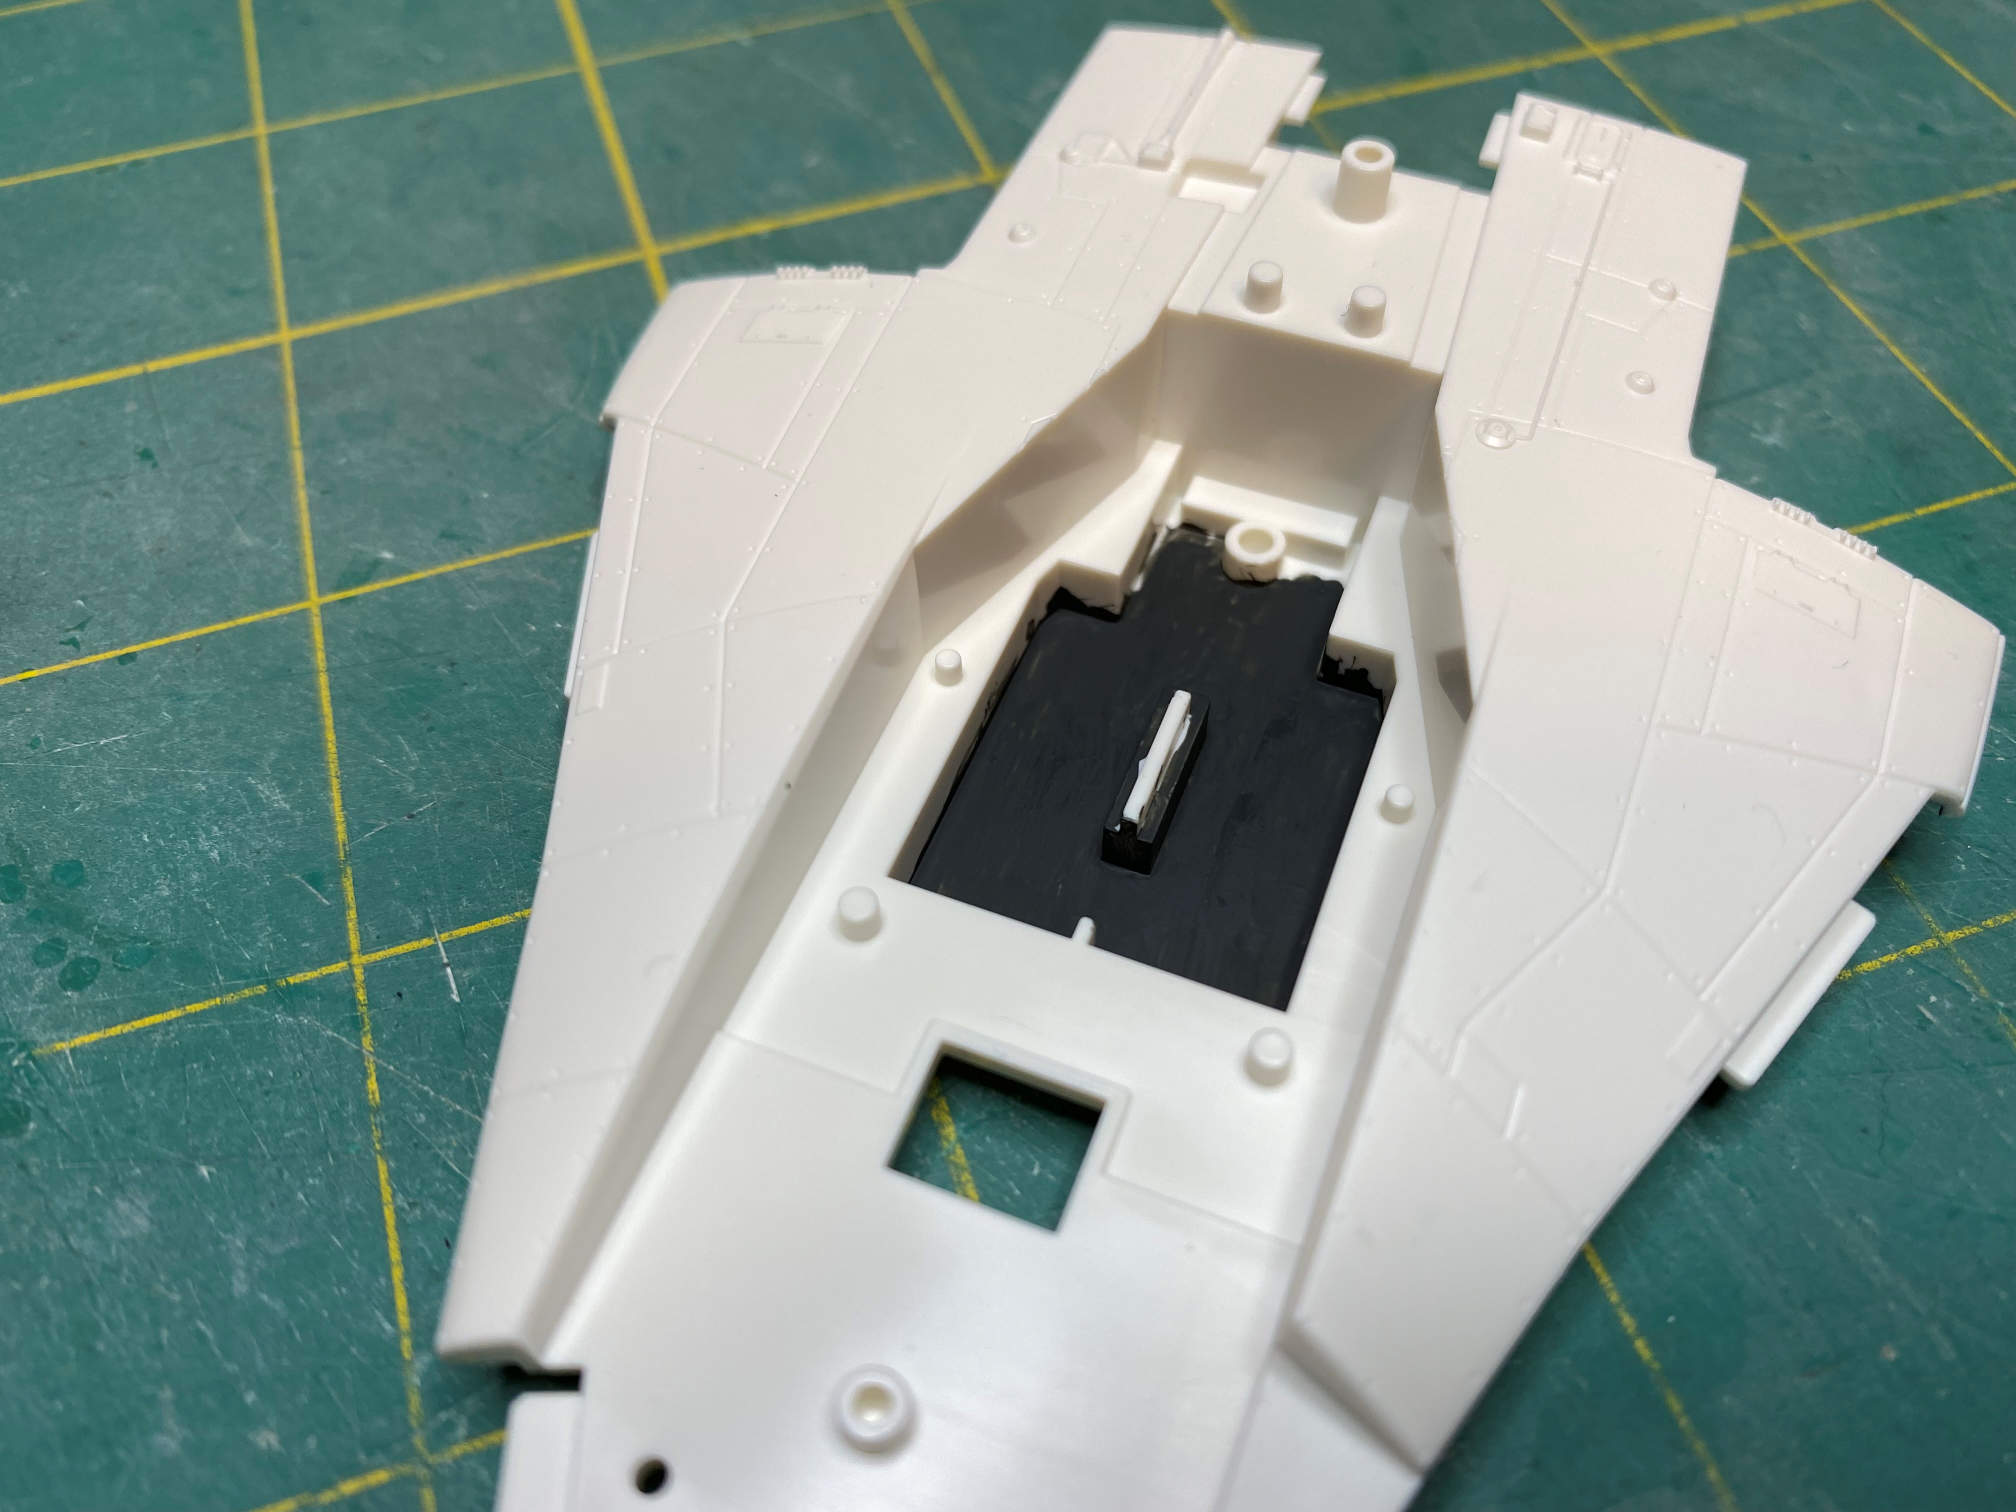
The next step was to paint the areas where the movable laser cannon attach to the fuselage. Here is the top half of the fuselage with the attachment points painted.

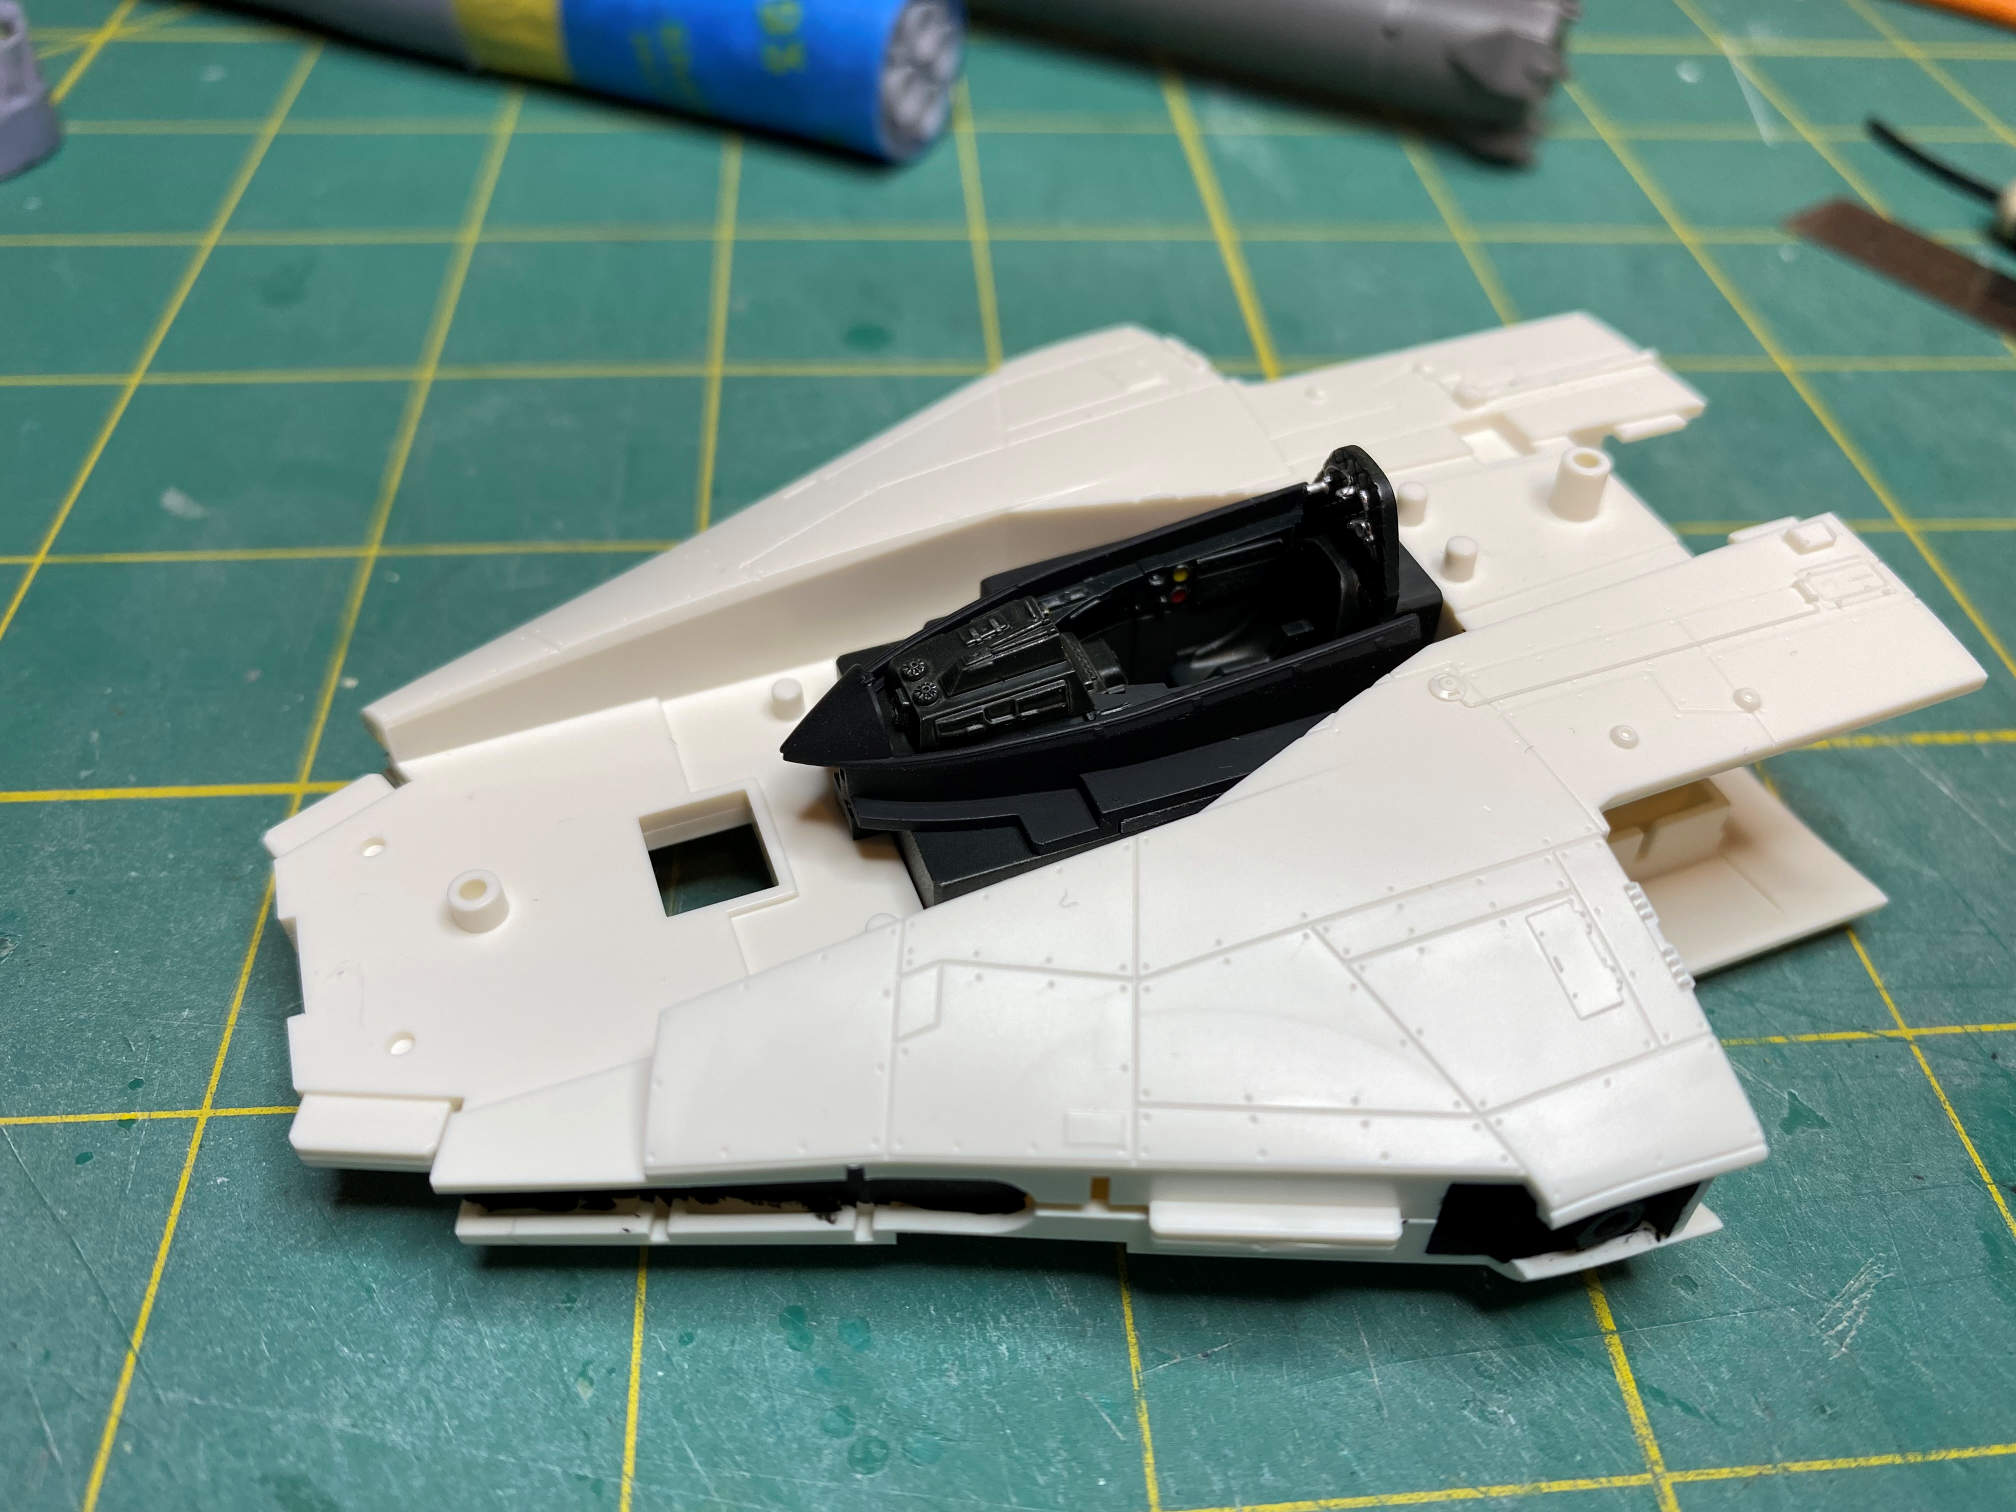
While I was working with the top half of the fuselage I also painted the area under the cockpit since once it is installed the floor will be visible and I didn’t want a white floor.
I then painted the attachment points on the lower half of the fuselage. Note that I also painted the flat surfaces on the sides of the fuselage half since they form the back side of the gun ports.

I then put the fuselage halves together and mounted the cockpit.
At this point I had decided that I was not going to paint the main areas of the model and instead just go with the plastic colors. I know this sound like a cop out to some people, but the plastic was already the color it needed to be. I did a test shot of some of the plastic parts with some Tamiya Clear Flat and that made the plastic look as if it had been painted. Here is the beginning of that assembly.

When I go to the movable laser cannons I did do some color matching painting. BanDai provides a decal to cover the tip of the cannon. However, the front of the cannon is curved and making that decal conform to that curve without folding over on itself and creating darker lines would be nearly impossible. I mixed some Vallejo German Red Brown with some Vallejo Red. I then painted a test patch on the inside of one of the red brown plastic parts and then adjusted the mix until I had something that matched pretty well. Here is the end result. The only part that is painted is the tip. The rest is the original plastic color with a coat of Tamiya Clear Flat.

I think they turned out nicely.
That’s it for now. More to come soon.
