
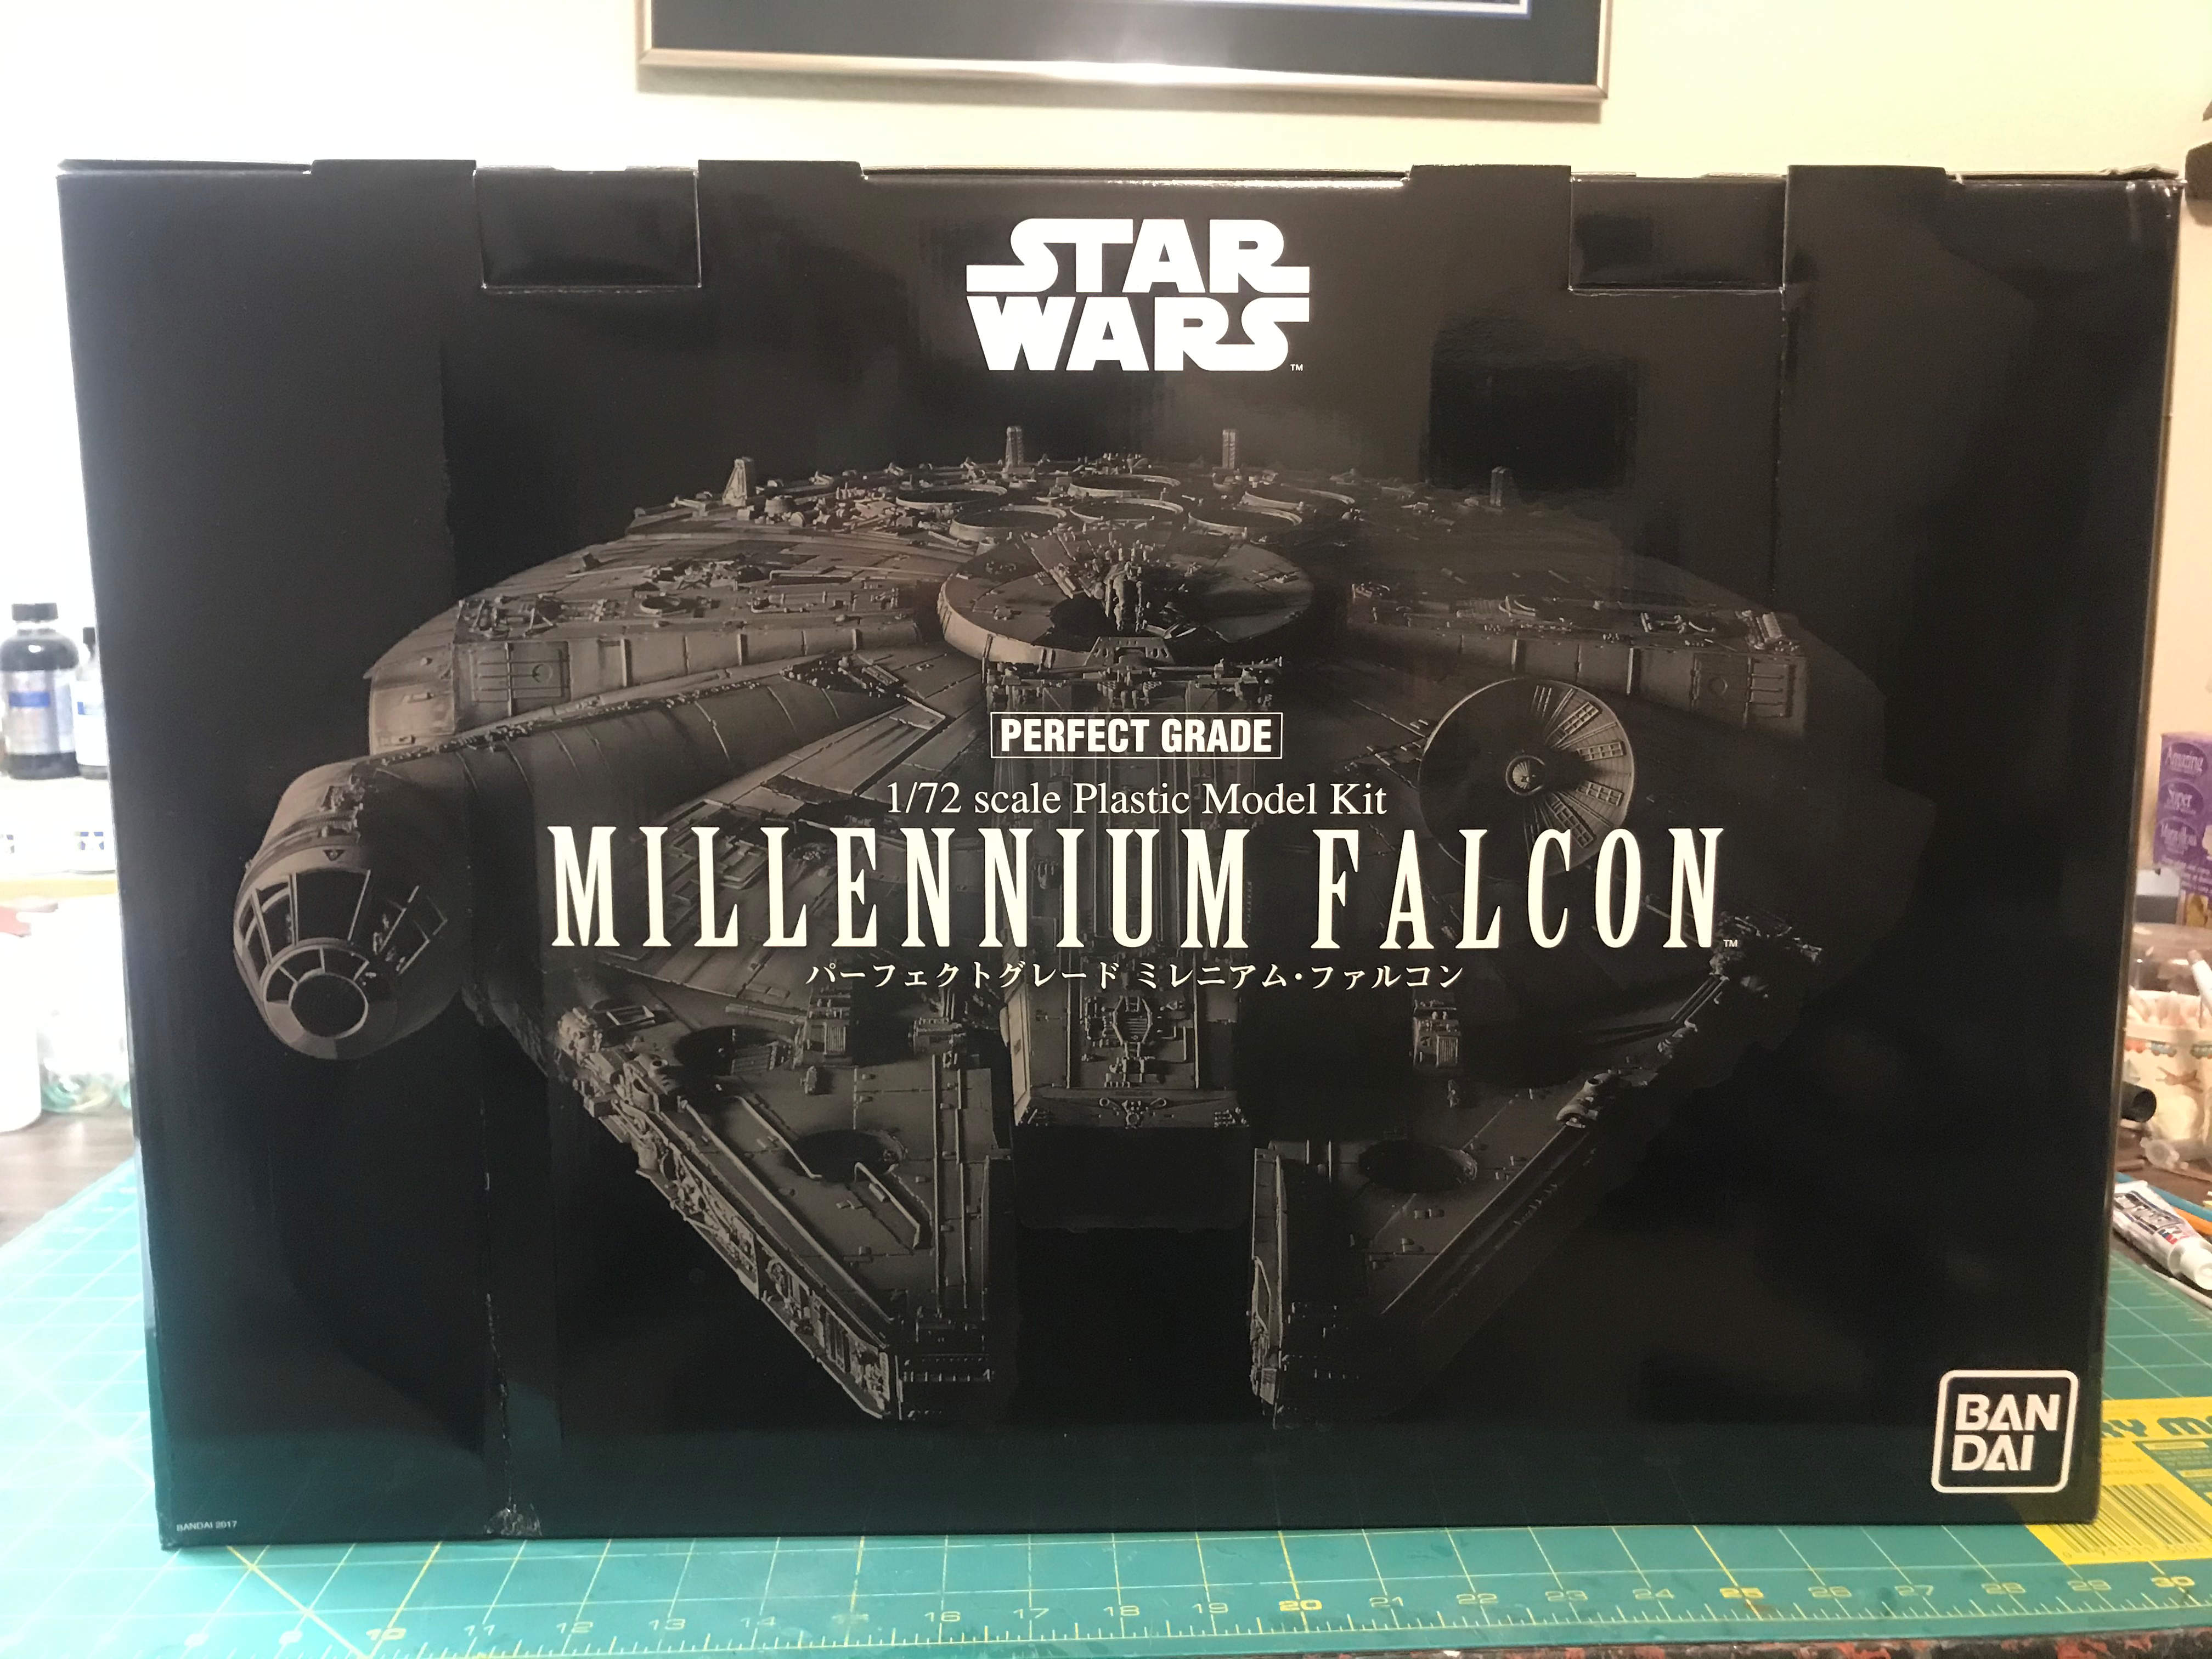
Here is the new project. The Millennium Falcon in 1/72 scale by BanDai. The kit is beautifully detailed and very closely matches the studio model. If you check out the parts closely, you can see the parts that came from other plastic models of the day. For example, I’ve found a transmission case and under chassis from car models, suspension parts from cars and tanks and other tiny bits that the ILM modelers used to create the Falcon. It is a very cool kit. It also includes a lighting kit so I won’t have to try and add those components. The parts are all very crisply molded and no signs of flash anywhere. Most mold lines and ejector pin marks are in hidden areas so they don’t mar the finish or require much cleaning. On the other hand, with the hundreds of small parts and sub assemblies this model will take a bit of time to complete. This build series will probably have some long gaps between posts since it will take time to find breaking points.
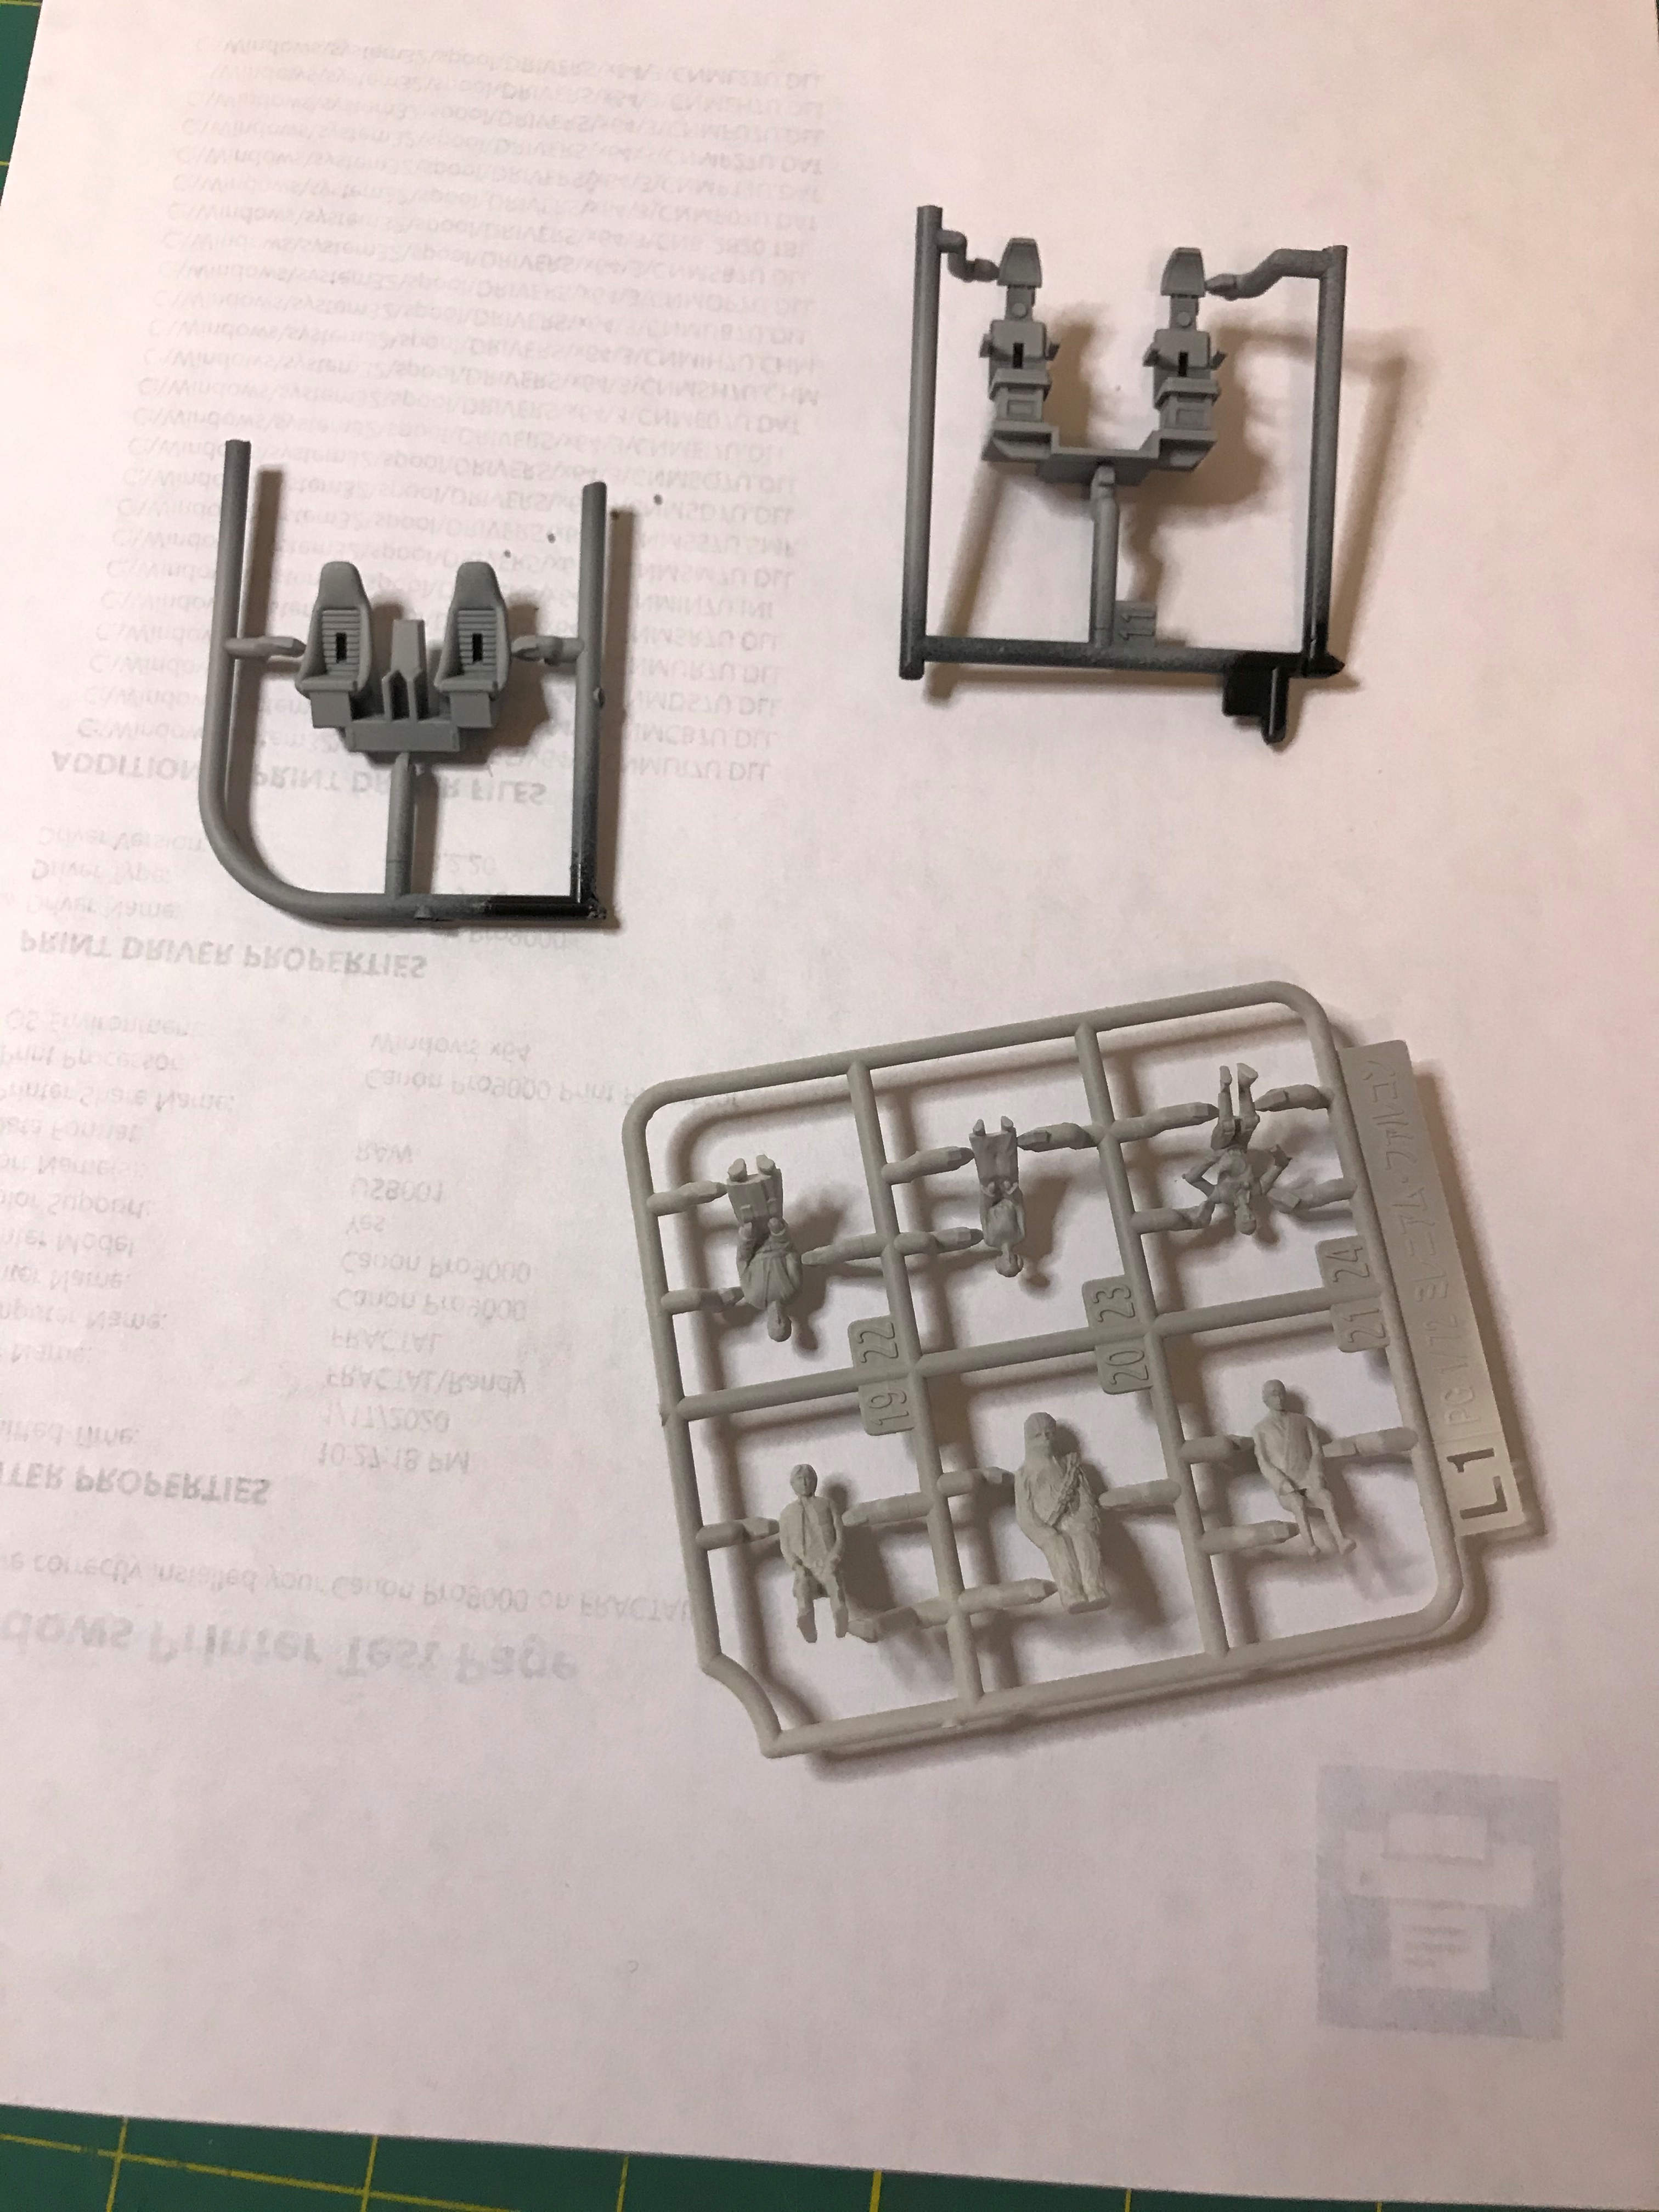
Anyway, it’s time to start. I’ll be starting with the cockpit. I don’t do figures or cockpits very often so they are not one of my strong points. I hope I can do the model justice.
I started by spraying primer on the cockpit seats and the figures. I then gathered the colors I needed for the figures, Flesh, Aged White, White Gray, Red Brown, Black, Blue, White, Light Brown, Gold, Sand Yellow, Transparent Yellow and Silver. I used a small fine brush to get the faces and hands, then started on the clothes with the varying shades of white, gray and brown.

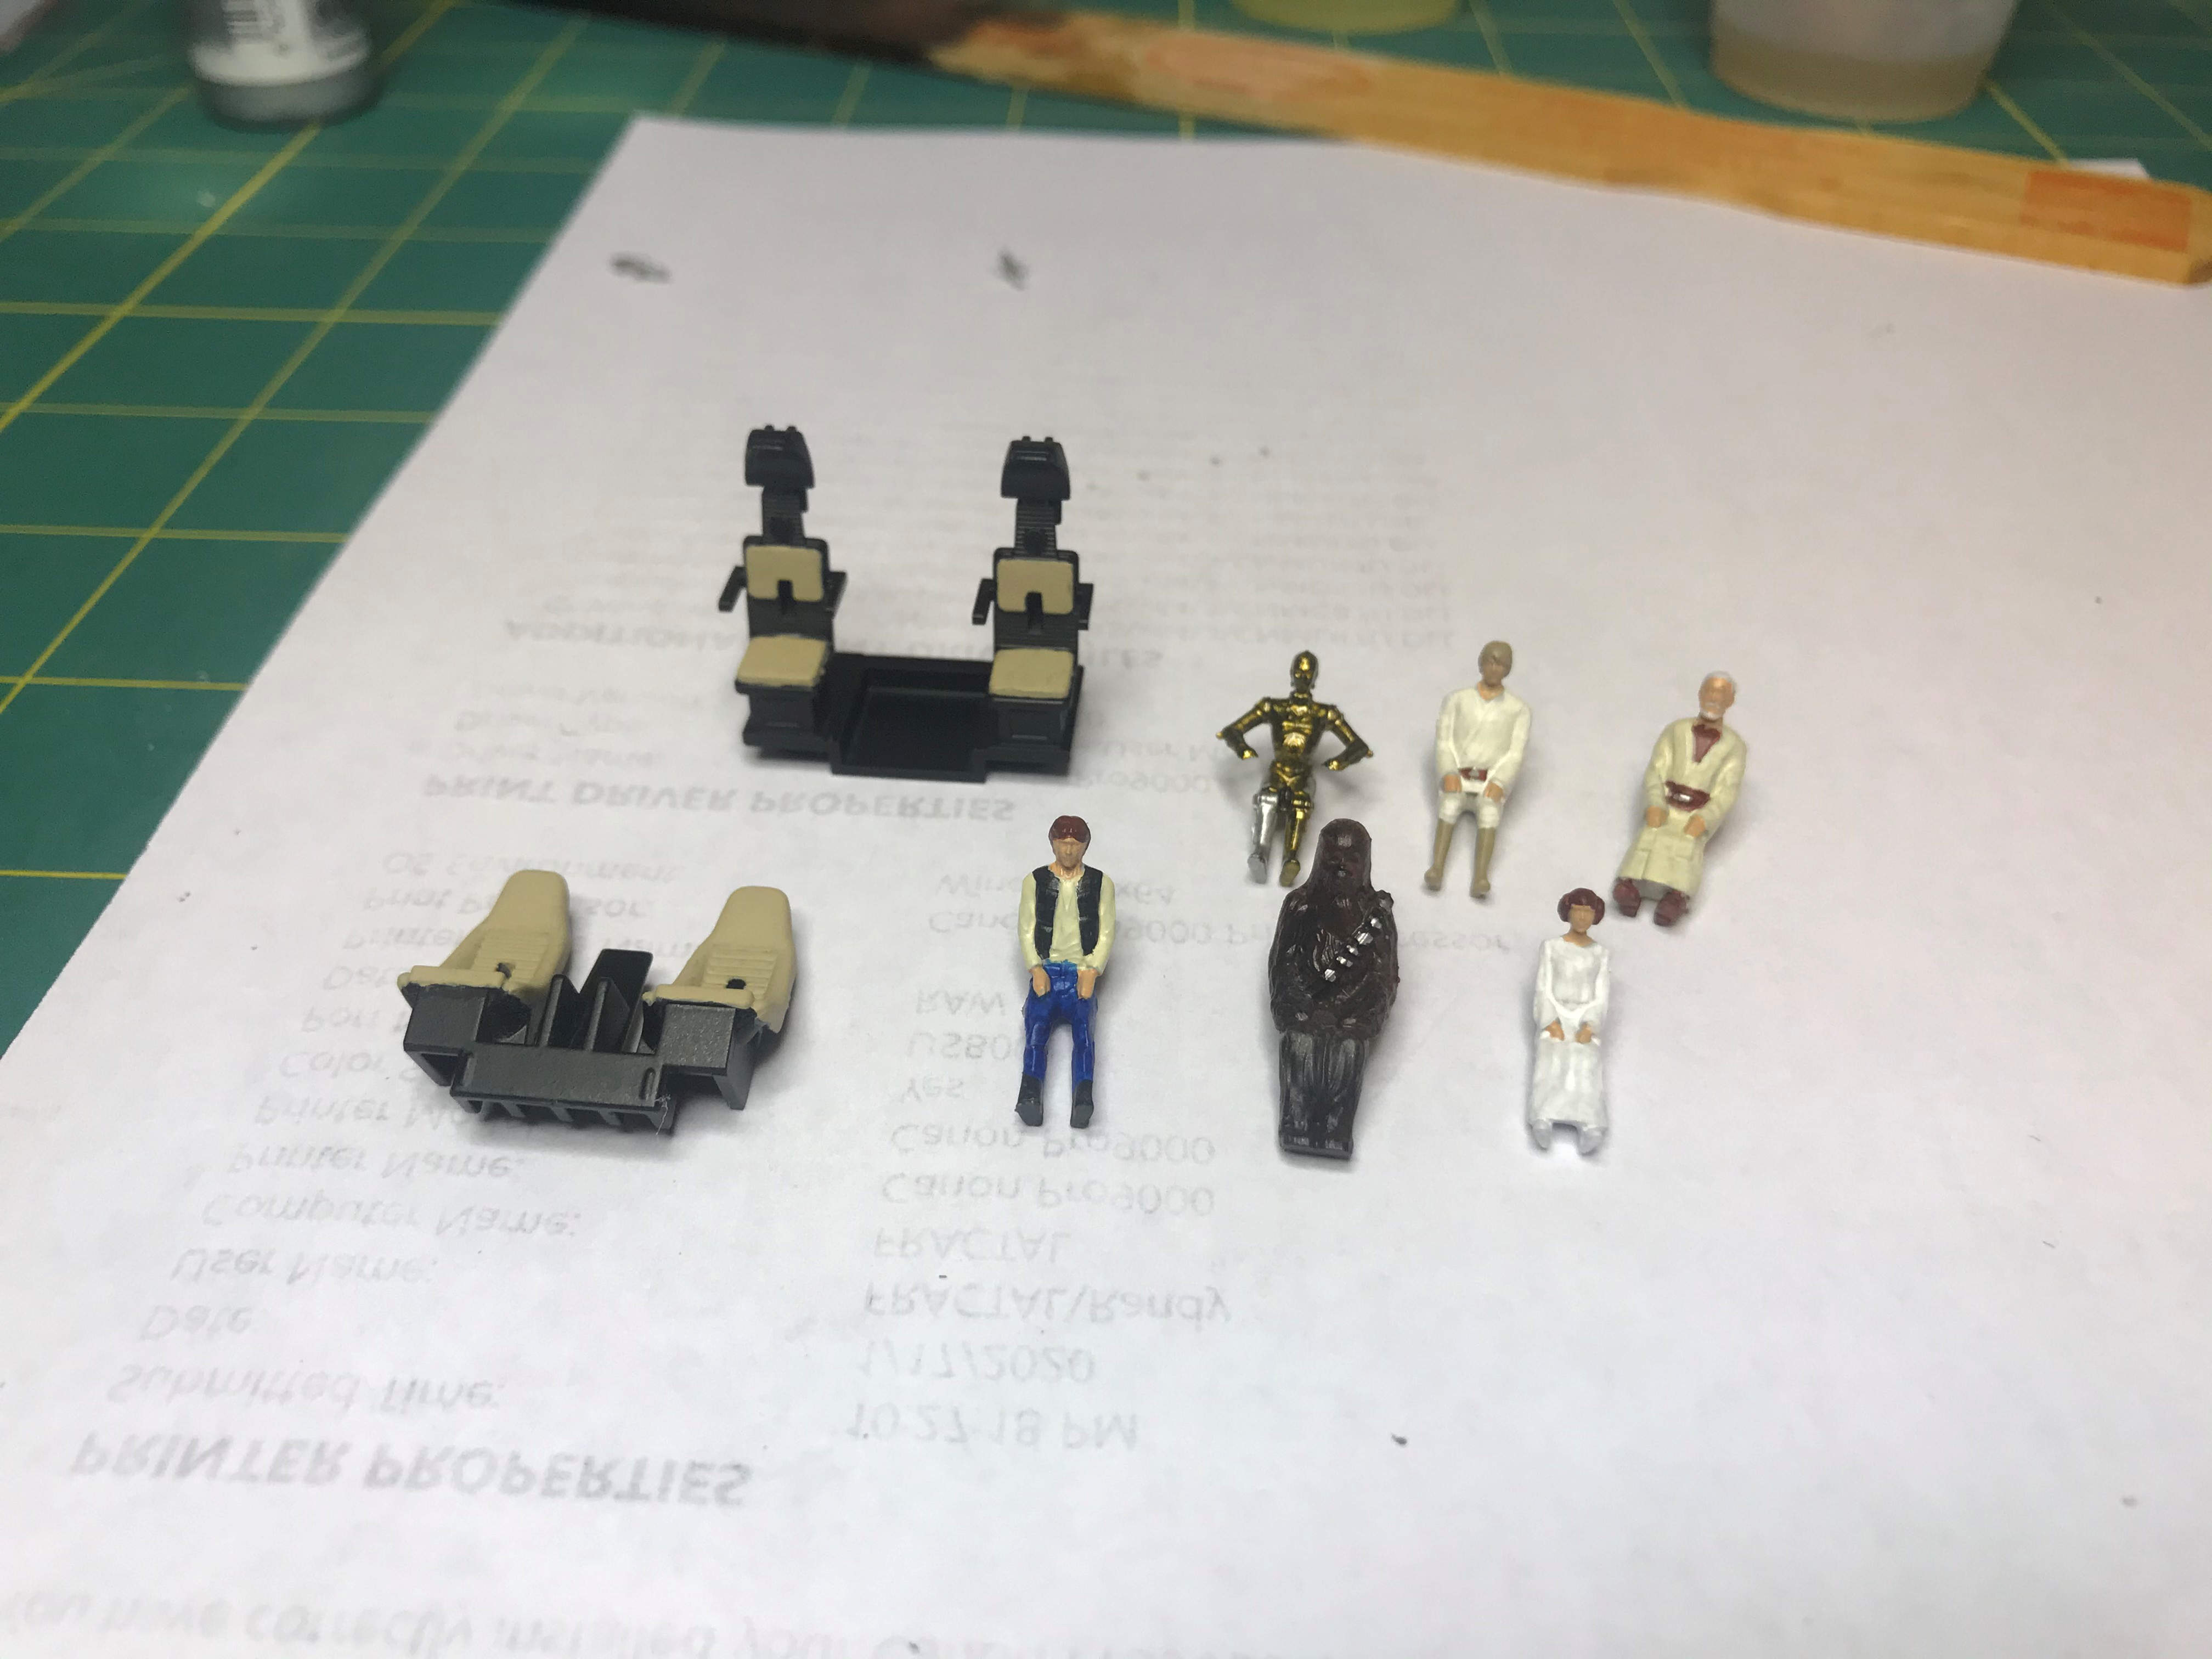
C3-PO and Chewbacca got and undercoat of black. Then C3-PO got painted Gold and then that was overcoated with the transparent yellow which really gave him a nice gold look. Chewbacca got an overall coat of red brown. His belt, face and legs got a drybrush of black to darken those areas. Then a drybrush of light brown. The boxes on his belt were painted silver and his face got a light drybrush of black to bring out some details and highlight his nose. The figures aren’t perfect but for me they turned out well. Meanwhile the padding on the seats got a coat of sand yellow.


Next I started on the cockpit control panels. BanDai includes a some nice decals for the instrument panels. I have heard from many sources that the decals don’t lay down well over the control panels and decal solvents don’t help much. So in light of that, I made a set of custom decals using my decal paper and my ALPS printer. The decals turned out well. After clear coating the front control panel I applied the first two decals. After several applications of Micro Sol the decals finally laid down pretty well over the raised details. It was good that my custom decals are so thin, otherwise I don’t think they would have worked at all. The control panel between the two main panels had some LARGE raised areas and when I tried to apply a decal to that area, the decal just would not conform well at all. I ended up taking a fine brush and hand painting the area.


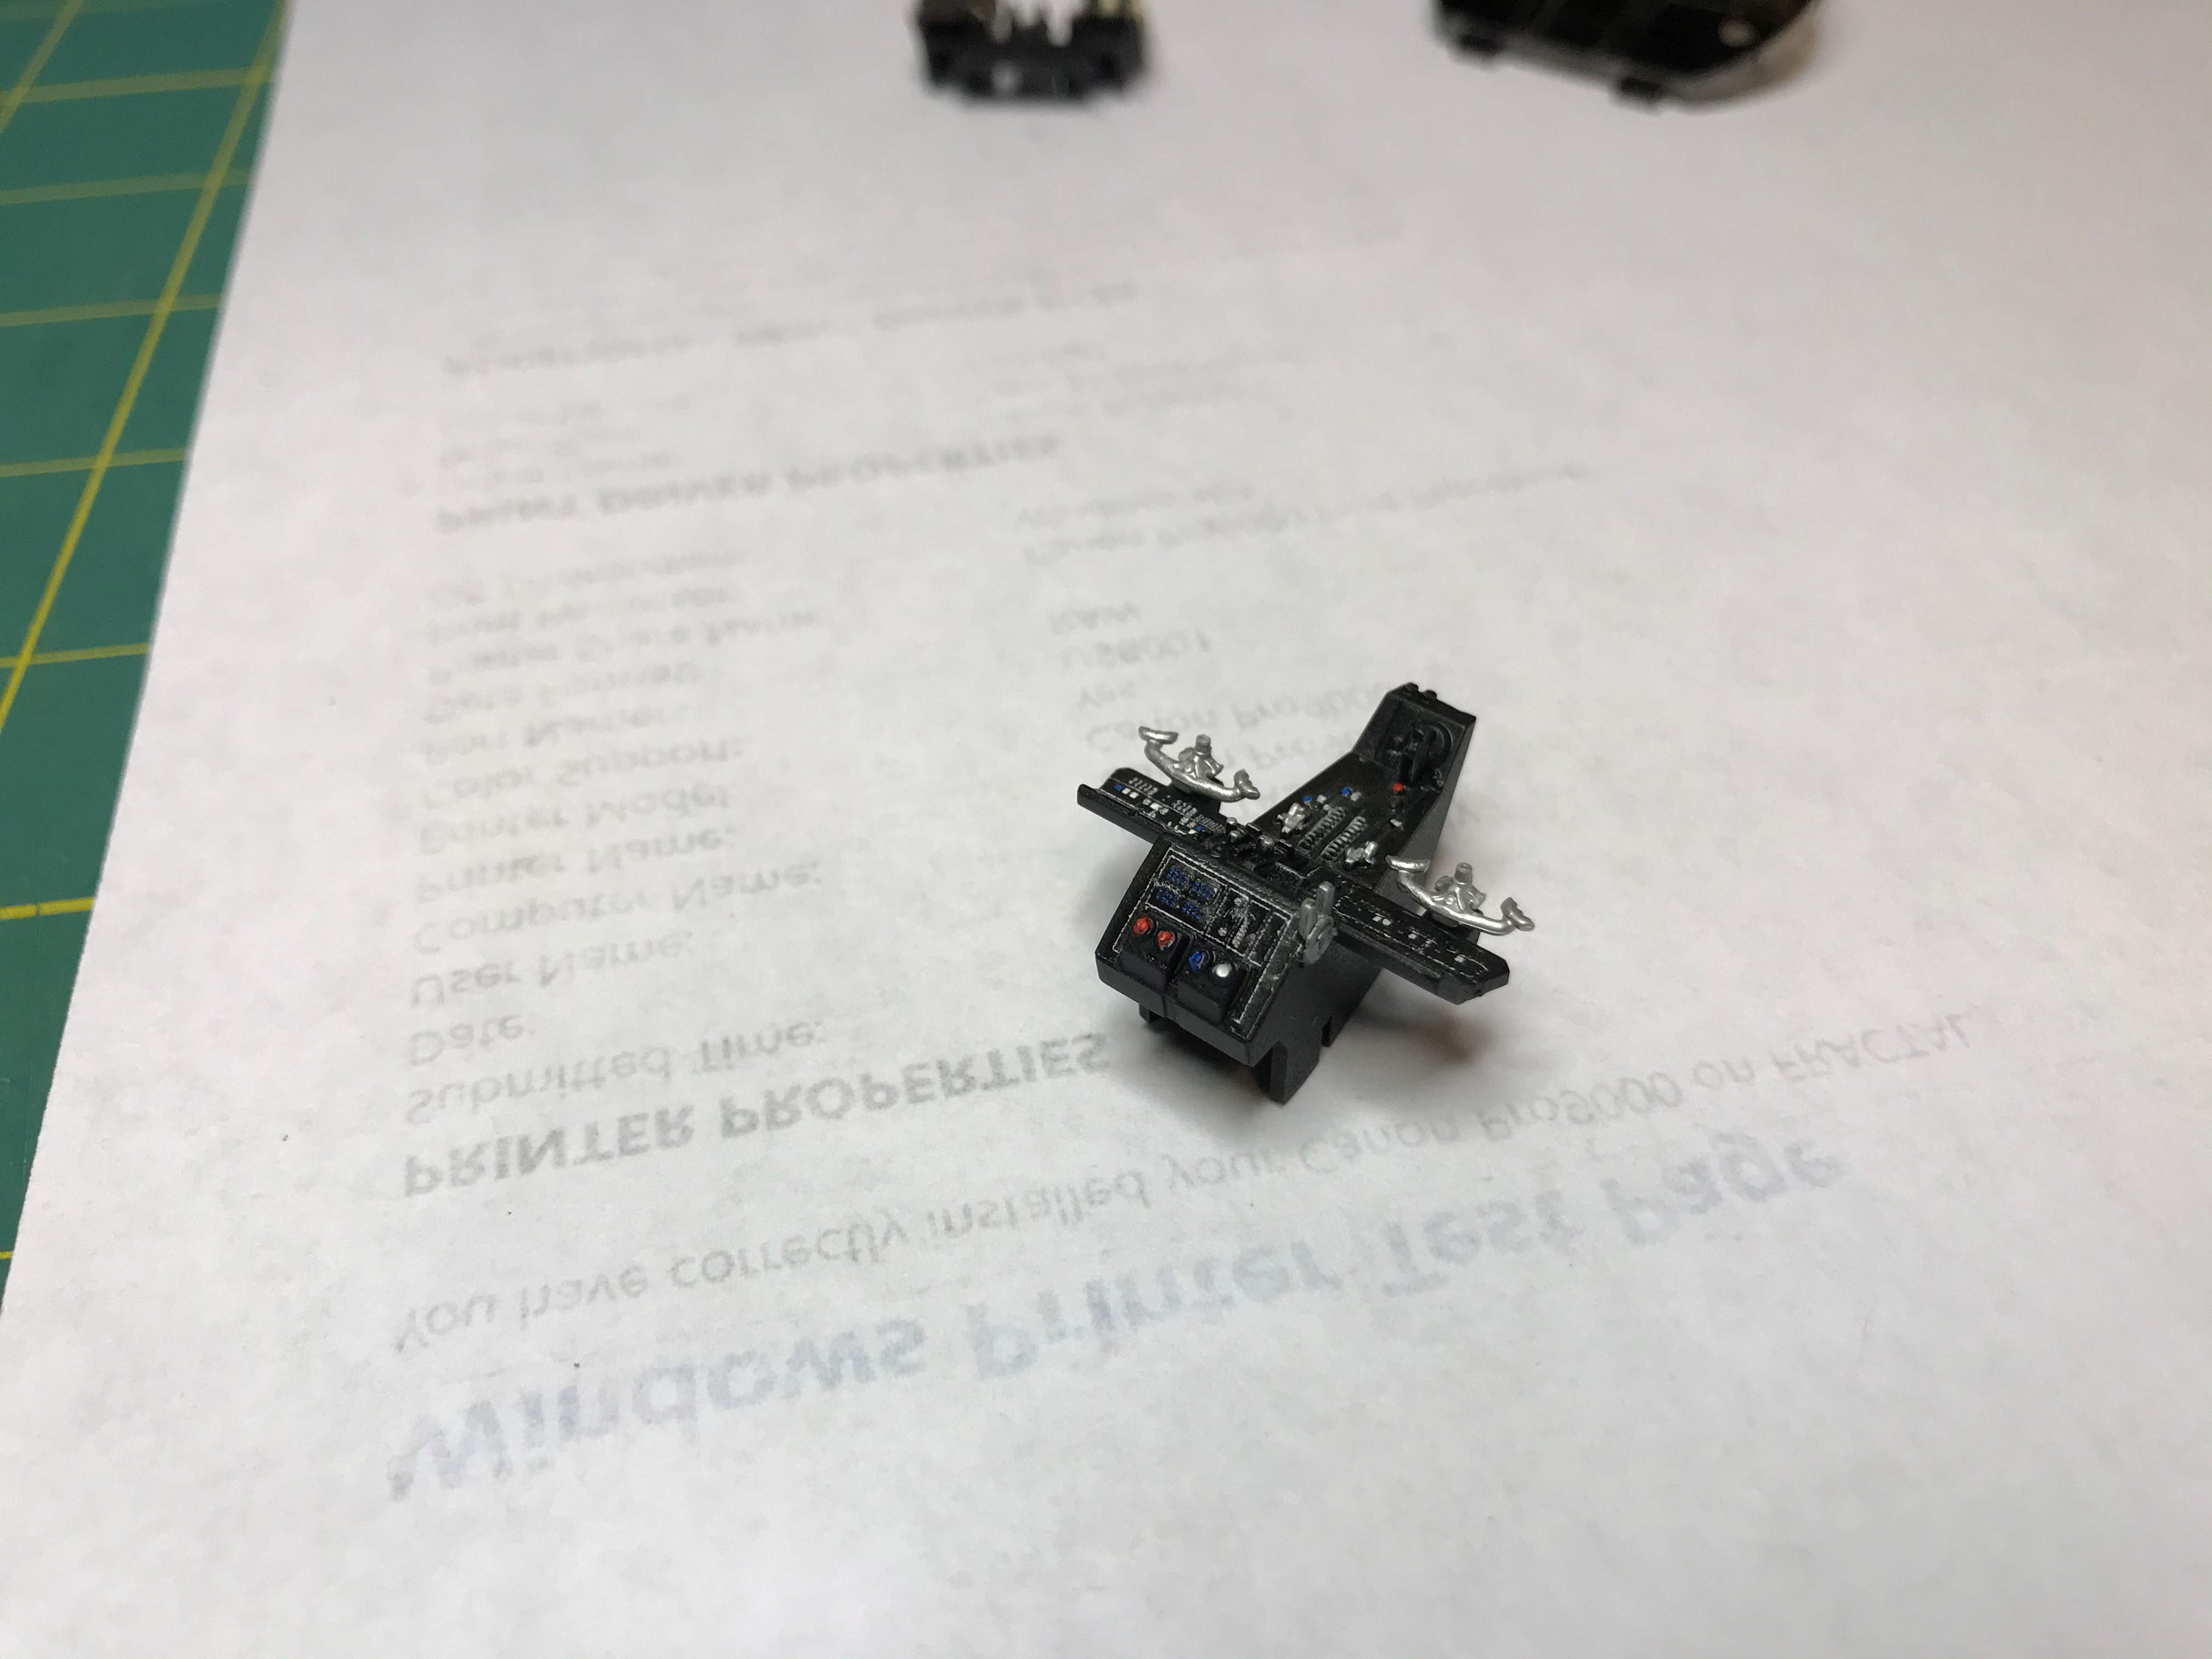

It looks like, from that experience that the panels on the side walls will have to be hand painted. I’m still holding out some hope that the decal for the back wall will work. The raised areas on that panel are not that large. We shall see.
More to come.

2 thoughts on “BanDai 1/72 Scale Millennium Falcon Perfect Grade Build”