
I’ve been working on this post for a while. Since it is May 4th, I figured why not post it now. So here is a long delayed post on my latest Star Wars build.
I’m building the BanDai 1/72 scale X-Wing Red 5 to go along with they Millennium Falcon that I built last year.

I started with a look through the parts to check for damage or anything else of interest. Being a space nerd I quickly found a Saturn V third stage part that was being used for the intakes on the X-Wing.

I also noticed that the open cockpit canopy had a break in it. I should be able to fix that without much trouble as long as it doesn’t break when pushing the parts back into position.
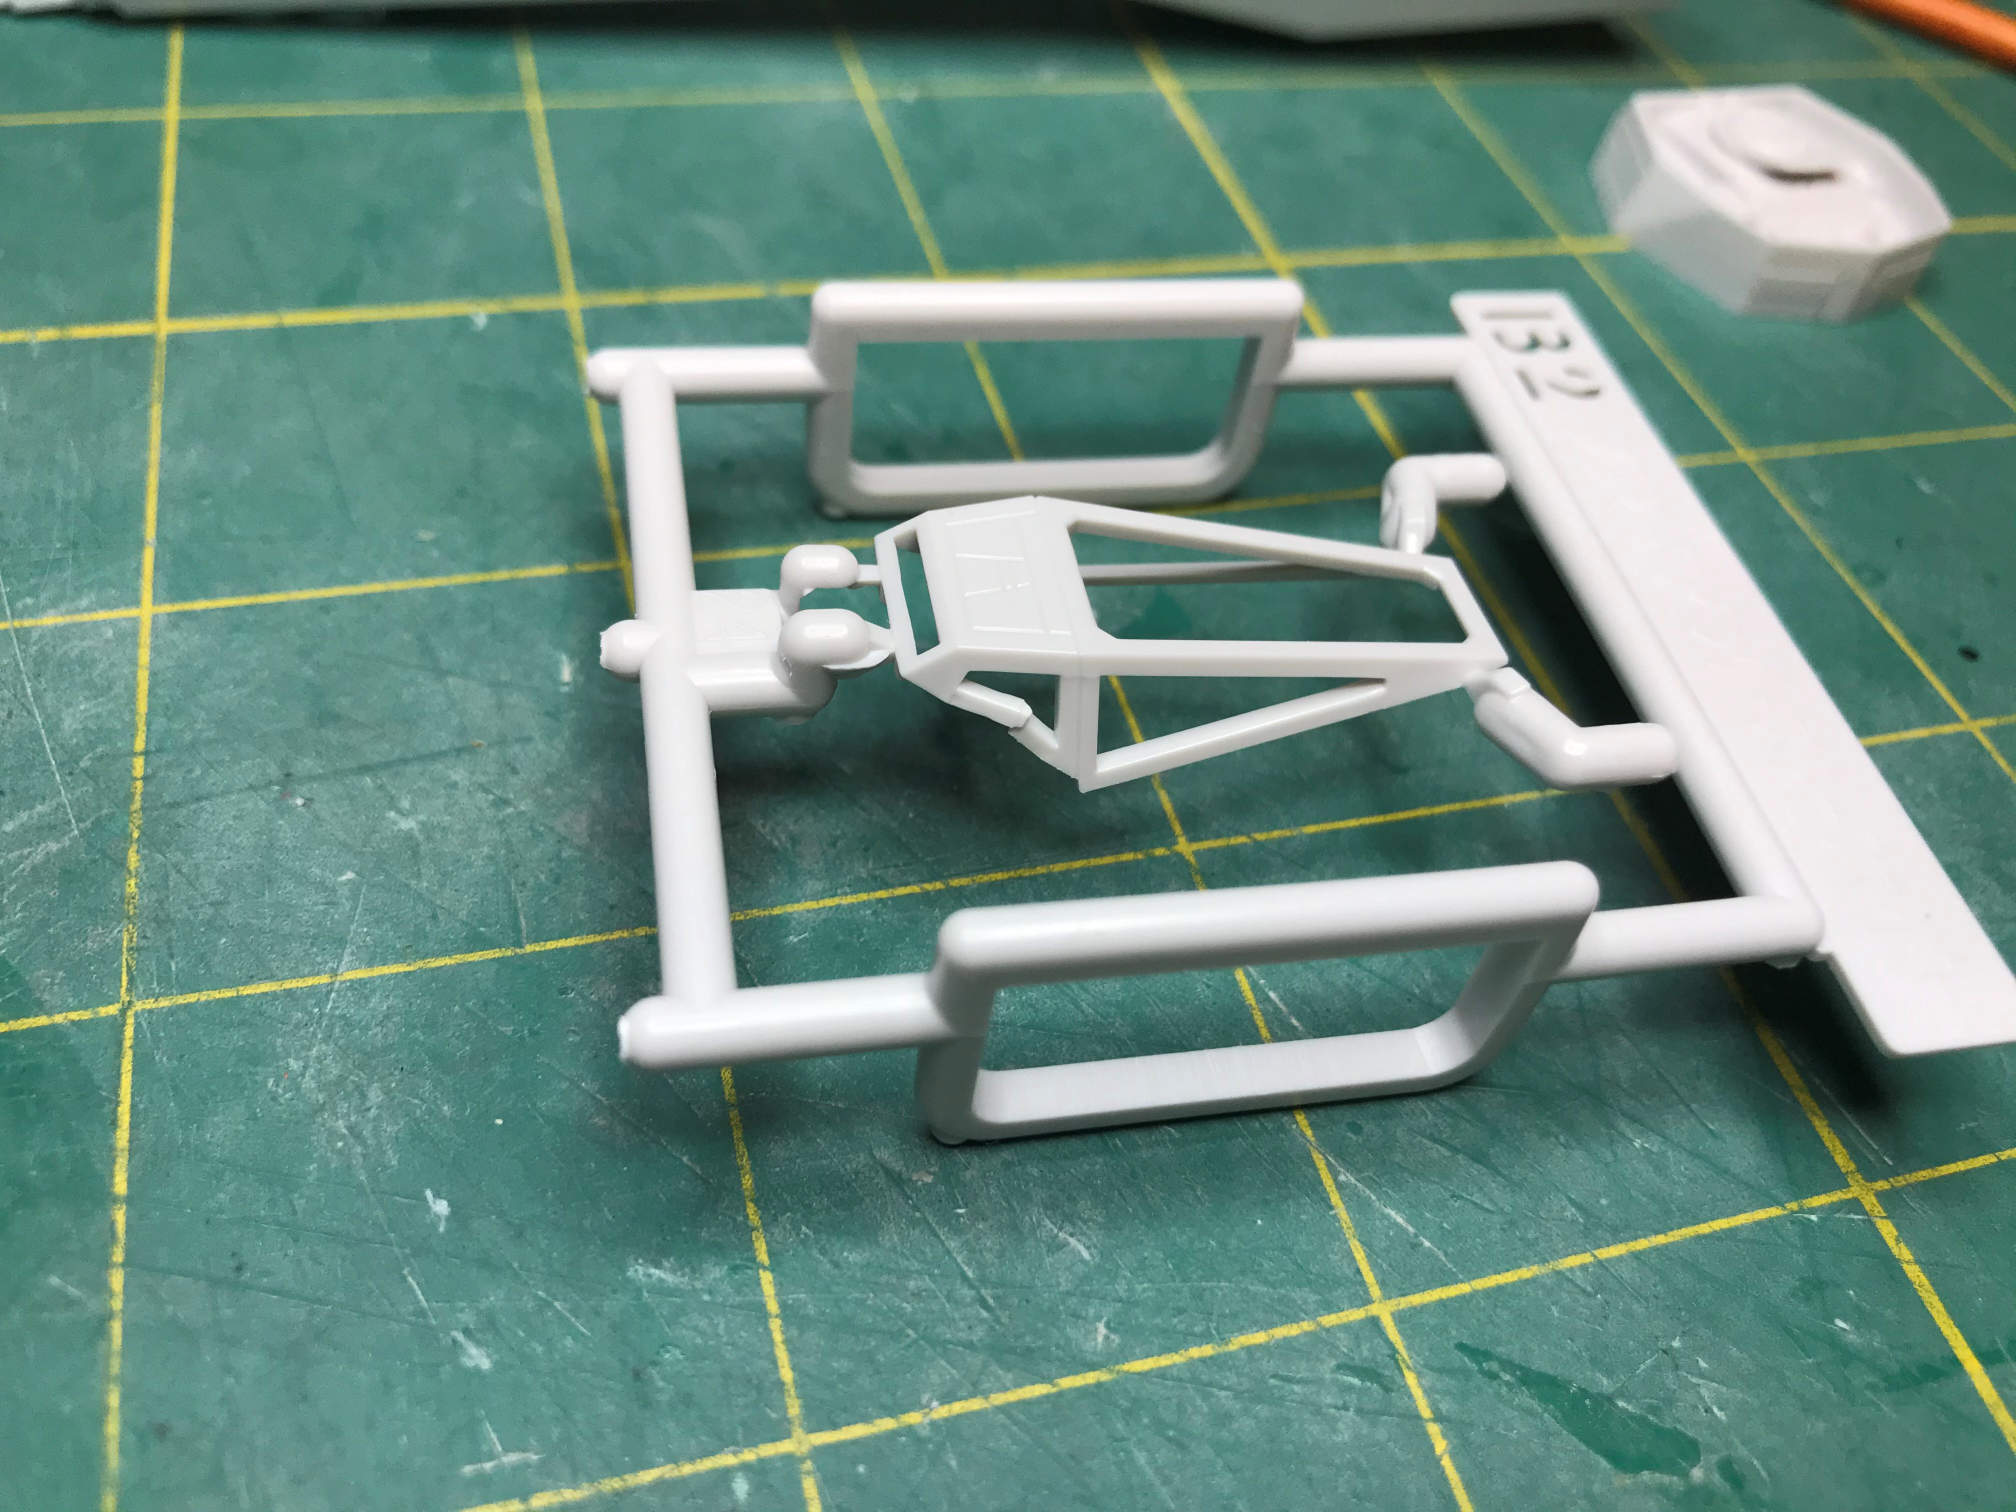
I partially assembled some of the parts before spraying on the primer. Some of the parts are pre-colored but since I’ll be using the decals for those parts I sprayed primer over them.

I also sprayed the rest of the parts on their runners. After the primer had set I sprayed all the parts with the base color of White Gray, except for the droids which got painted white.

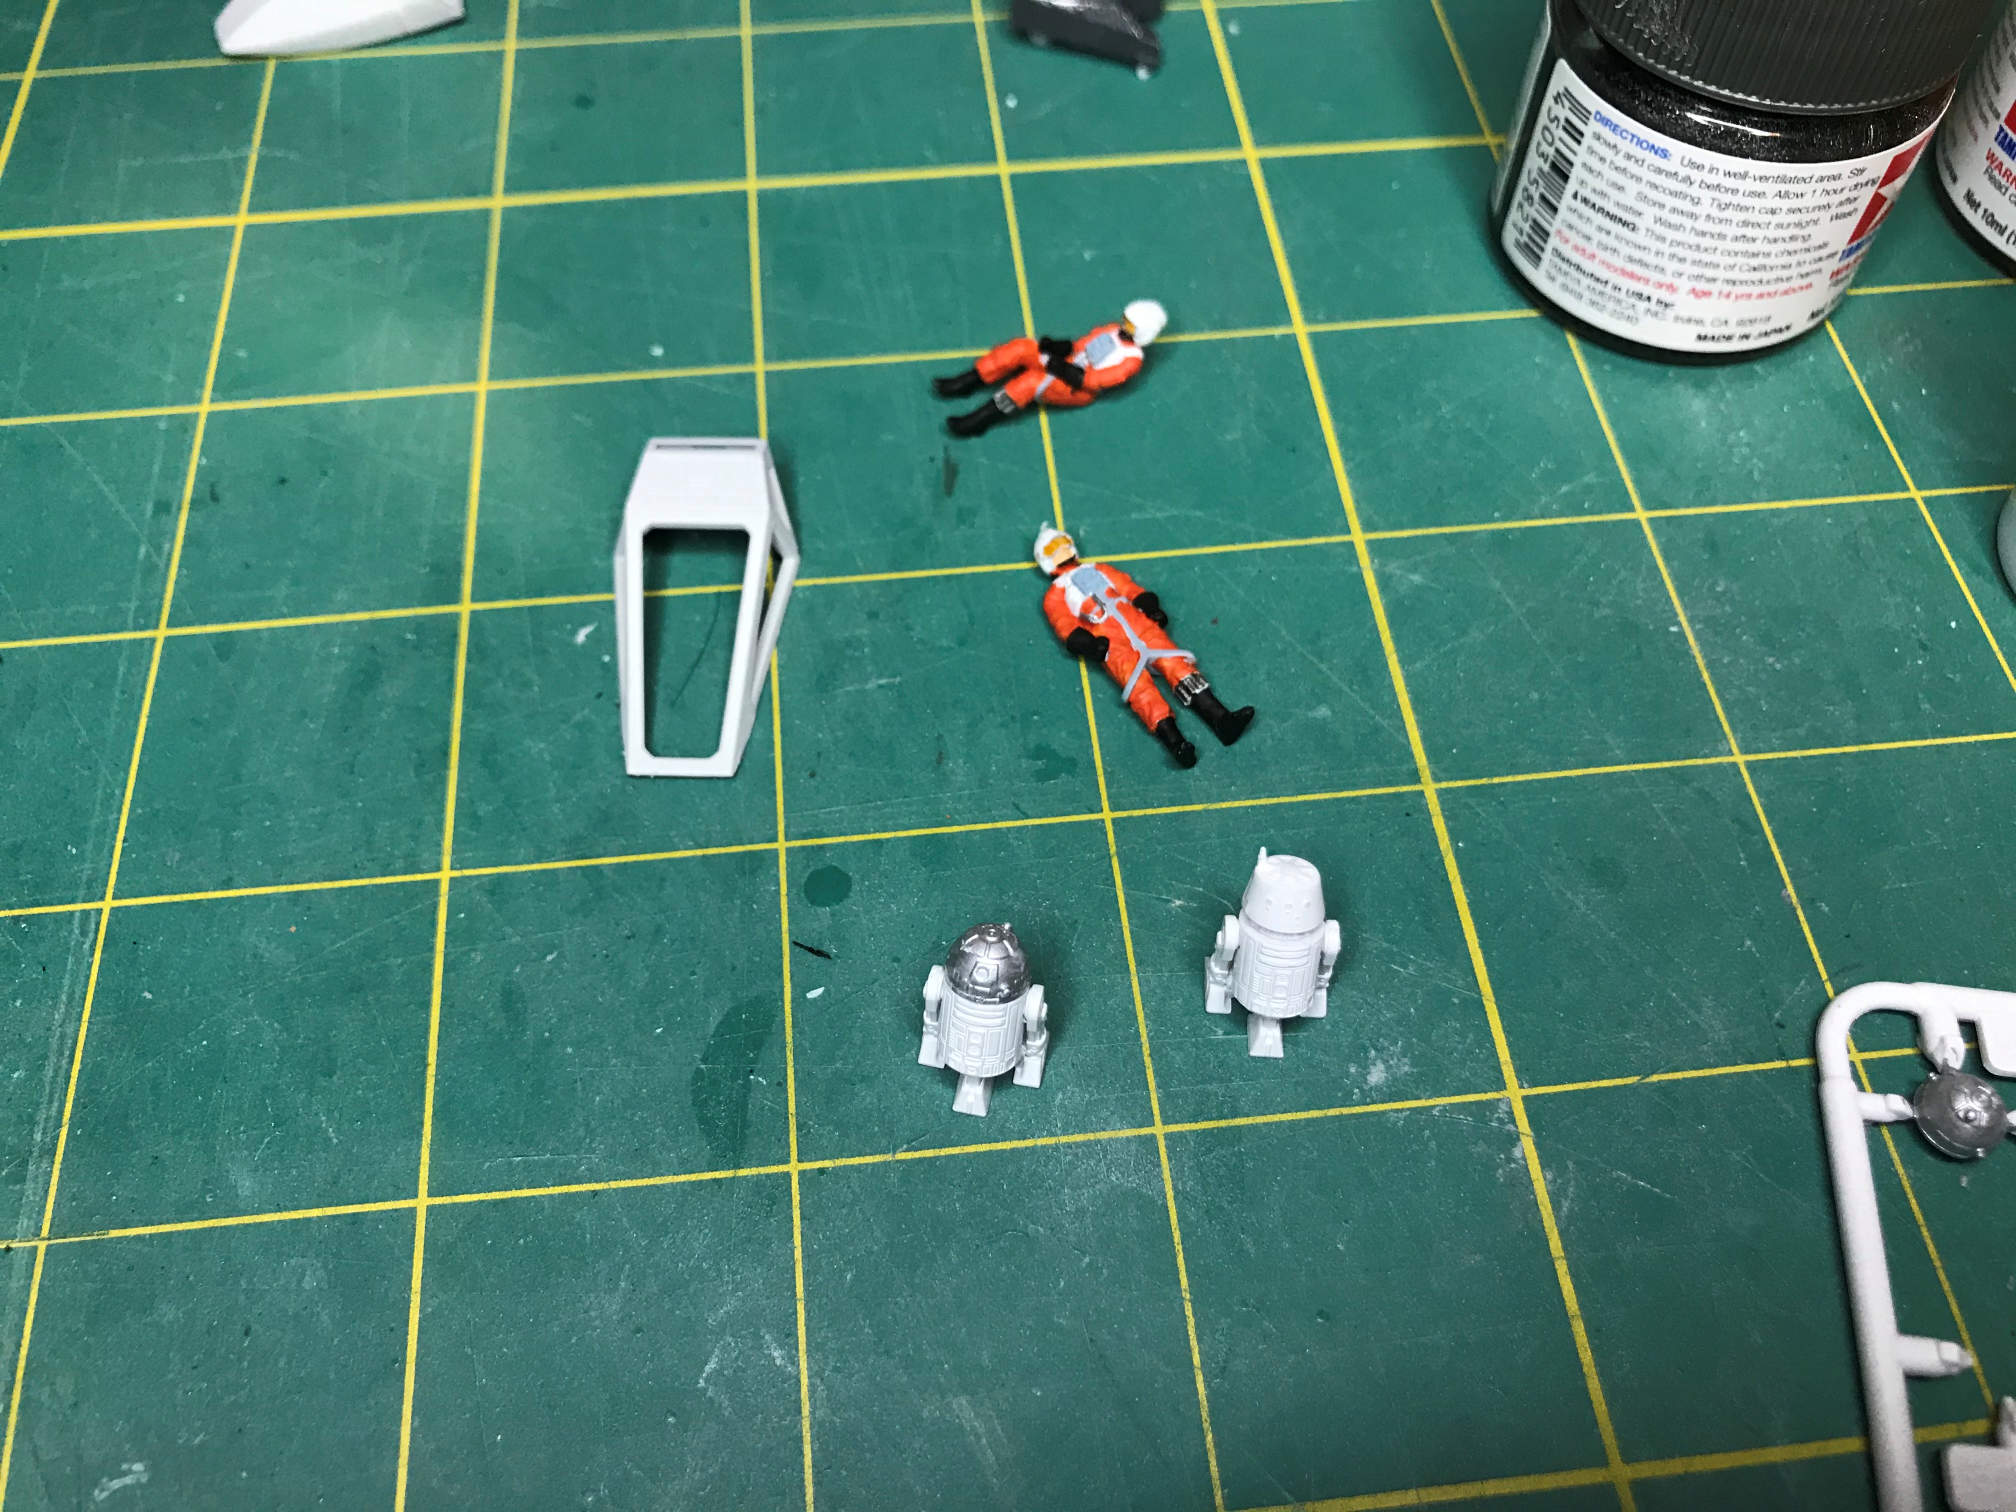
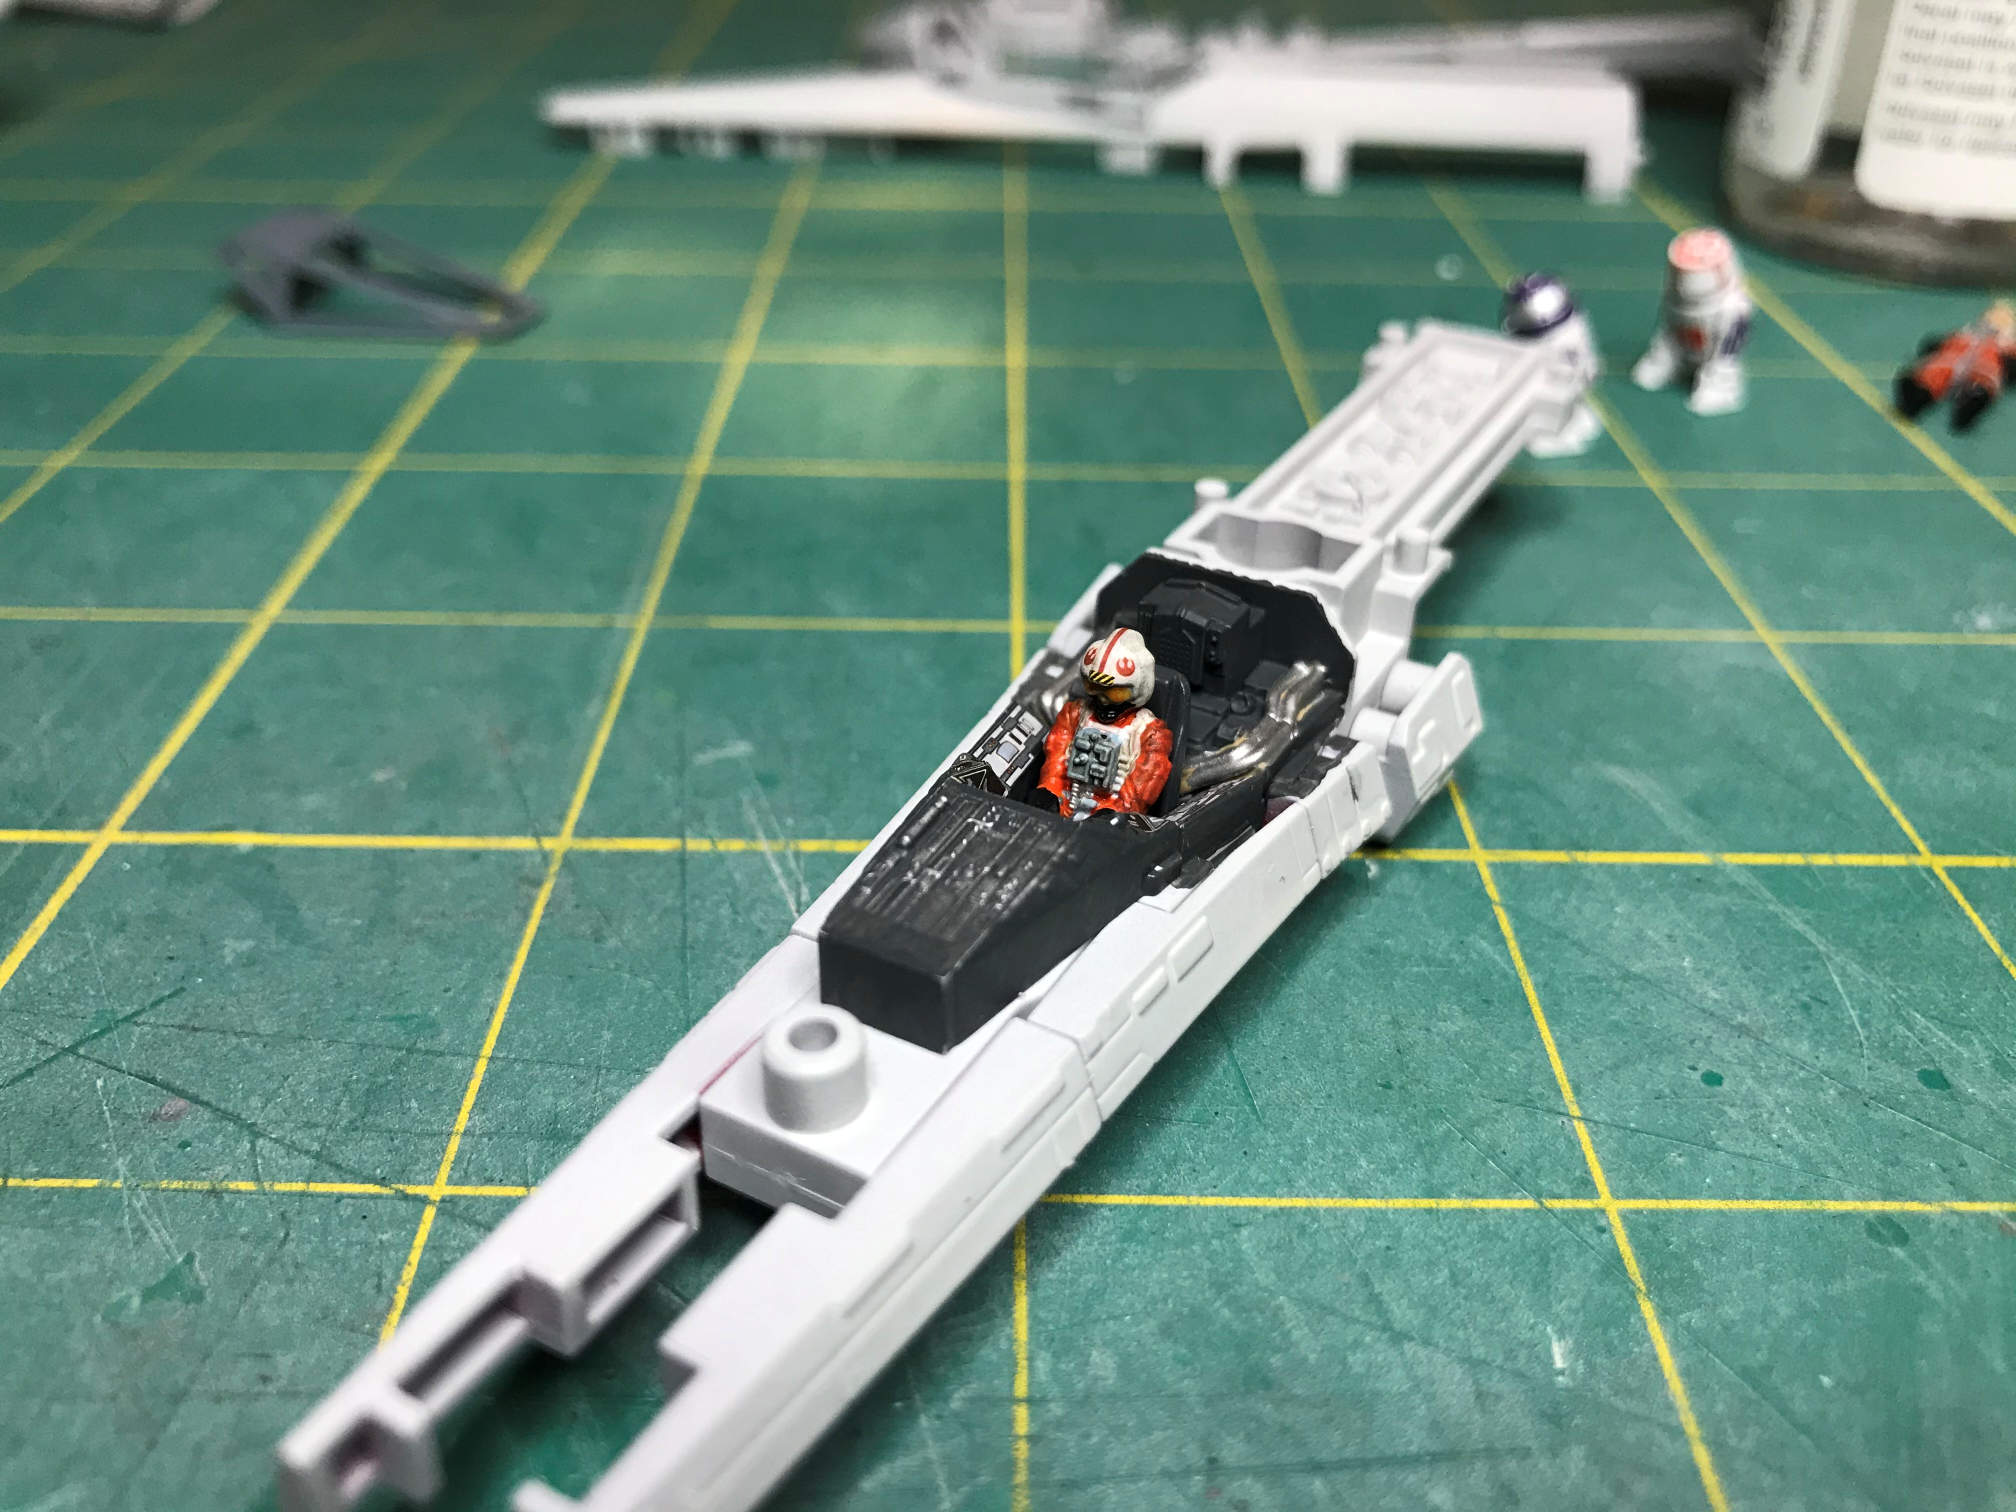
I decided to start with the figures first. I assembled both R2-D2 and R2-D4. R2-D2 got his dome painted silver before assembly. The pilot figures were painted with black, orange, white, aged white, flesh, gray, and transparent orange. The droids (other than R2-D2’s dome) were painted white.
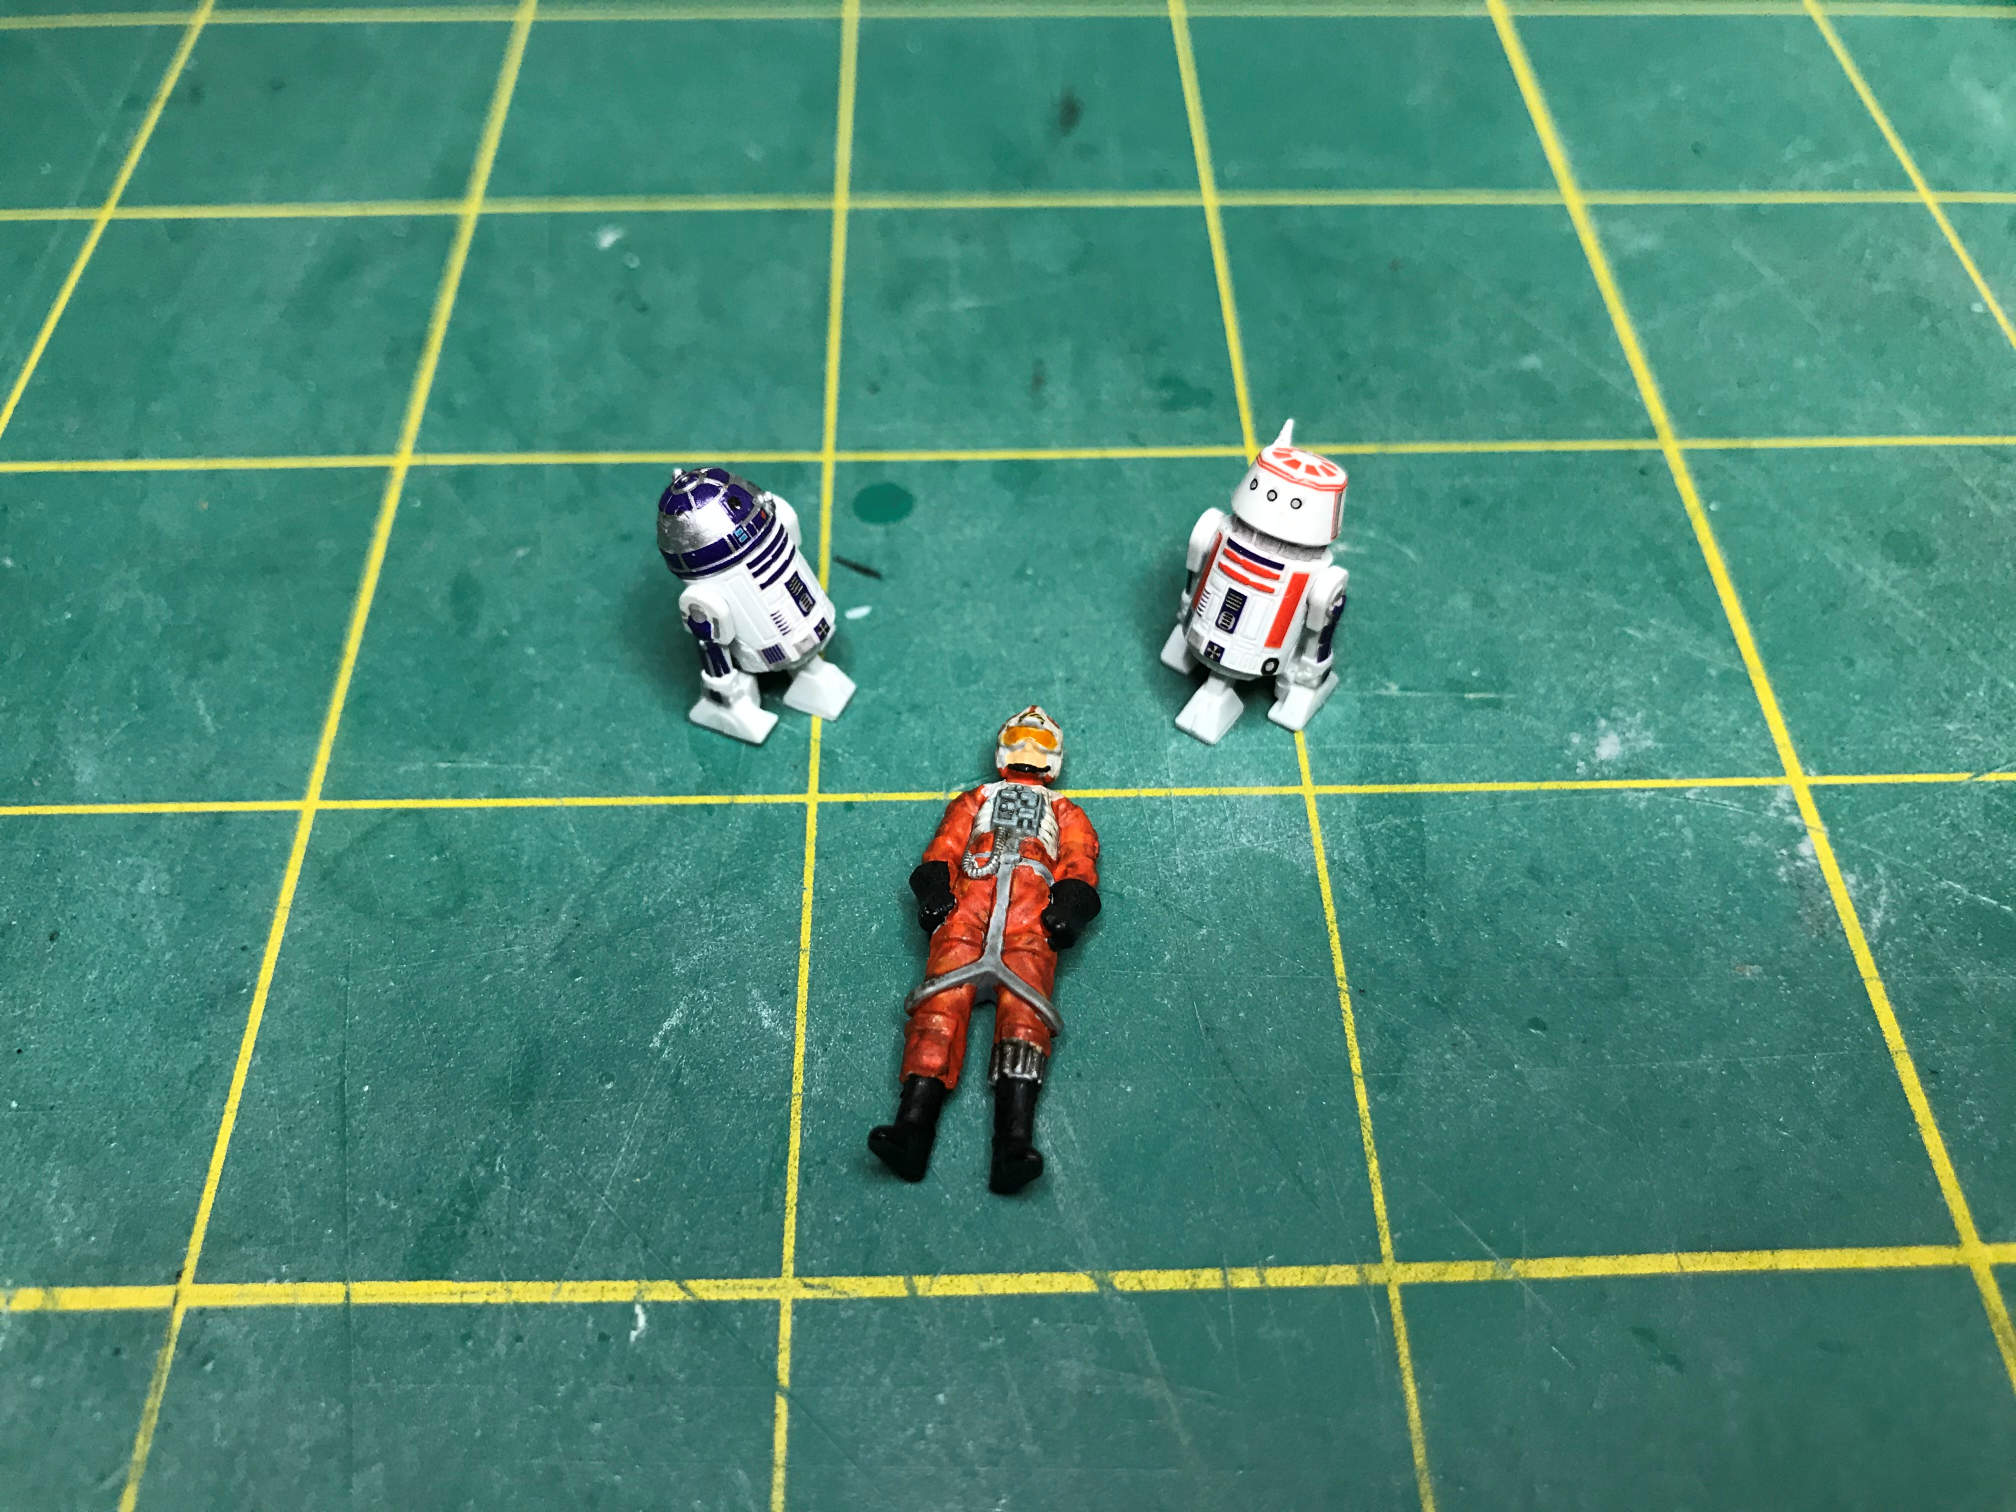
After painting the pilot figures, the droids and pilots were given a clear gloss coat in preparation for the TINY decals. The decals were applied using MicroScale MicroSet. When that had dried, Walthers Solvaset was used to get the decals to conform to some of the surface details, particularly on the droids. The droids took multiple applications of Solvaset to get the decals to conform.
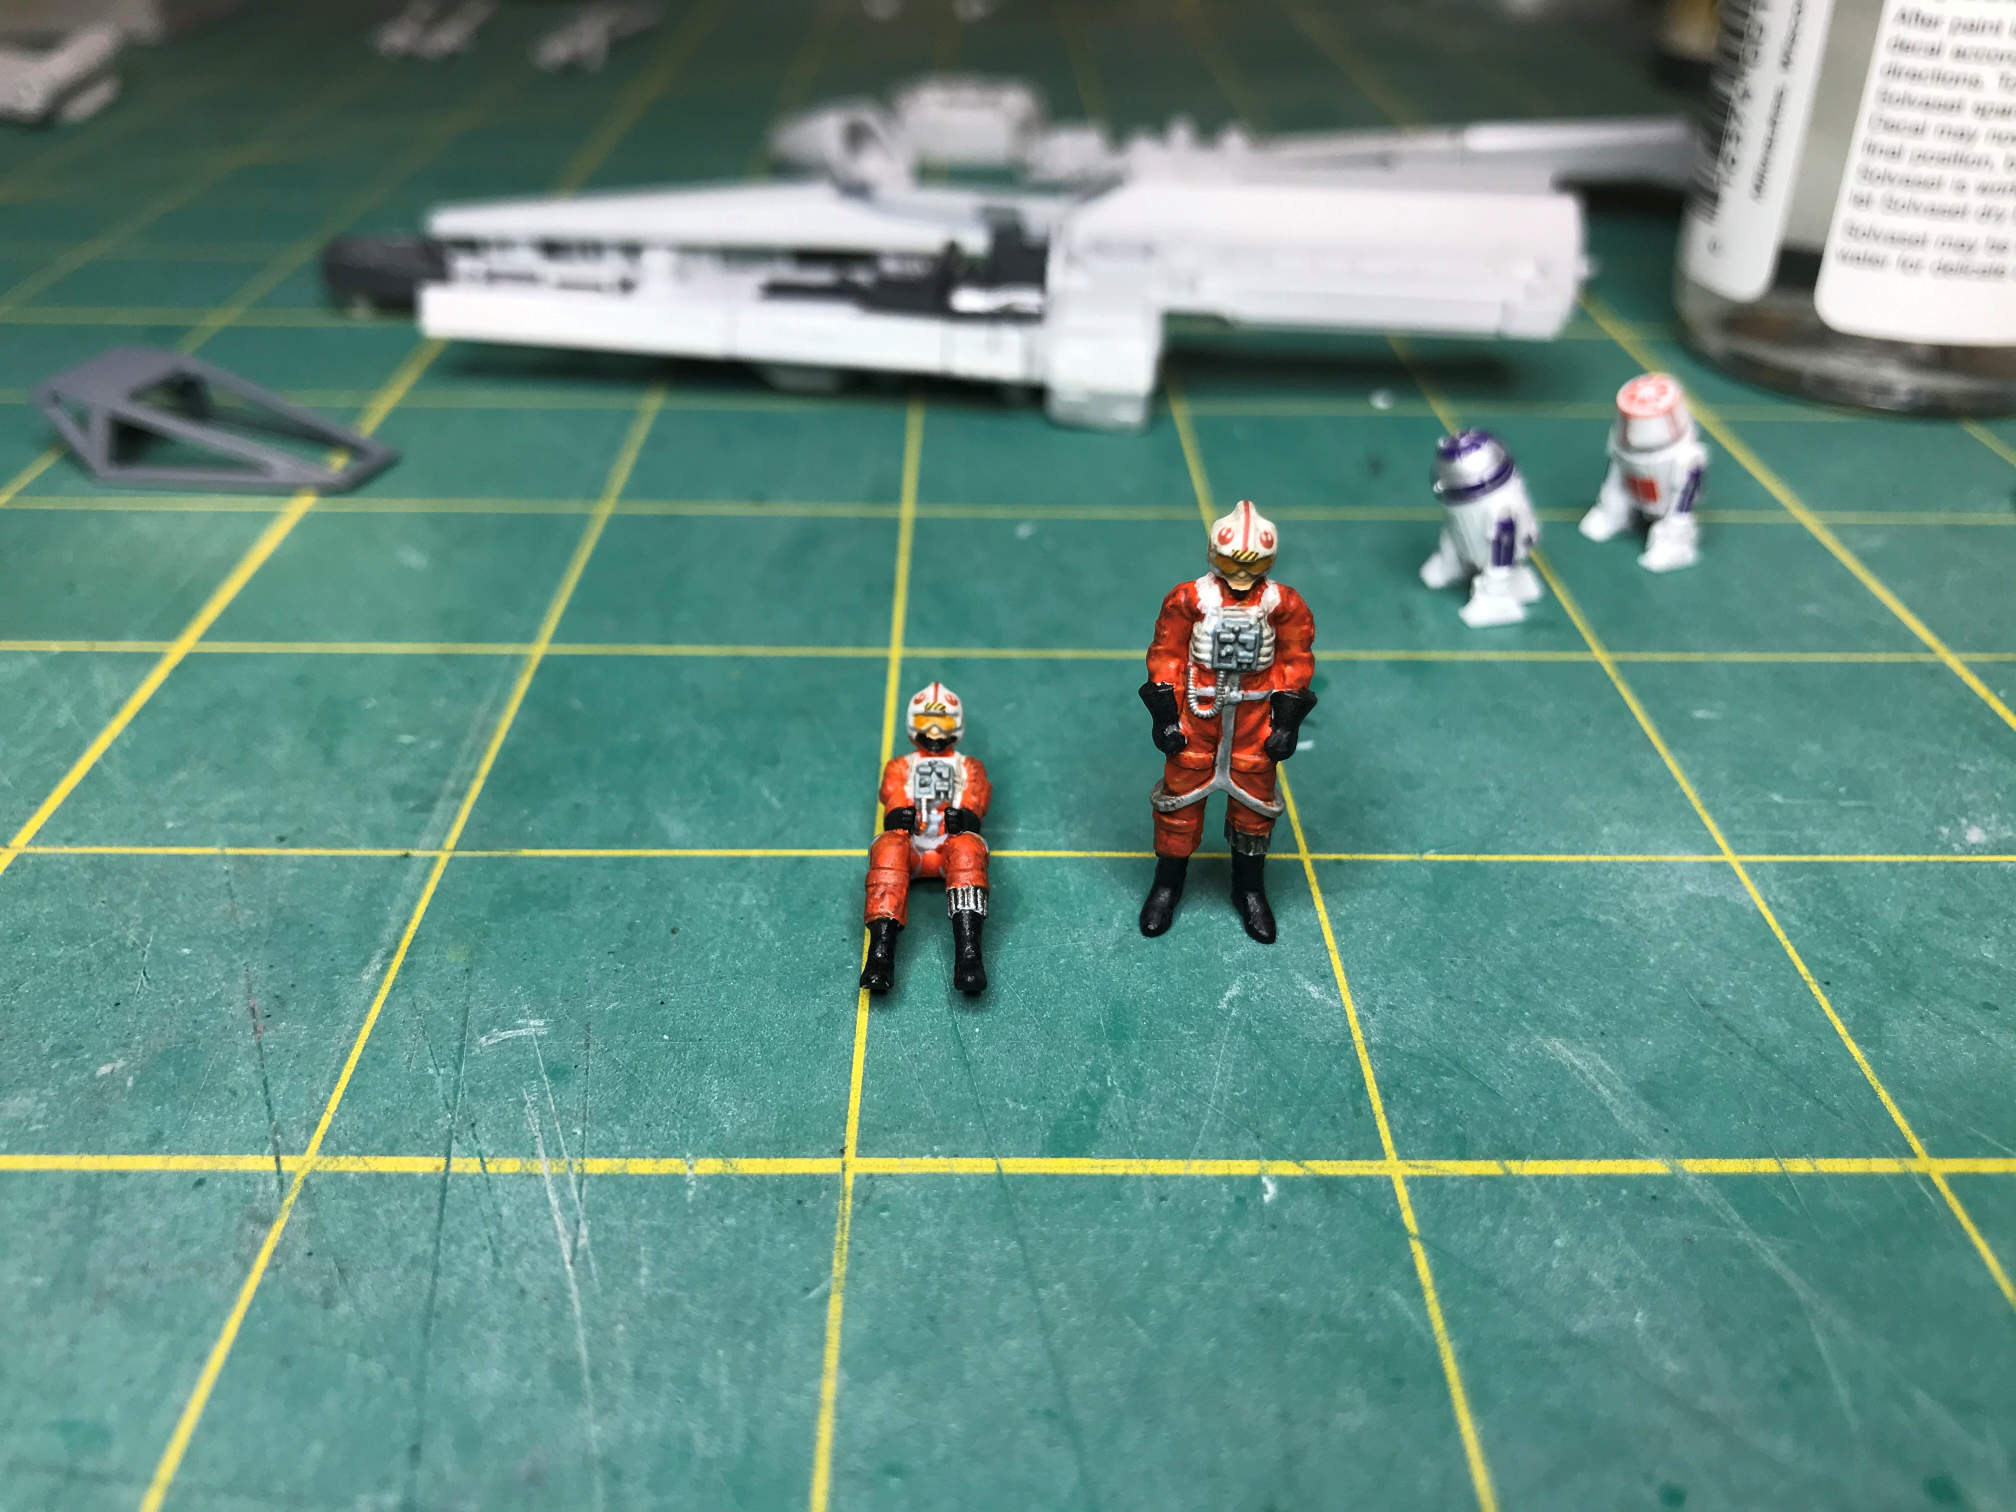
The figures were then given another light coat of clear gloss to protect the decals. Then a black wash was applied to give the figures a more realistic look.
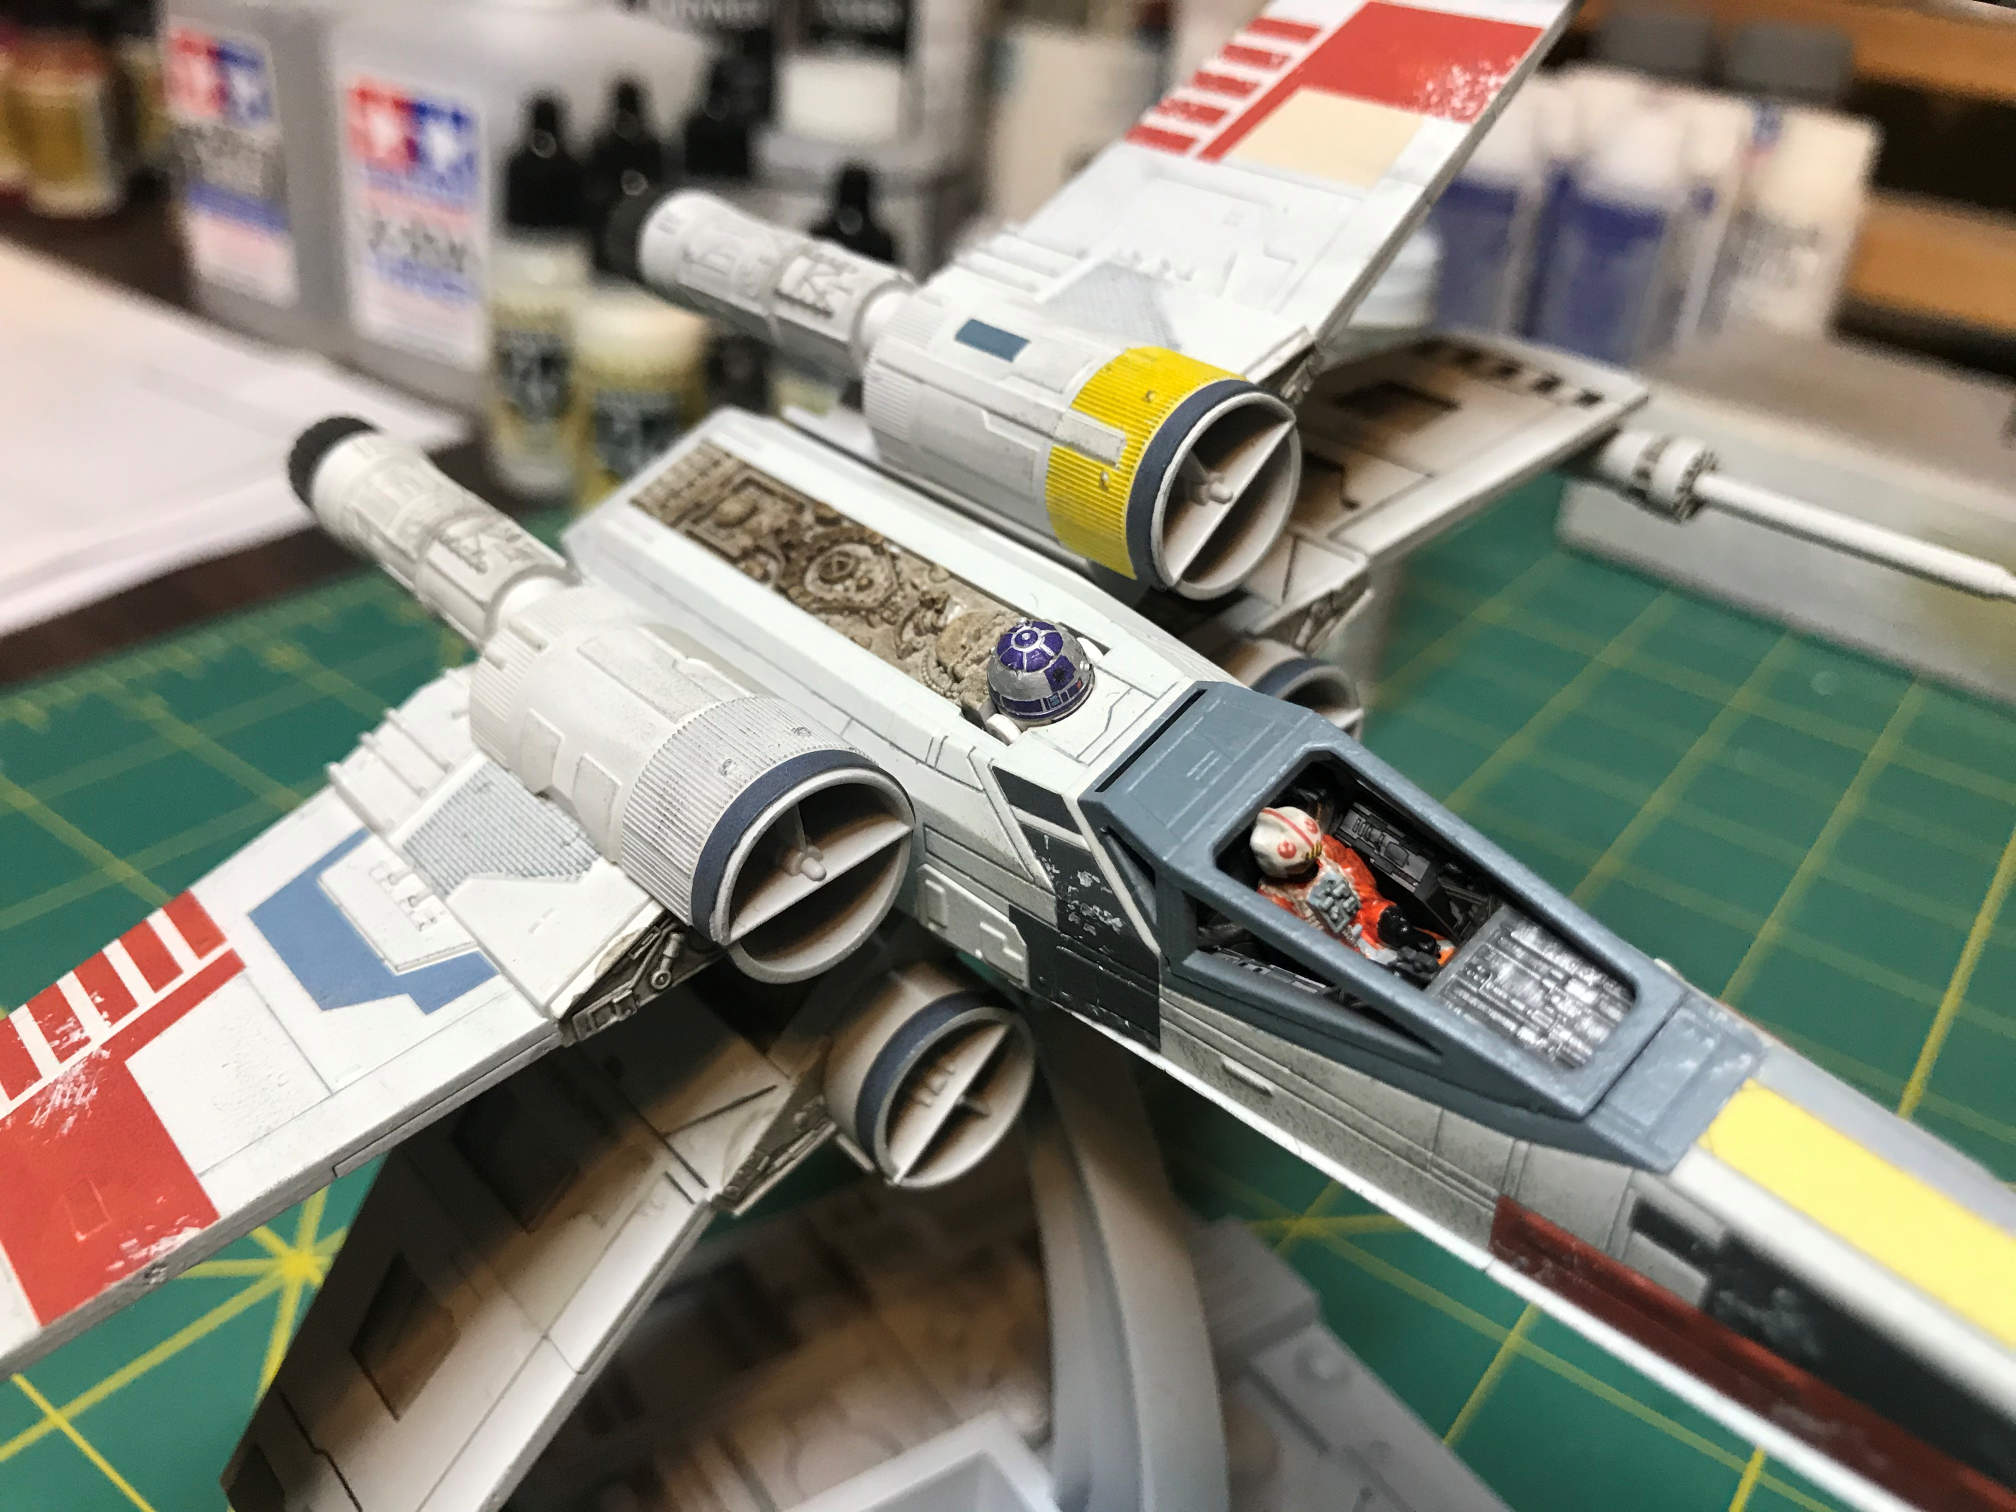
I moved on to the cockpit and painted it by hand with NATO Black and a dry brush here and there of silver. Then the cockpit decals were applied as before with MicroSet and Solvaset. Since some of the decals have to go over raised details in the cockpit, I made some careful slices in the decals after the first application of Solvaset. Then more Solvaset was applied, multiple times, and the decals settled into the details nicely.

The pilot was placed in the cockpit and then the front instrument section was added. This pretty much locks the pilot in the seat.
I attempted to use the gray decal to cover the cockpit canopy, but it ended up a small disaster. I used Tamiya Light Gray and painted the cockpit canopy and the area surrounding the cockpit on the upper fuselage. It was a very good match for the gray of the decals.

I painted the exhaust nozzles with Tamiya Metallic Gray and then assembled most of the model so I could spray on a light gloss coat to get ready for the decals.

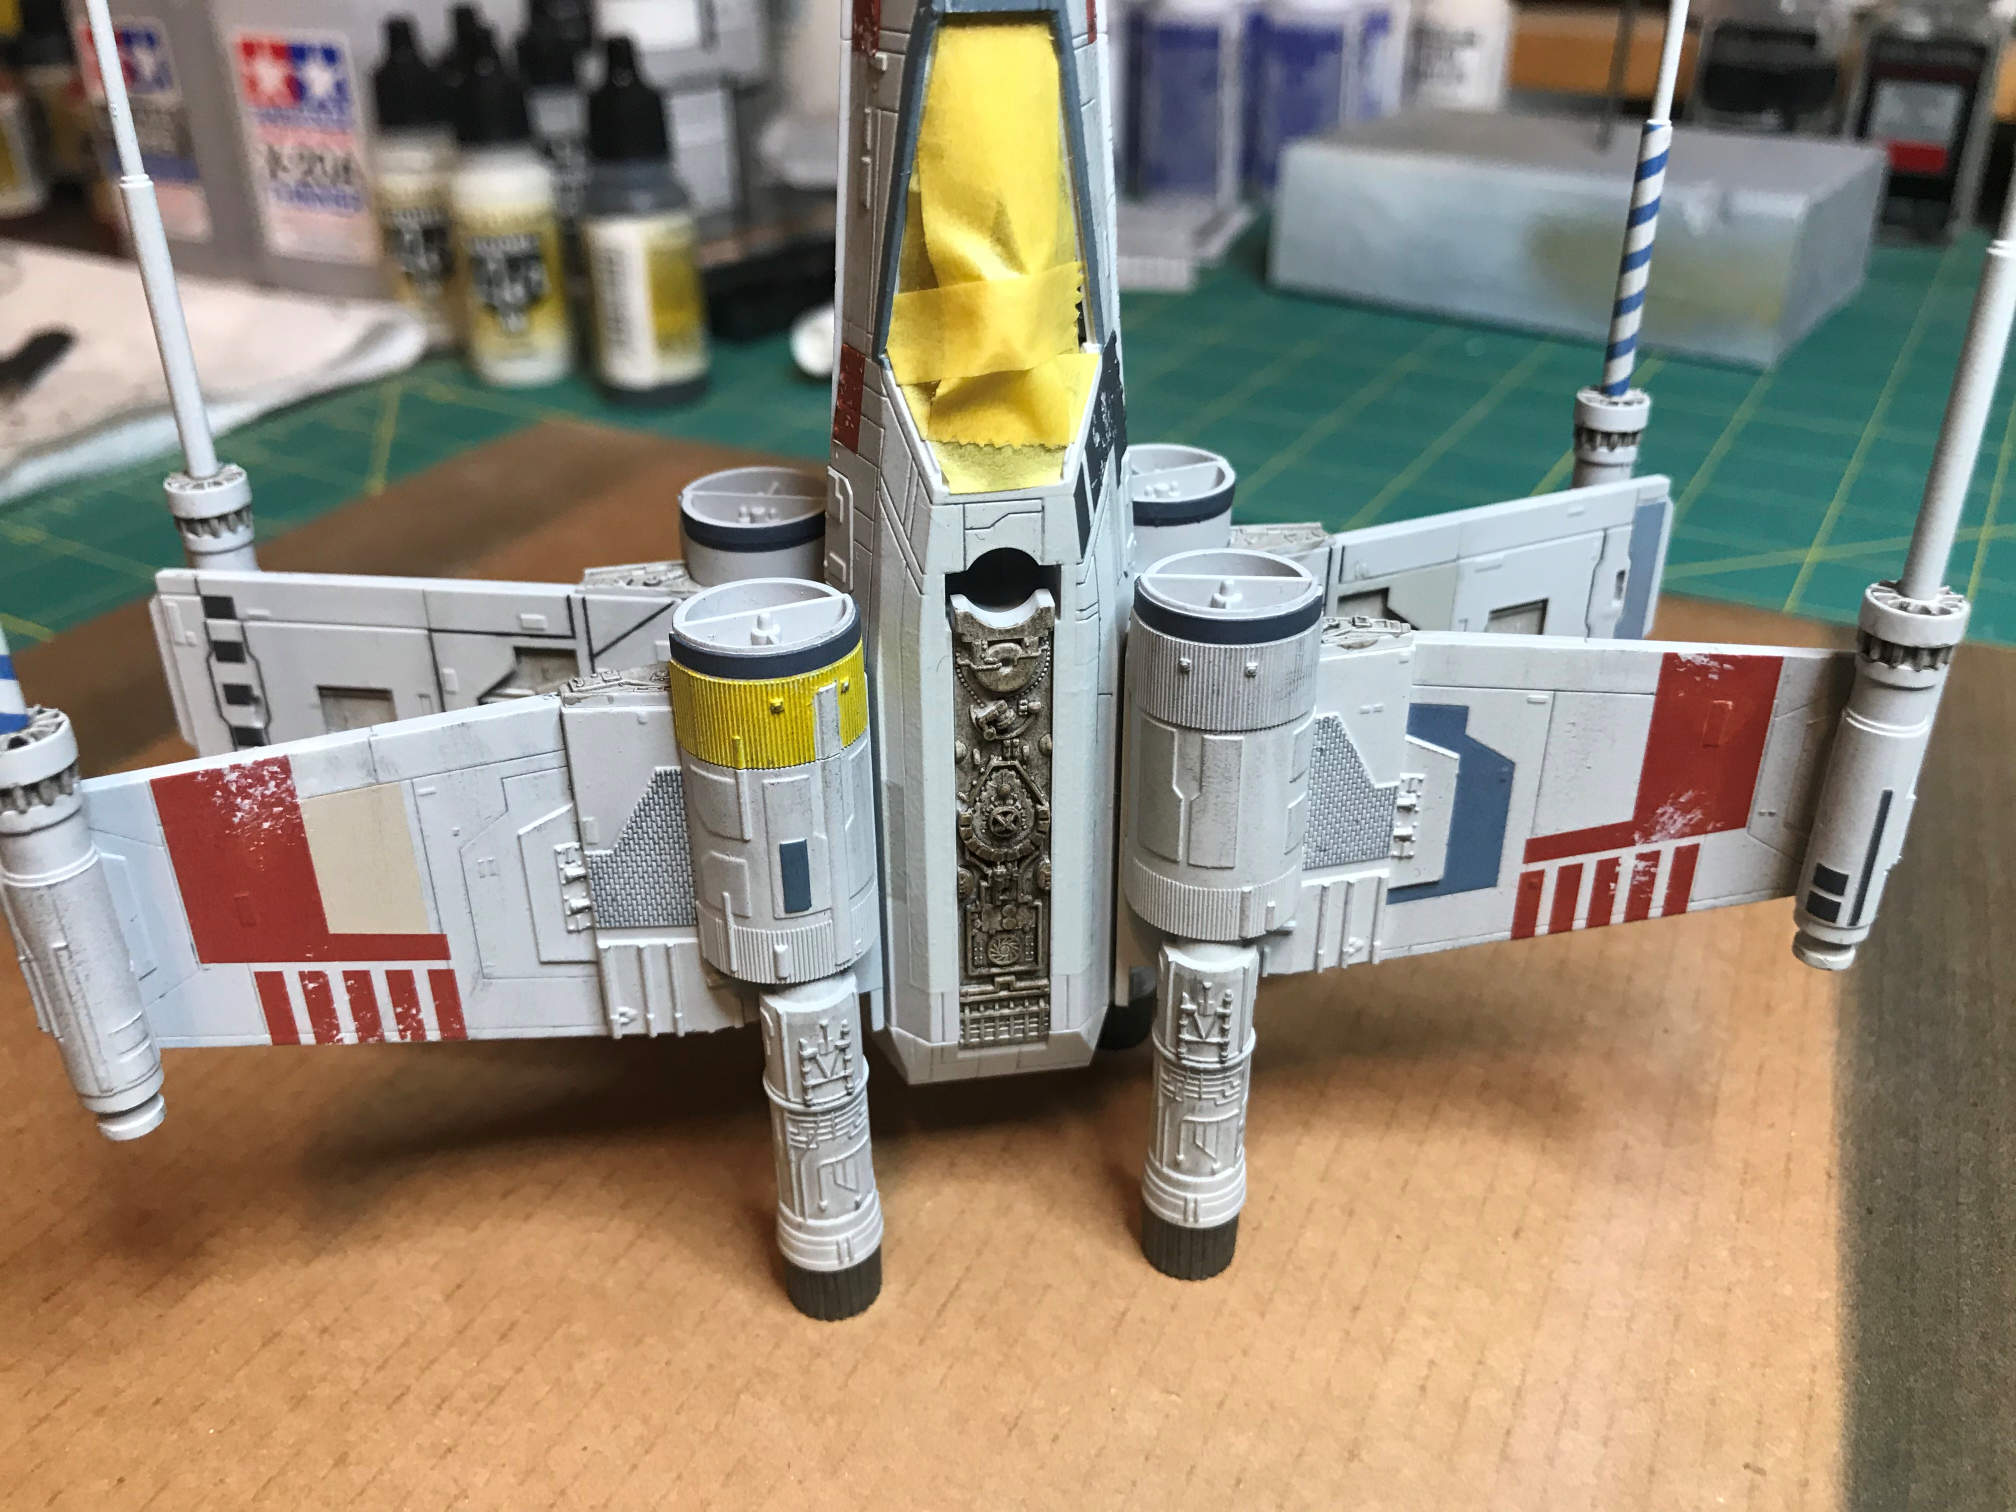
Before spraying on the gloss coat I masked off the cockpit area so I wouldn’t get gloss on it since I had already sprayed it with a dull coat.

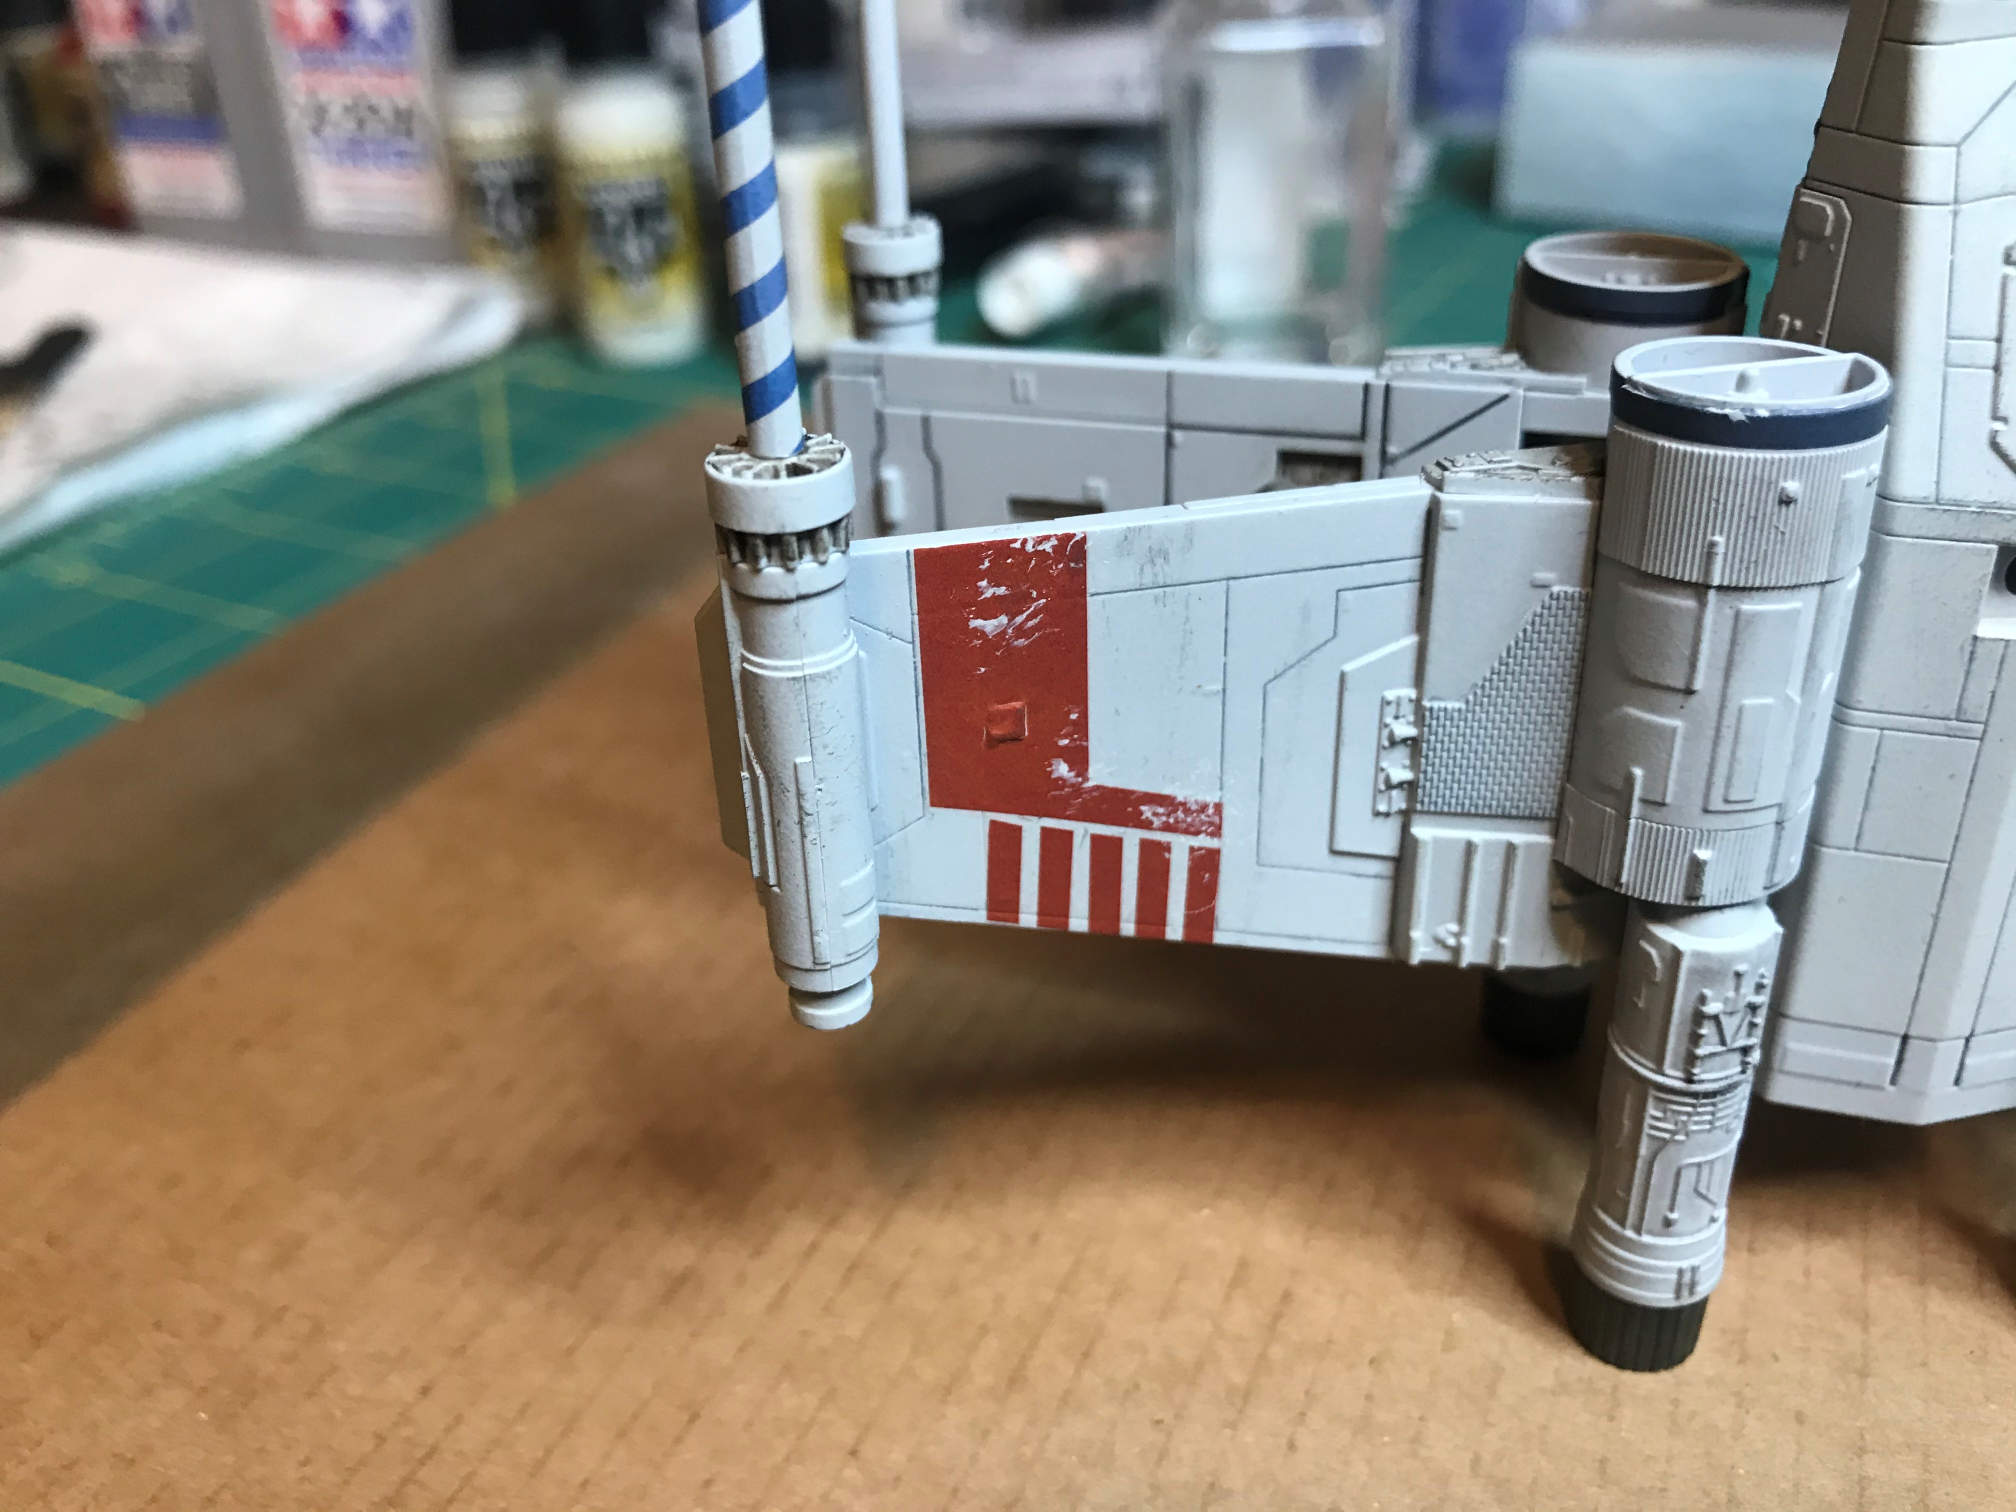
The decals went down without too much trouble. There were a couple of areas of raised detail that required a bit more work, but they ended up snuggling down nicely. The two laser cannons that had the blue barber pole markings surprised me with how well the decals went on. They were exactly the right width to go around the barrels and met at the edges perfectly. The yellow area around the upper left hand engine is not the decal included with the kit. I could tell the decal for the raised detail of that part was never going to work well so I painted it yellow instead. The masking was simple so I didn’t have a problem with keeping the yellow where it was supposed to be.

Next, I added gray panel line paint to the bottom panels. I think the contrast was just right. Black would have been a bit too dark.

After that set, I turned it over and did the same on the upper panels.

With the panel lines done, it was time to add a light clear coat for the decals and then start chipping and weathering the model.
I used some of the Tamiya weathering master pigments to add some dark areas around the torpedo ports and some of the “snow” to lighten the blue barber pole stripes on the laser cannons.

I next used a piece of sponge and some of the White Gray base color to represent chipping on some of the decals and other areas. I also used a black wash with some of the Tamiya weathering master Rust to color the detail behind where R2-D2 rides. I also did a little dry brushing here and there with some Gray Black.


With that all done I sprayed a clear matte finish over the model to protect the weathering and the decals. I then added the canopy and it was done.
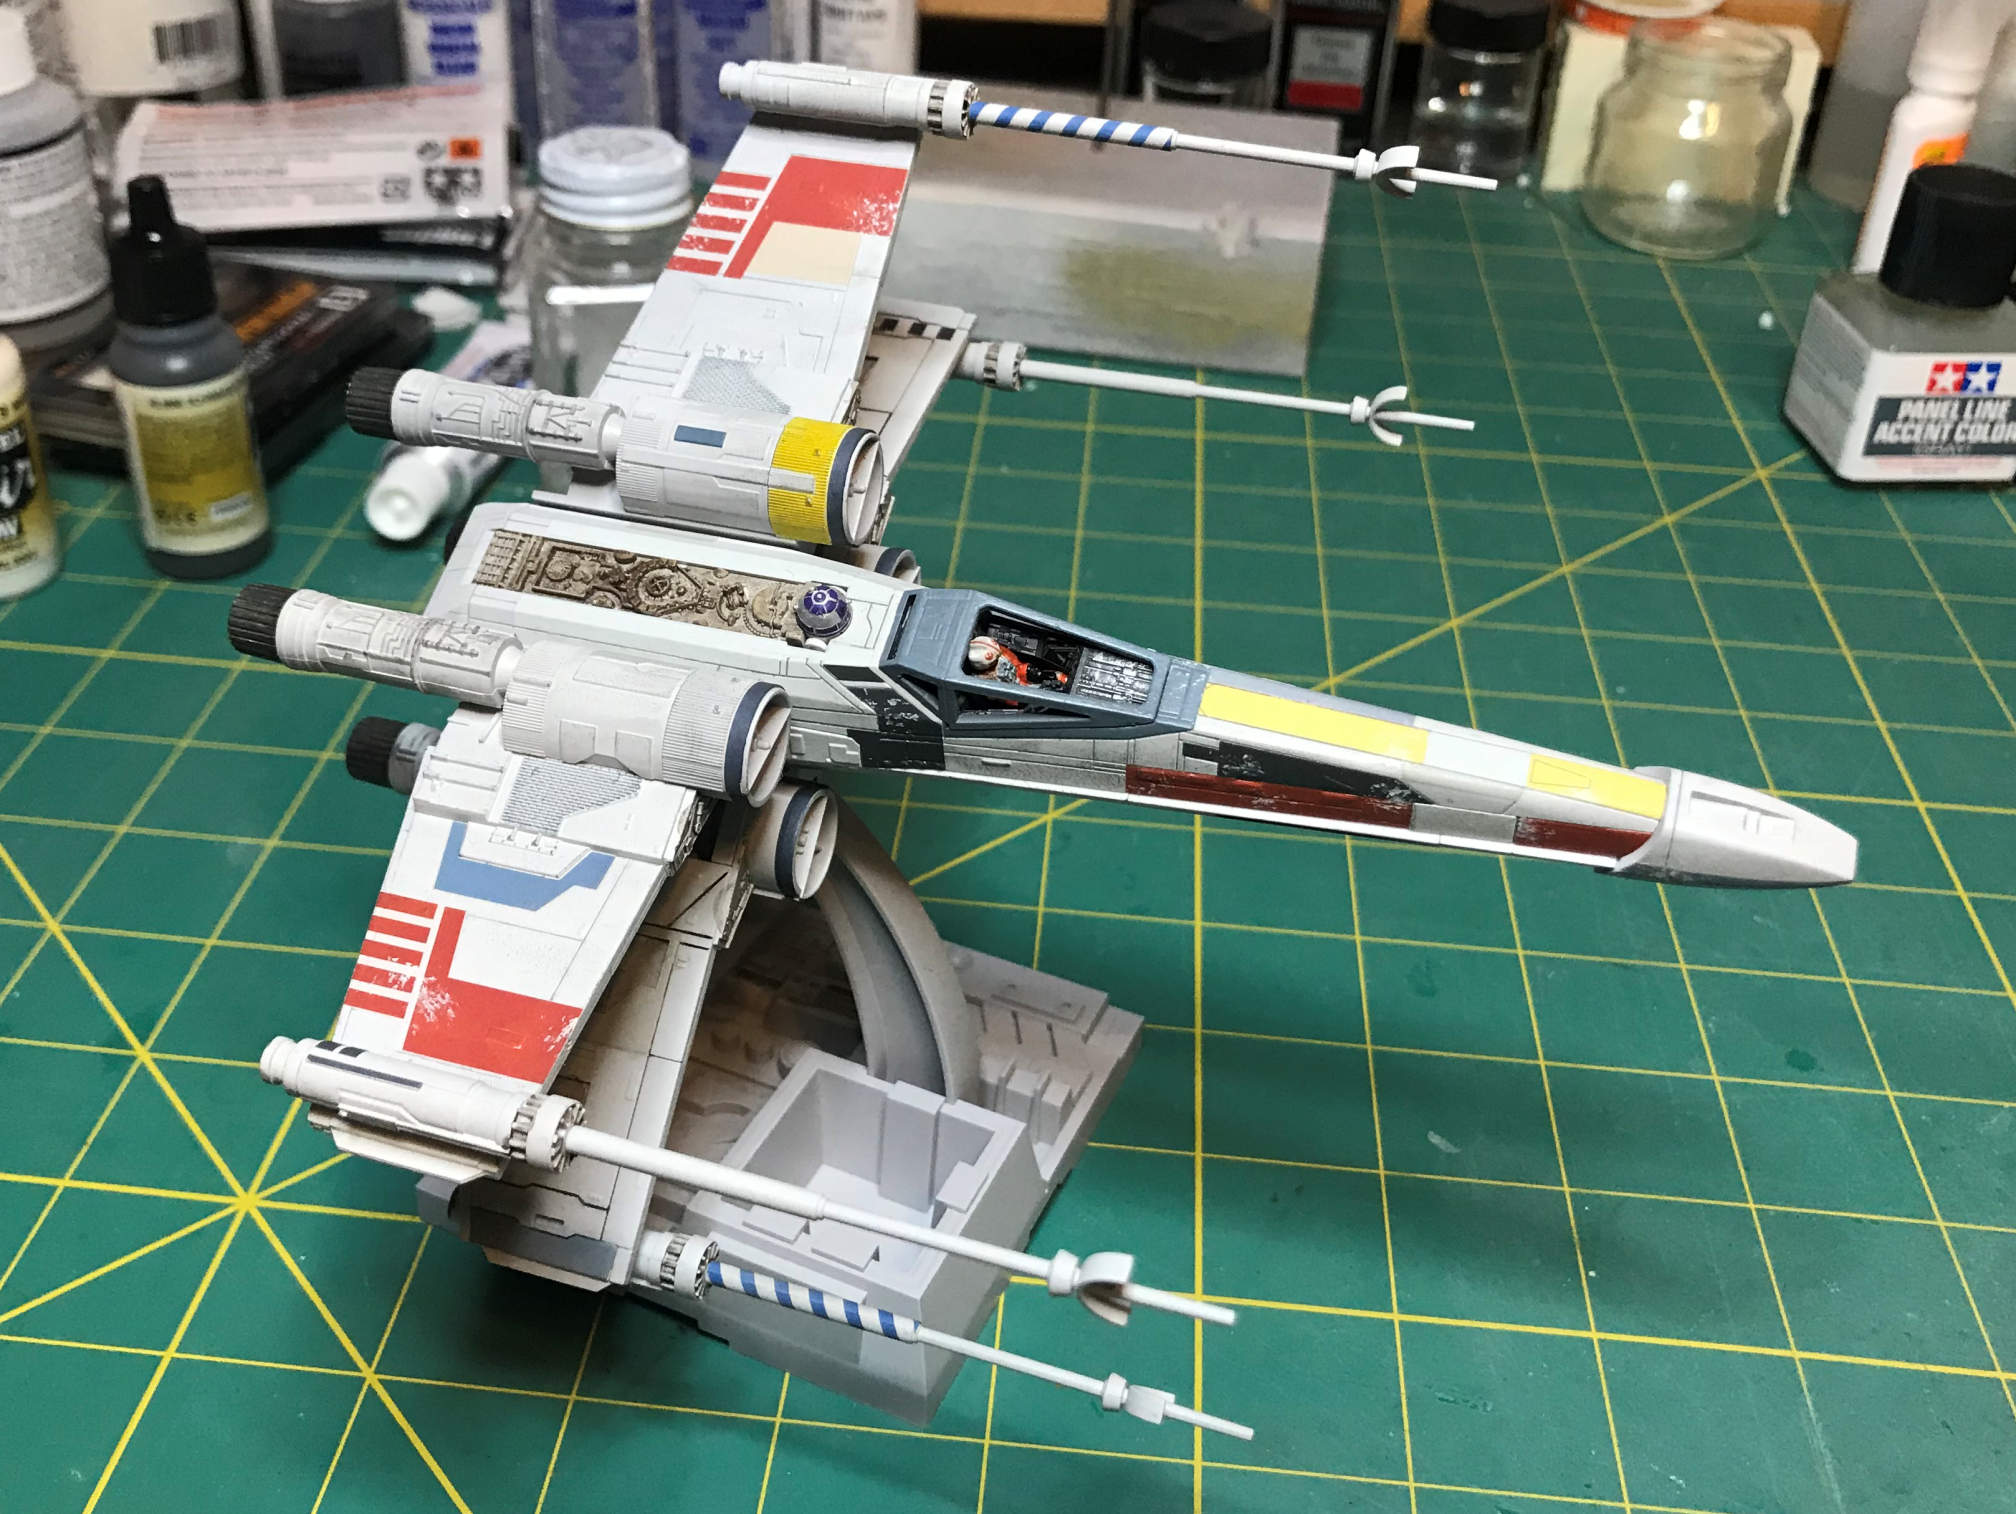
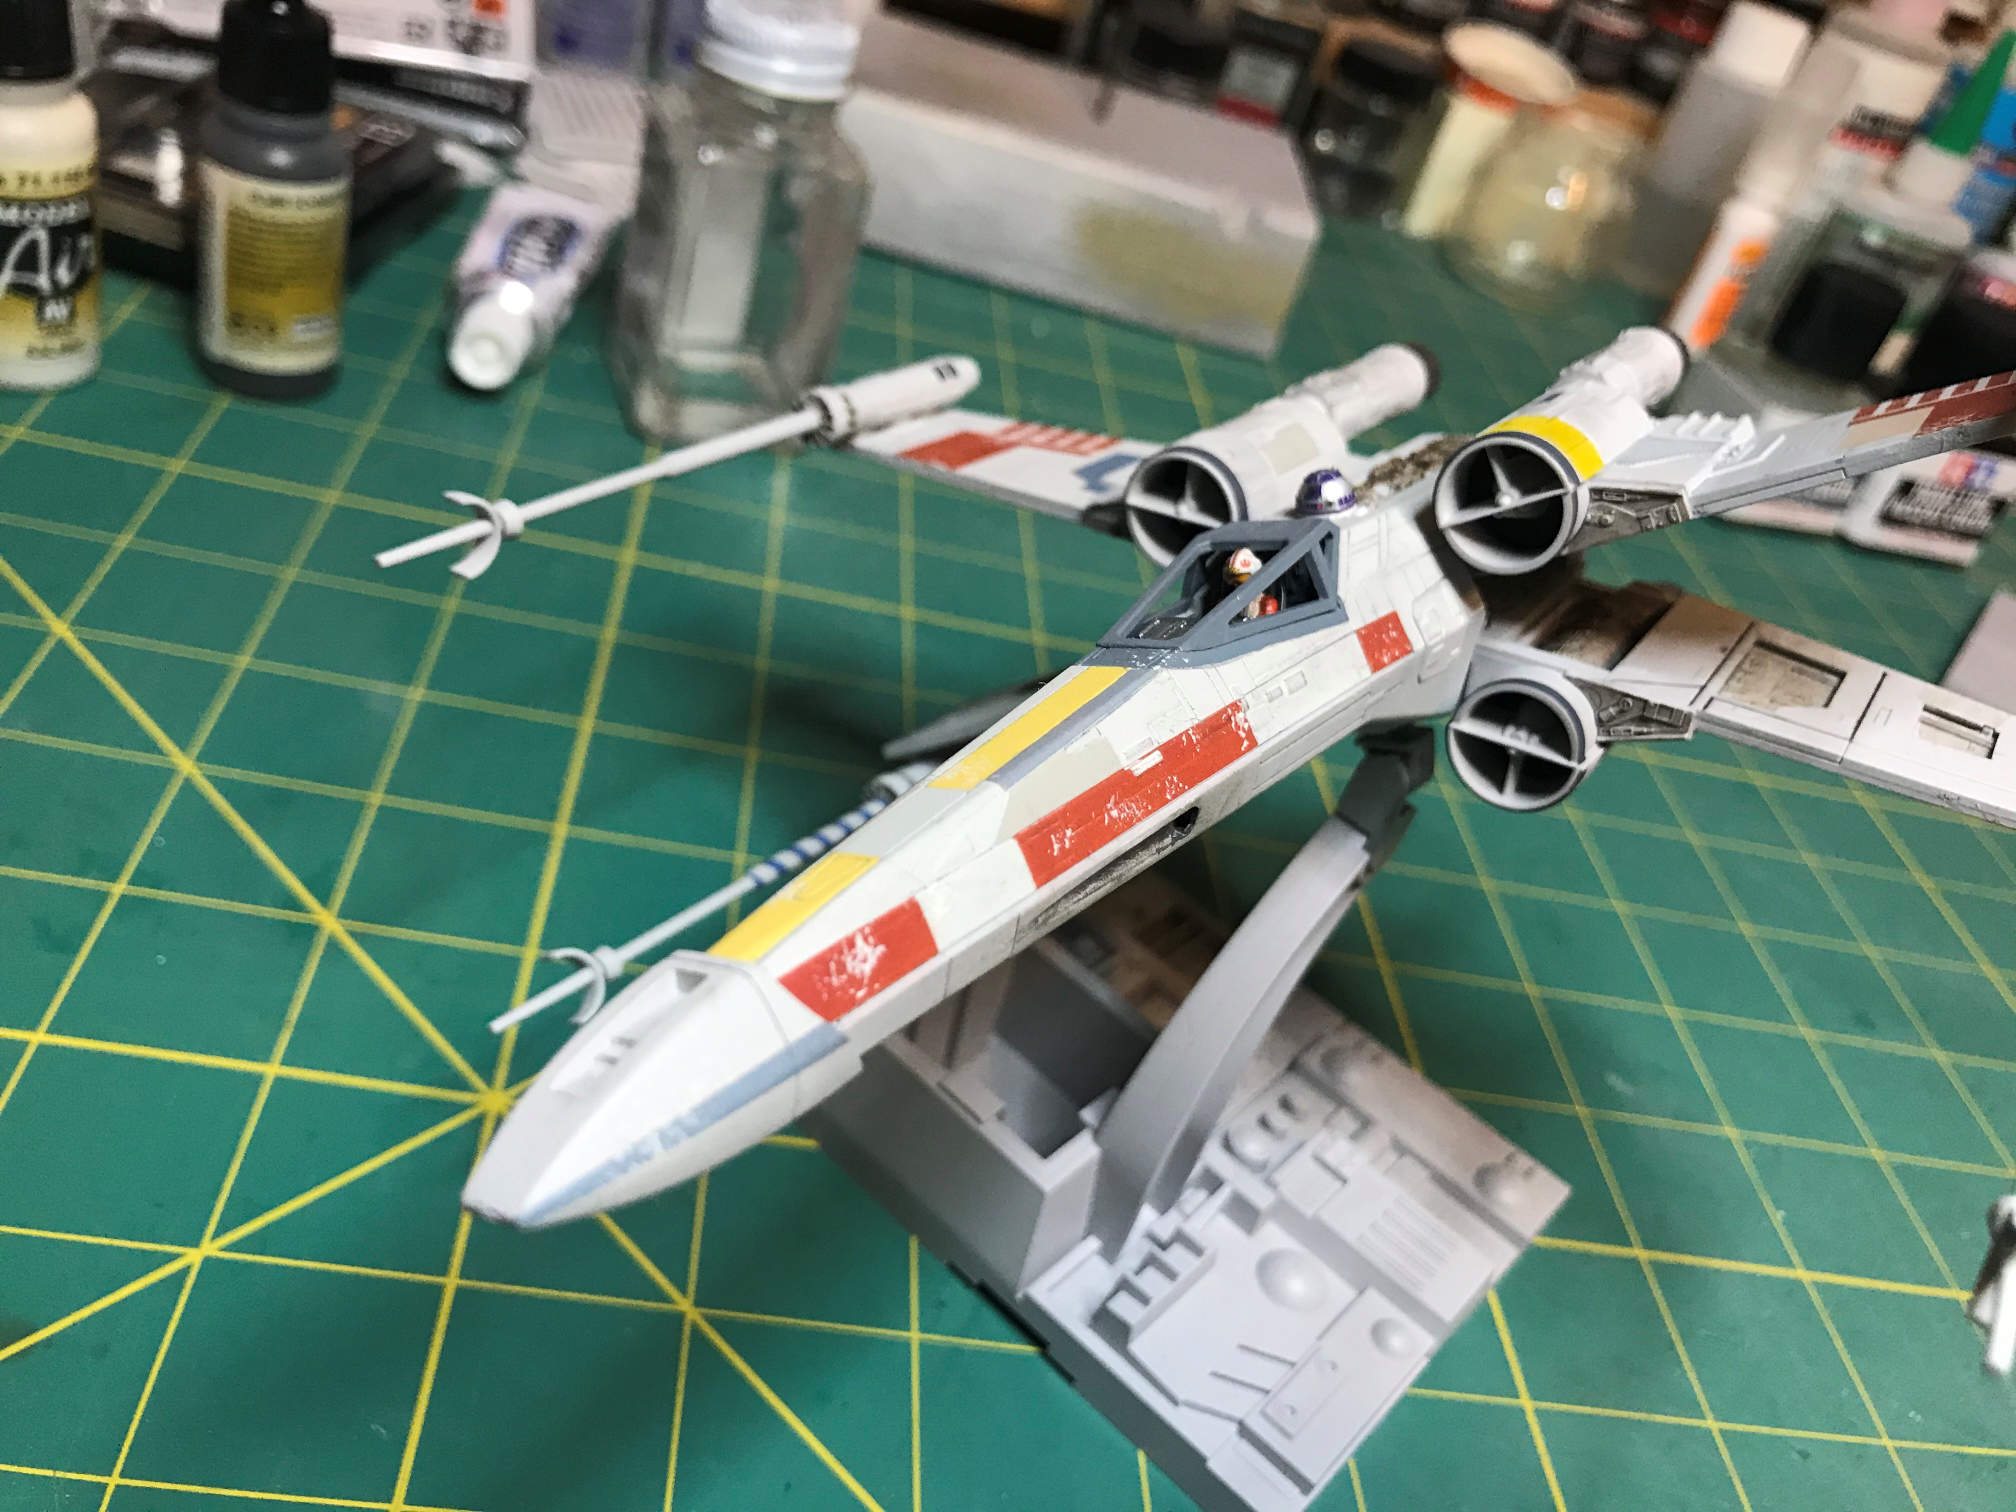
It now resides next to my BanDai Millennium Falcon. I think I’ll add a TIE Fighter to the group in the future.
It was a fun build and I got to try out some new techniques that I haven’t used before. Thanks for reading and come back again to see some more builds.
